Add a custom chaos hub
A chaos hub is a collection of experiment templates and faults you can use to launch chaos experiments. CE provides a default Enterprise Chaos Hub that includes a wide array of templates and faults out of the box. You can also add your own custom chaos hubs to maintain and share private experiments and faults within your organization.
There are several reasons for adding a custom chaos hub. A custom hub lets you:
Add custom experiments suited to specific needs in your organization.
Share your experiments with others in your Harness project or in other Harness projects—you can add the same custom hub(s) to many projects.
Maintain and upgrade experiments in one place so those you share your hubs with always have the latest version.
Provide secure access to your custom experiments.
This topic shows how to add and connect a custom chaos hub.
Prerequisites
Be sure you have a Git repository for your custom chaos hub, where you will store experiments and faults. The repository must include two folders:
experimentsandfaults. Here's an example repo: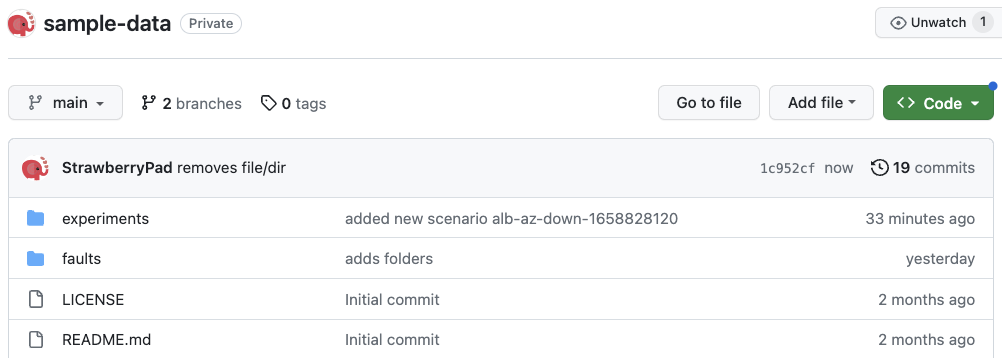
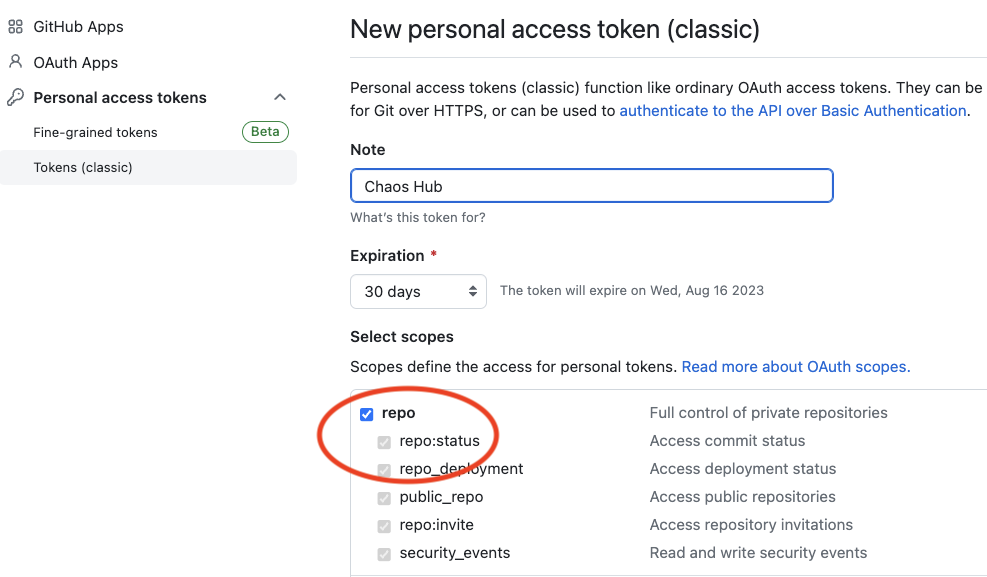
Generate a personal access token from GitHub to access and sync your repository with Harness. The token must have at least the repo scope.
Add a custom chaos hub
To add a custom chaos hub:
In your Harness project, navigate to the Chaos > ChaosHubs, and then select + New ChaosHub.
Enter a Name for the hub and, optionally, add a Description and Tags.
Select Continue.
On the Git Connection screen, add a new Git connector to access and sync your repository with Harness.
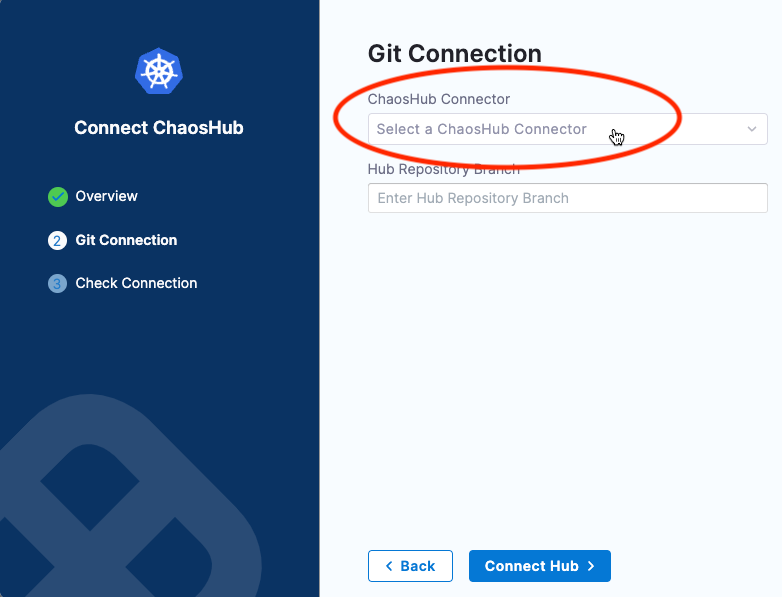
Select the field ChaosHub Connector. This displays existing Git connectors listed under separate tabs for Project, Organization, and Account scopes.
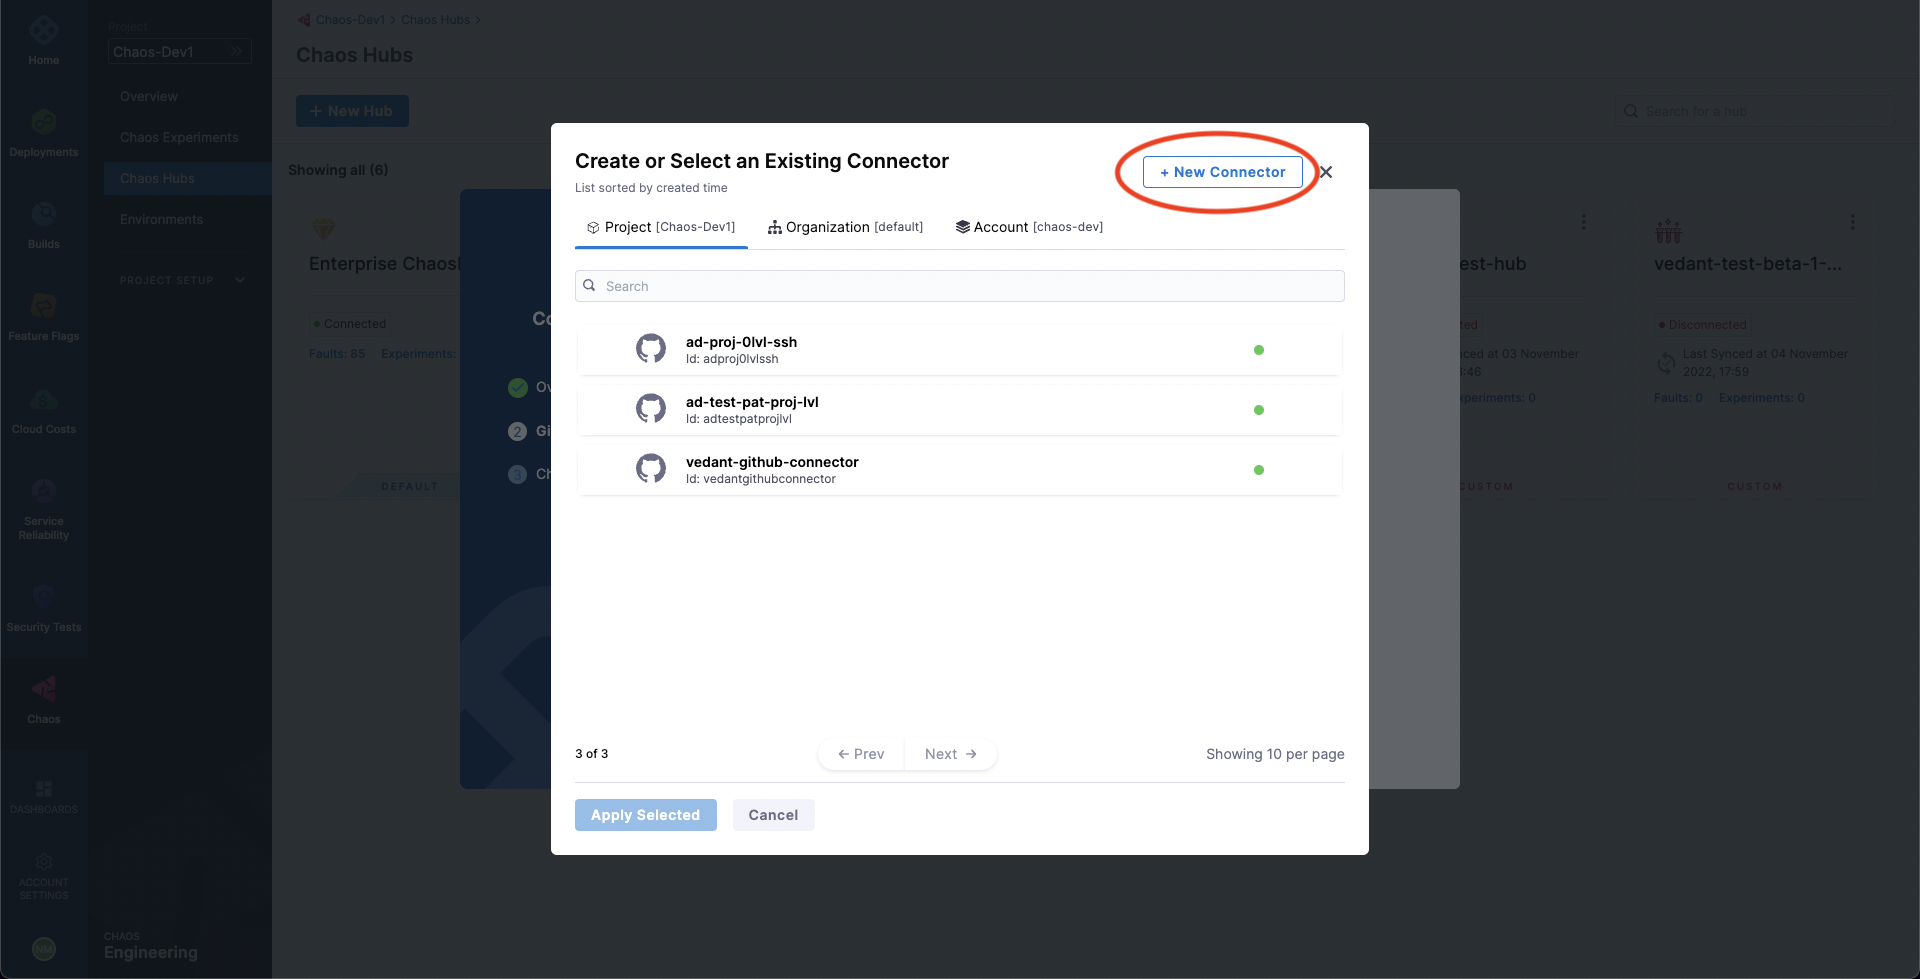
Select New Connector, and then choose GitHub Connector.
In the Overview screen, enter a Name and optional description and tags, and then select Continue.
The Details screen is displayed.
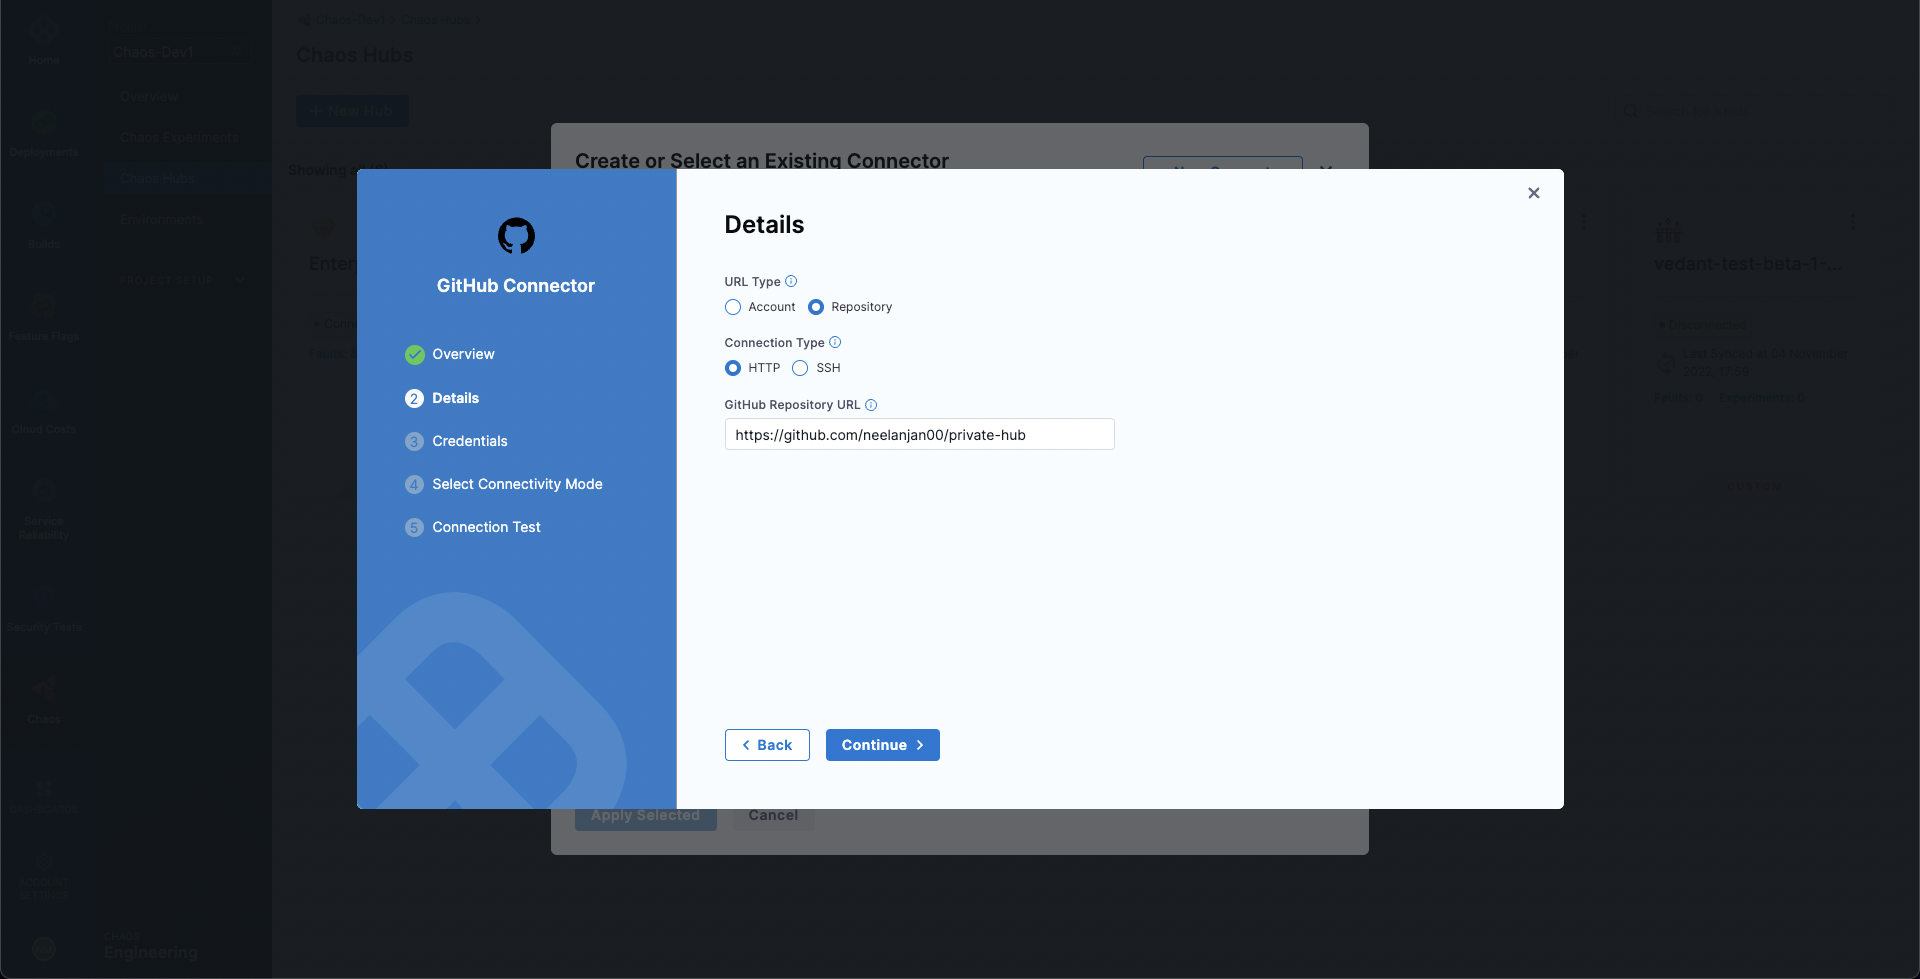
In the Details screen, for URL Type, select Repository.
You can select Account instead if you want to create an account-scoped GitHub connector. This may be used for connecting multiple Chaos Hubs from a single GitHub account.
For Connection Type, select HTTP.
In GitHub Repository URL, enter the URL of your custom chaos hub repository.
If you selected Account for URL Type, fill out these fields instead:
In GitHub Account URL, enter the account URL for your custom chaos hub repository.
In Test Repository, enter any repository name from your GitHub account to validate the connection.
Select Continue.
The Credentials screen is displayed.
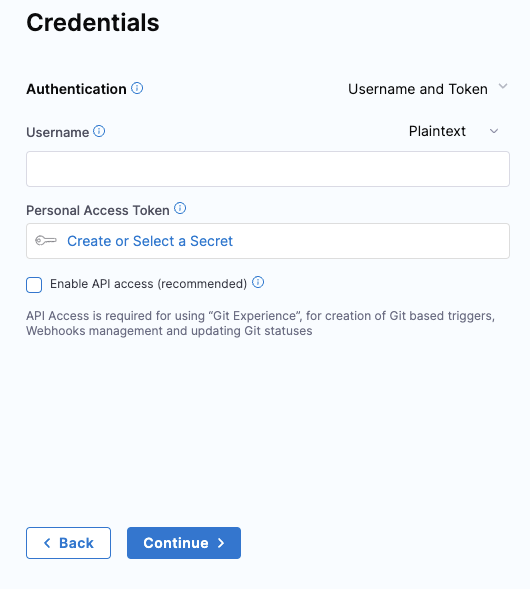
On the Credentials screen, enter the Username (in plain text) for authenticating with your GitHub repo.
In Personal Access Token, select Create or Select a Secret.
This displays all the secrets in separate tabs for Project, Organization, and Account scopes.
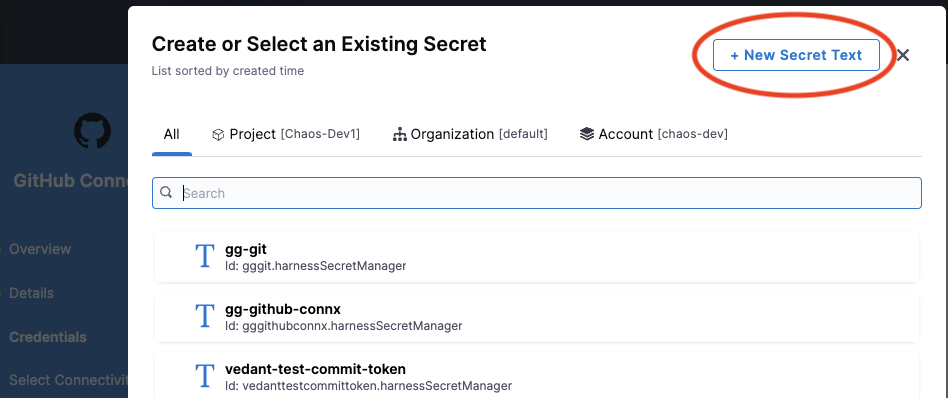
Select New Secret Text.
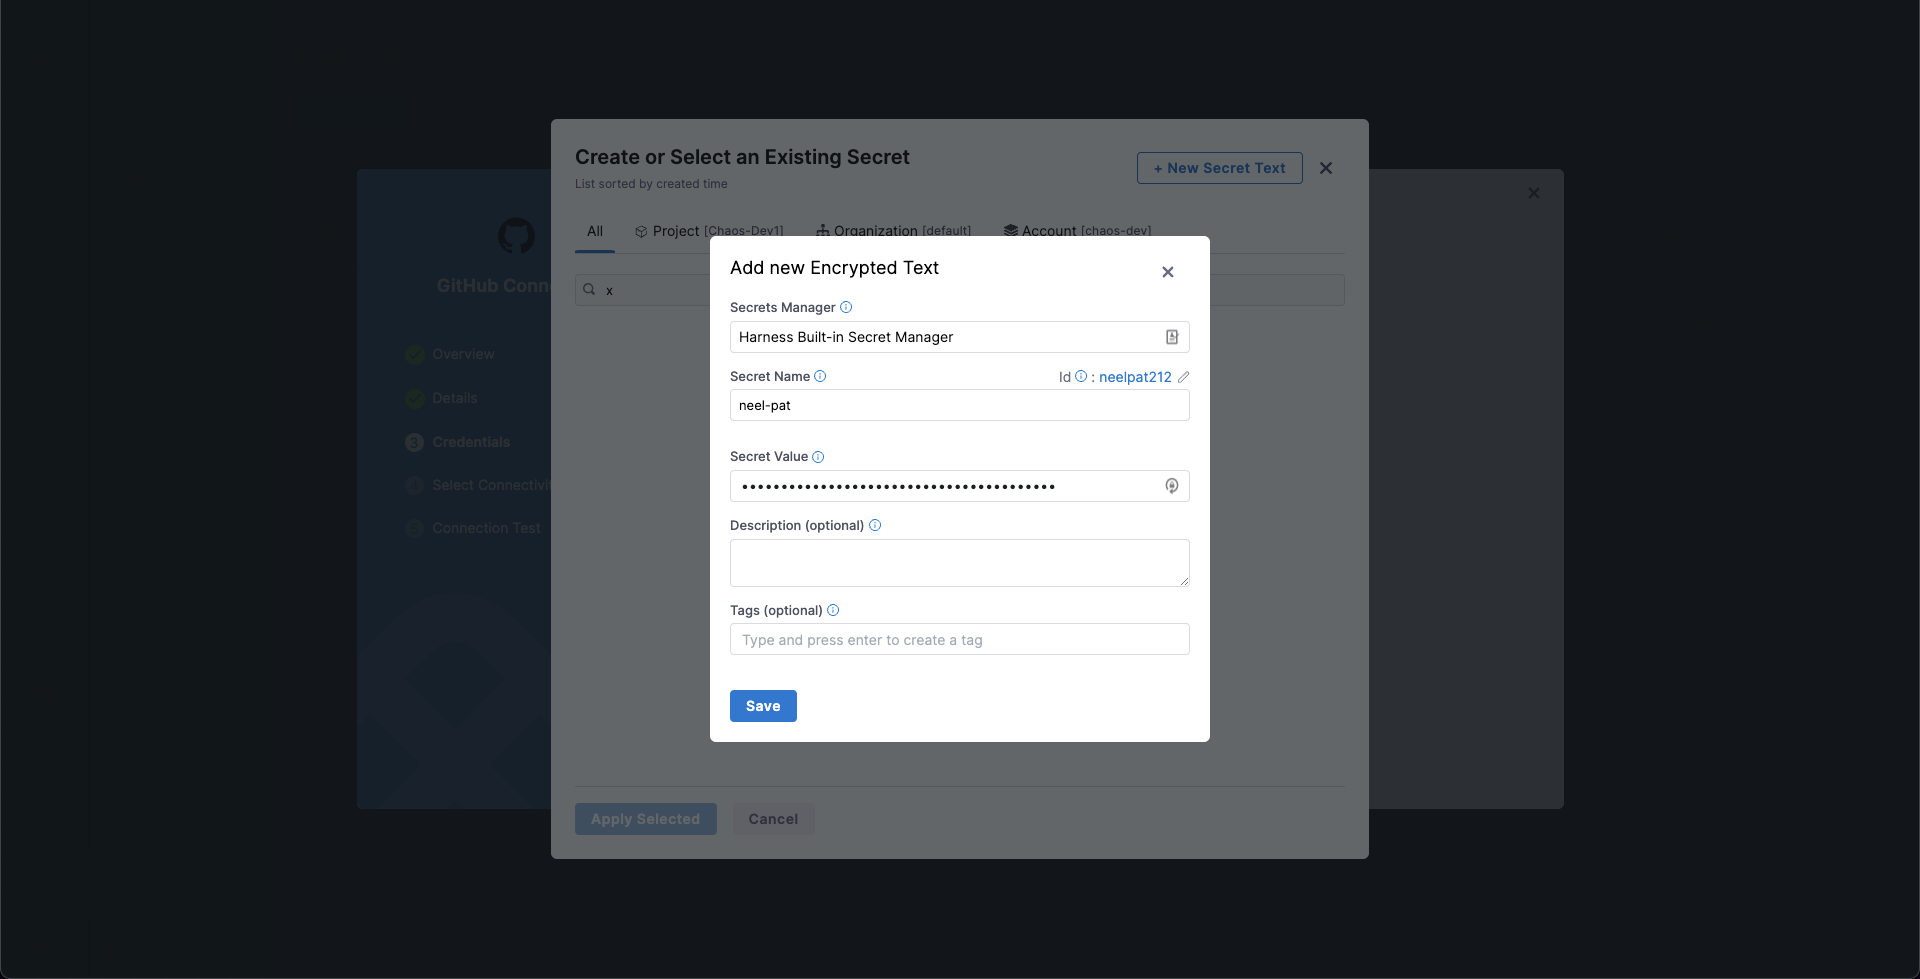
In the Add new Encrypted Text screen, fill out the fields as follows:
Select Save, and then on the Credentials screen, select Continue.
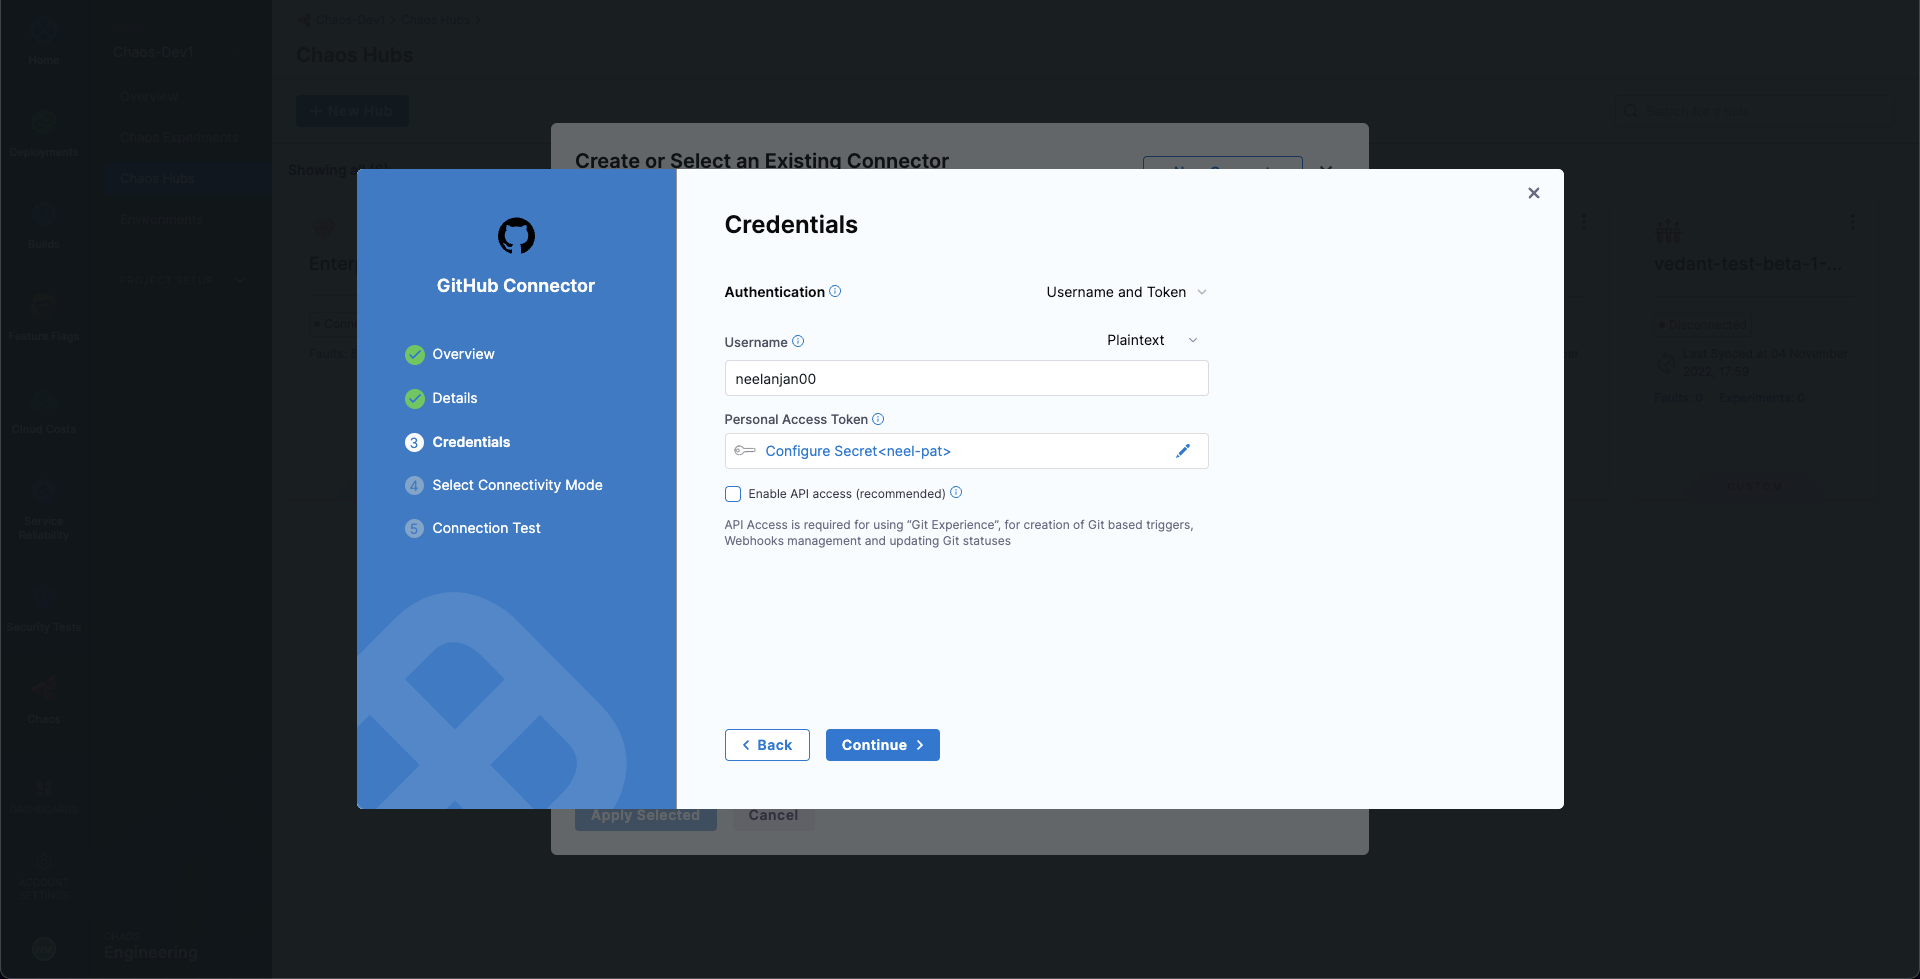
This adds your GitHub repo connector and initializes the PAT for authentication.
In the Connect to provider screen, select Connect through Harness Platform, and then select Save and Continue.
This starts a connection test, which validates that Harness is able to access the Git repository with the given configuration.
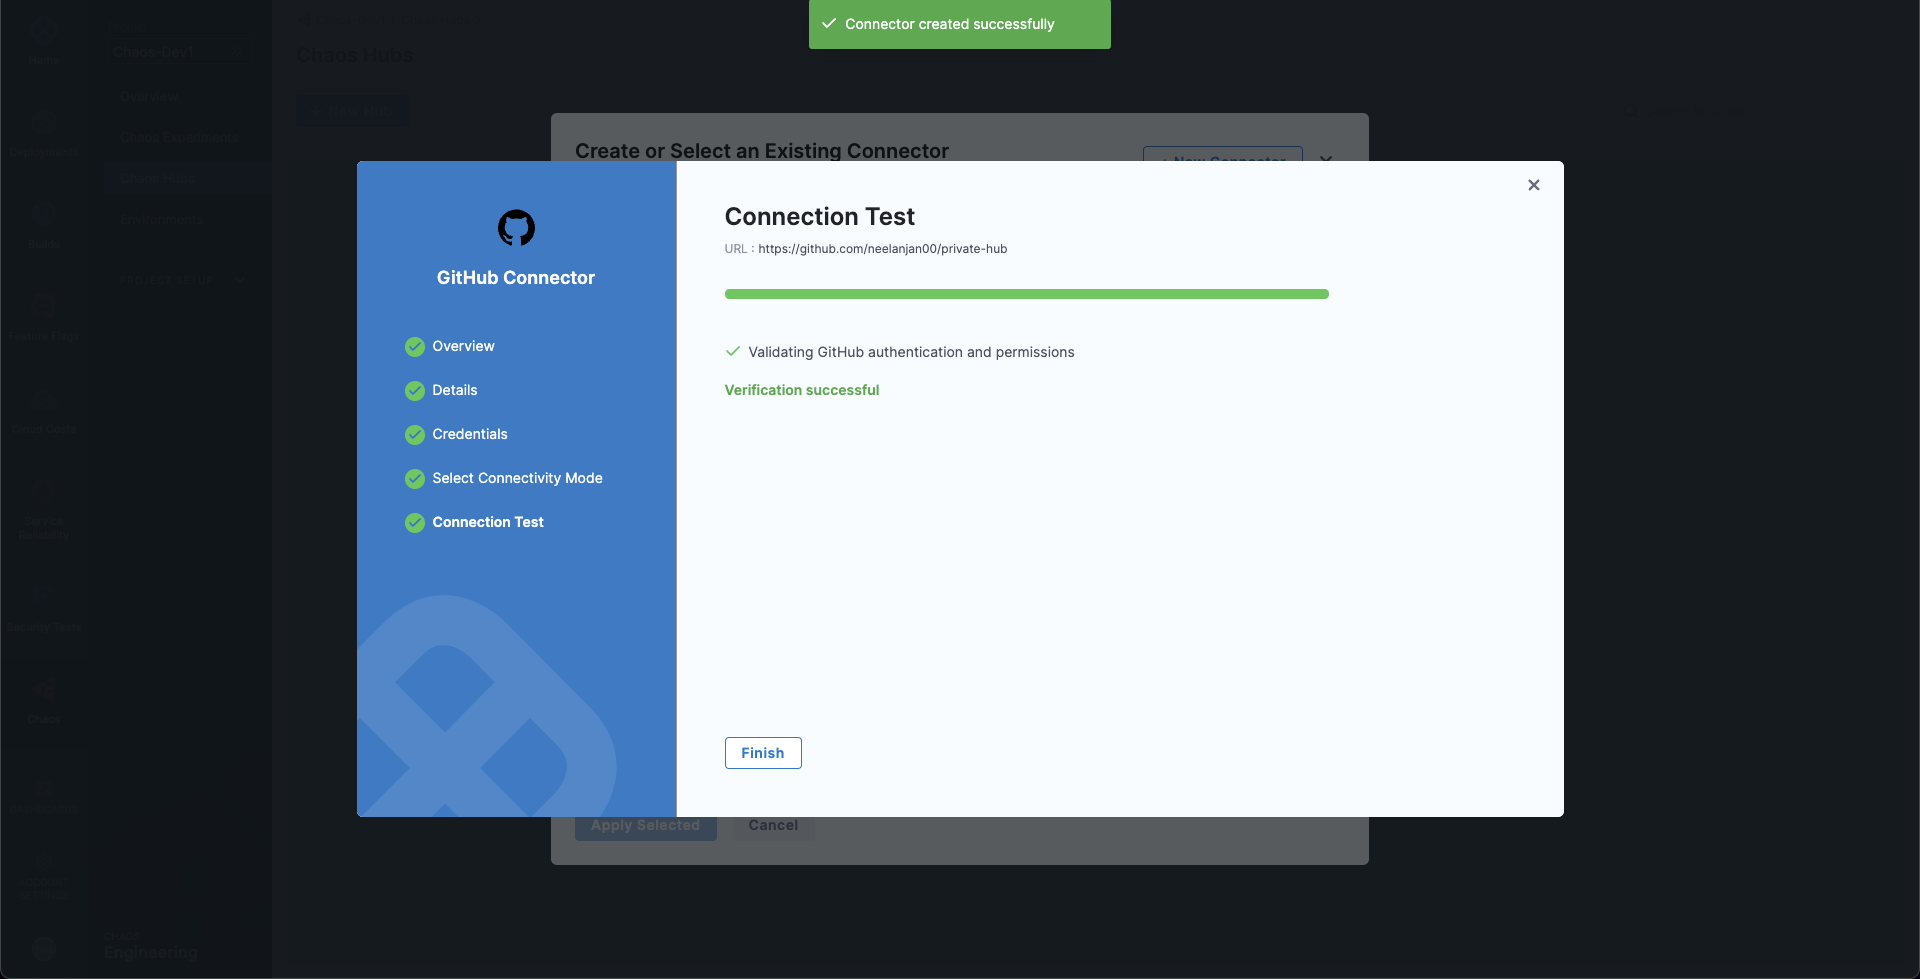
When the test is successful, select Finish.
The Git Connection screen is displayed.
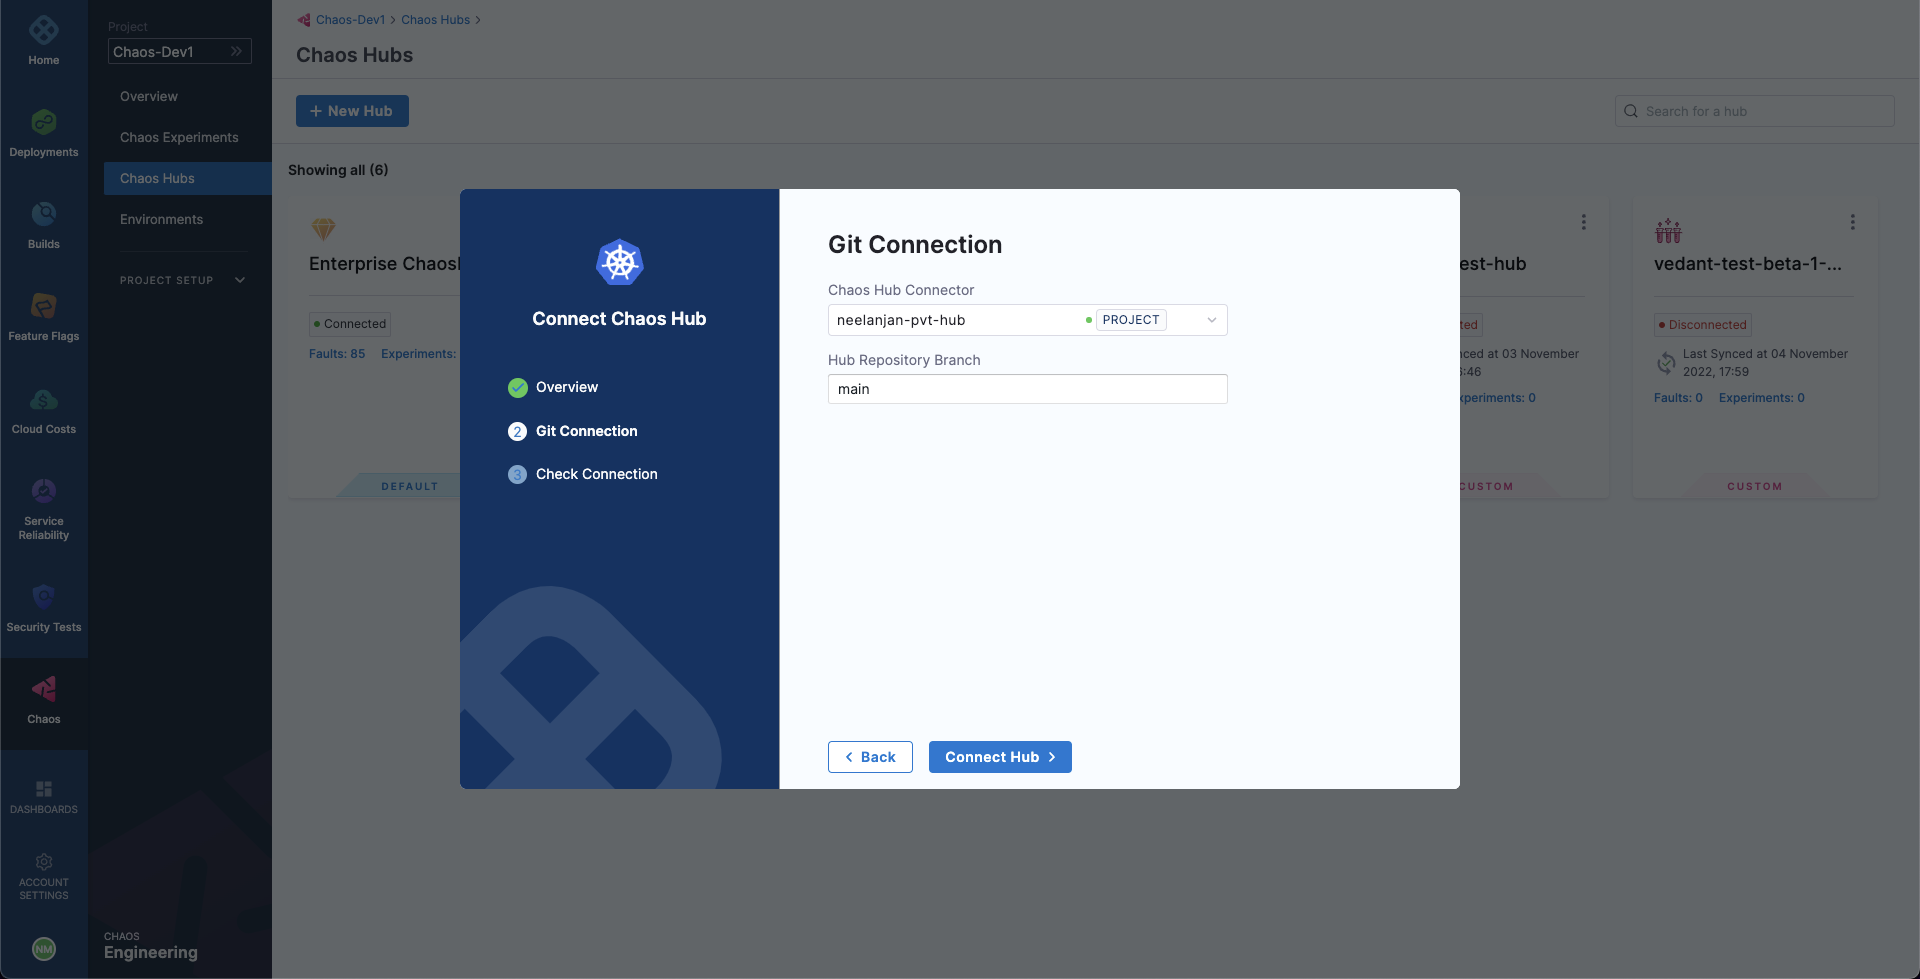
In Hub Repository Branch, enter the repository branch in which the Chaos Hub files exist.
Select Connect Hub, and then select Finish.
Your new custom chaos hub appears in the ChaosHubs page.
To share your custom chaos hub with another Harness project, add the hub to the other project, using the same procedure above.
Next steps
Now you can add and launch experiments in your custom chaos hub, or add YAML fault and experiment definitions directly in your chaos hub GitHub repo, and then sync it with Harness. Head to Manage custom chaos hubs for details.