Create a Pipeline
Pipelines define your release process using multiple Workflows and Approvals in sequential and/or parallel stages. Pipelines can involve multiple Services, Environments, and Workflows. A Pipeline can be triggered either manually or using Triggers.
Before You Begin
Visual Summary
Step 1: Add a Pipeline
To add a Pipeline, perform the following steps:
Click Setup and then select the Application that you want to deploy.
Click Pipelines and then click Add Pipeline. The Add Pipeline settings appear.
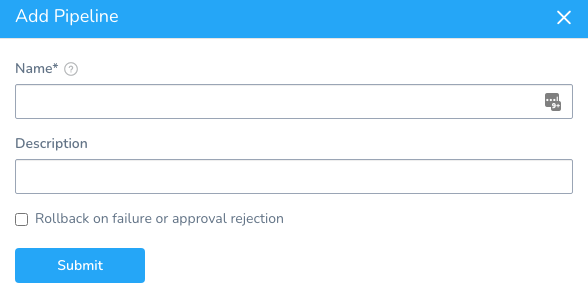
For the Rollback on failure or approval rejection option, see Rollback on failure or approval rejection below.
Enter a Name for your Pipeline. This name is used for selecting the Pipeline on the Deployments page.
Enter Description for your Pipeline and click Submit. The following settings appear.
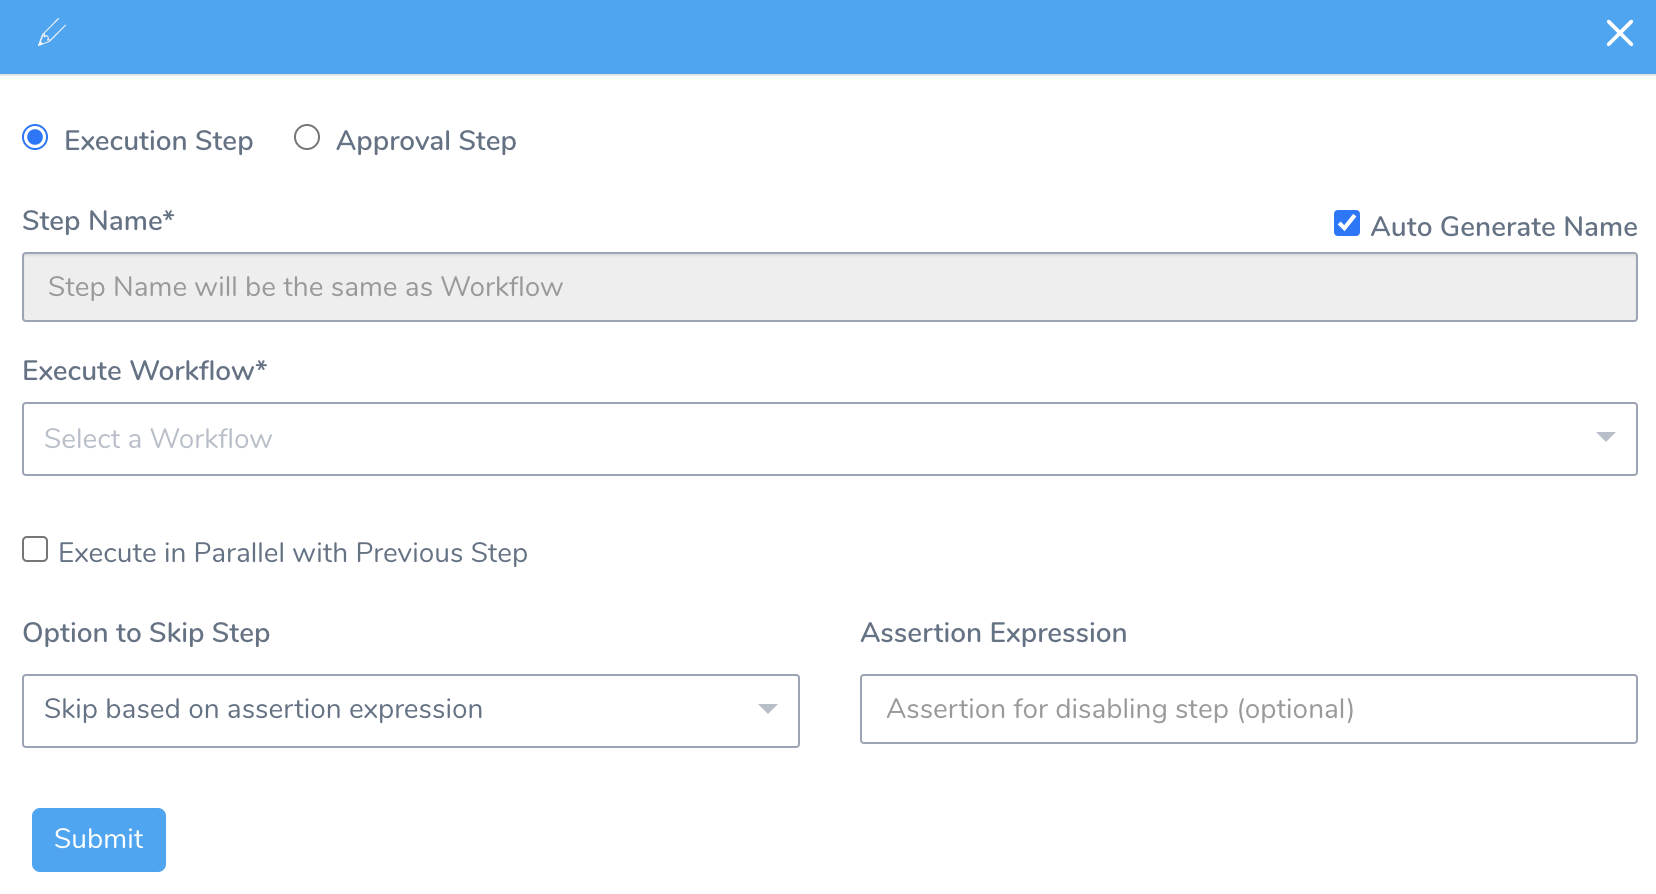
Select the Execution Step to execute this stage when the Pipeline runs.
- In Step Name, enter the name for this stage. This name acts as a subheading to the stage name. You can also select the Auto Generate Name checkbox to generate the name automatically.
- In Execute Workflow, select the Workflow to execute in this Pipeline. The Workflows in your Application are listed.
- Select Execute in Parallel with Previous Step checkbox to execute steps in parallel.
- Select Do not skip, Skip always, or Skip based on assertion expression for setting the skip option. For more information, see Skip Execution.
- Enter Assertion Expression. It enables you to specify an expression that determines whether the stage should execute. For more information, see Assertion Expression.
- For Runtime Input Settings, see Option: Runtime Input Settings.
Select Approval Step to require approval before the next stage executes. You can use Harness UI, Jira, Custom Shell Script, or ServiceNow Approval mechanisms. For more information on Approvals, see Add Approvals.
Click Submit. The Pipeline Stage and its steps are added to the Pipeline.
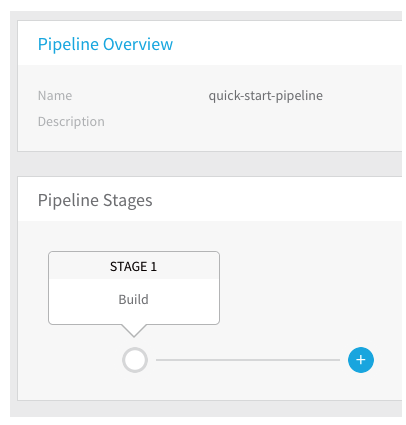
You can add multiple Stages, and insert new Stages between the existing Stages. Pipelines Stages can be Workflows or Approvals. To add another stage to the Pipeline, in Pipeline Stages, click + and then follow the same Steps.
Rollback on failure or approval rejection
Currently, this feature is behind the feature flag SPG_PIPELINE_ROLLBACK. Contact Harness Support to enable the feature.When you create a new Pipeline you have the option of enabling the Rollback on failure or approval rejection setting.
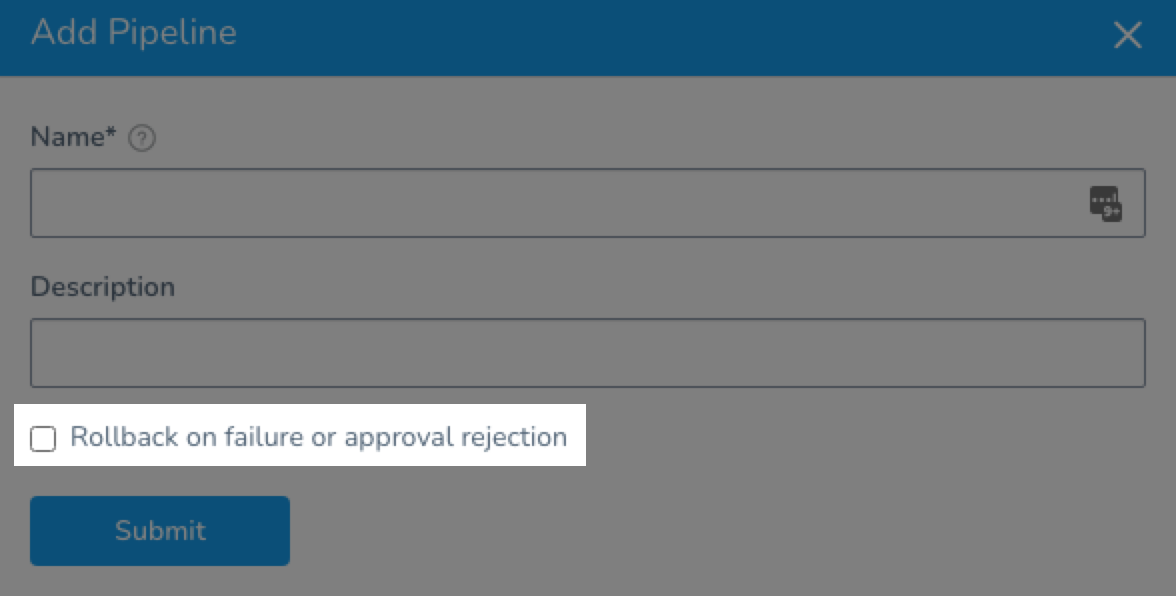
When the Rollback on failure or approval rejection is enabled, if any stage in the Pipeline fails to execute, all previous stages are also rolled back.
For example, in the following Pipeline, there are two stages, deploy and an Approval stage:
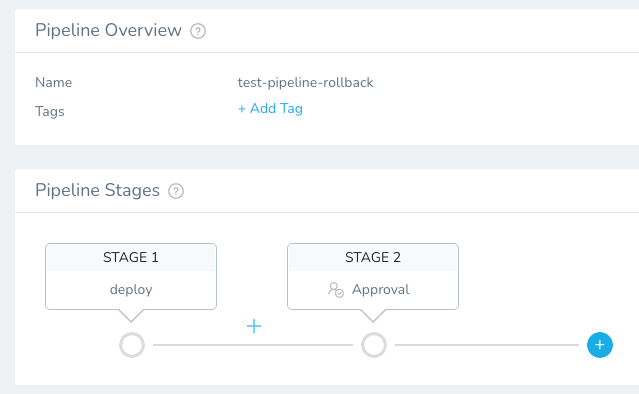
During execution, the Approval stage was rejected, so the previous stage, deploy, was rolled back by stage 3, Rollback-deploy.
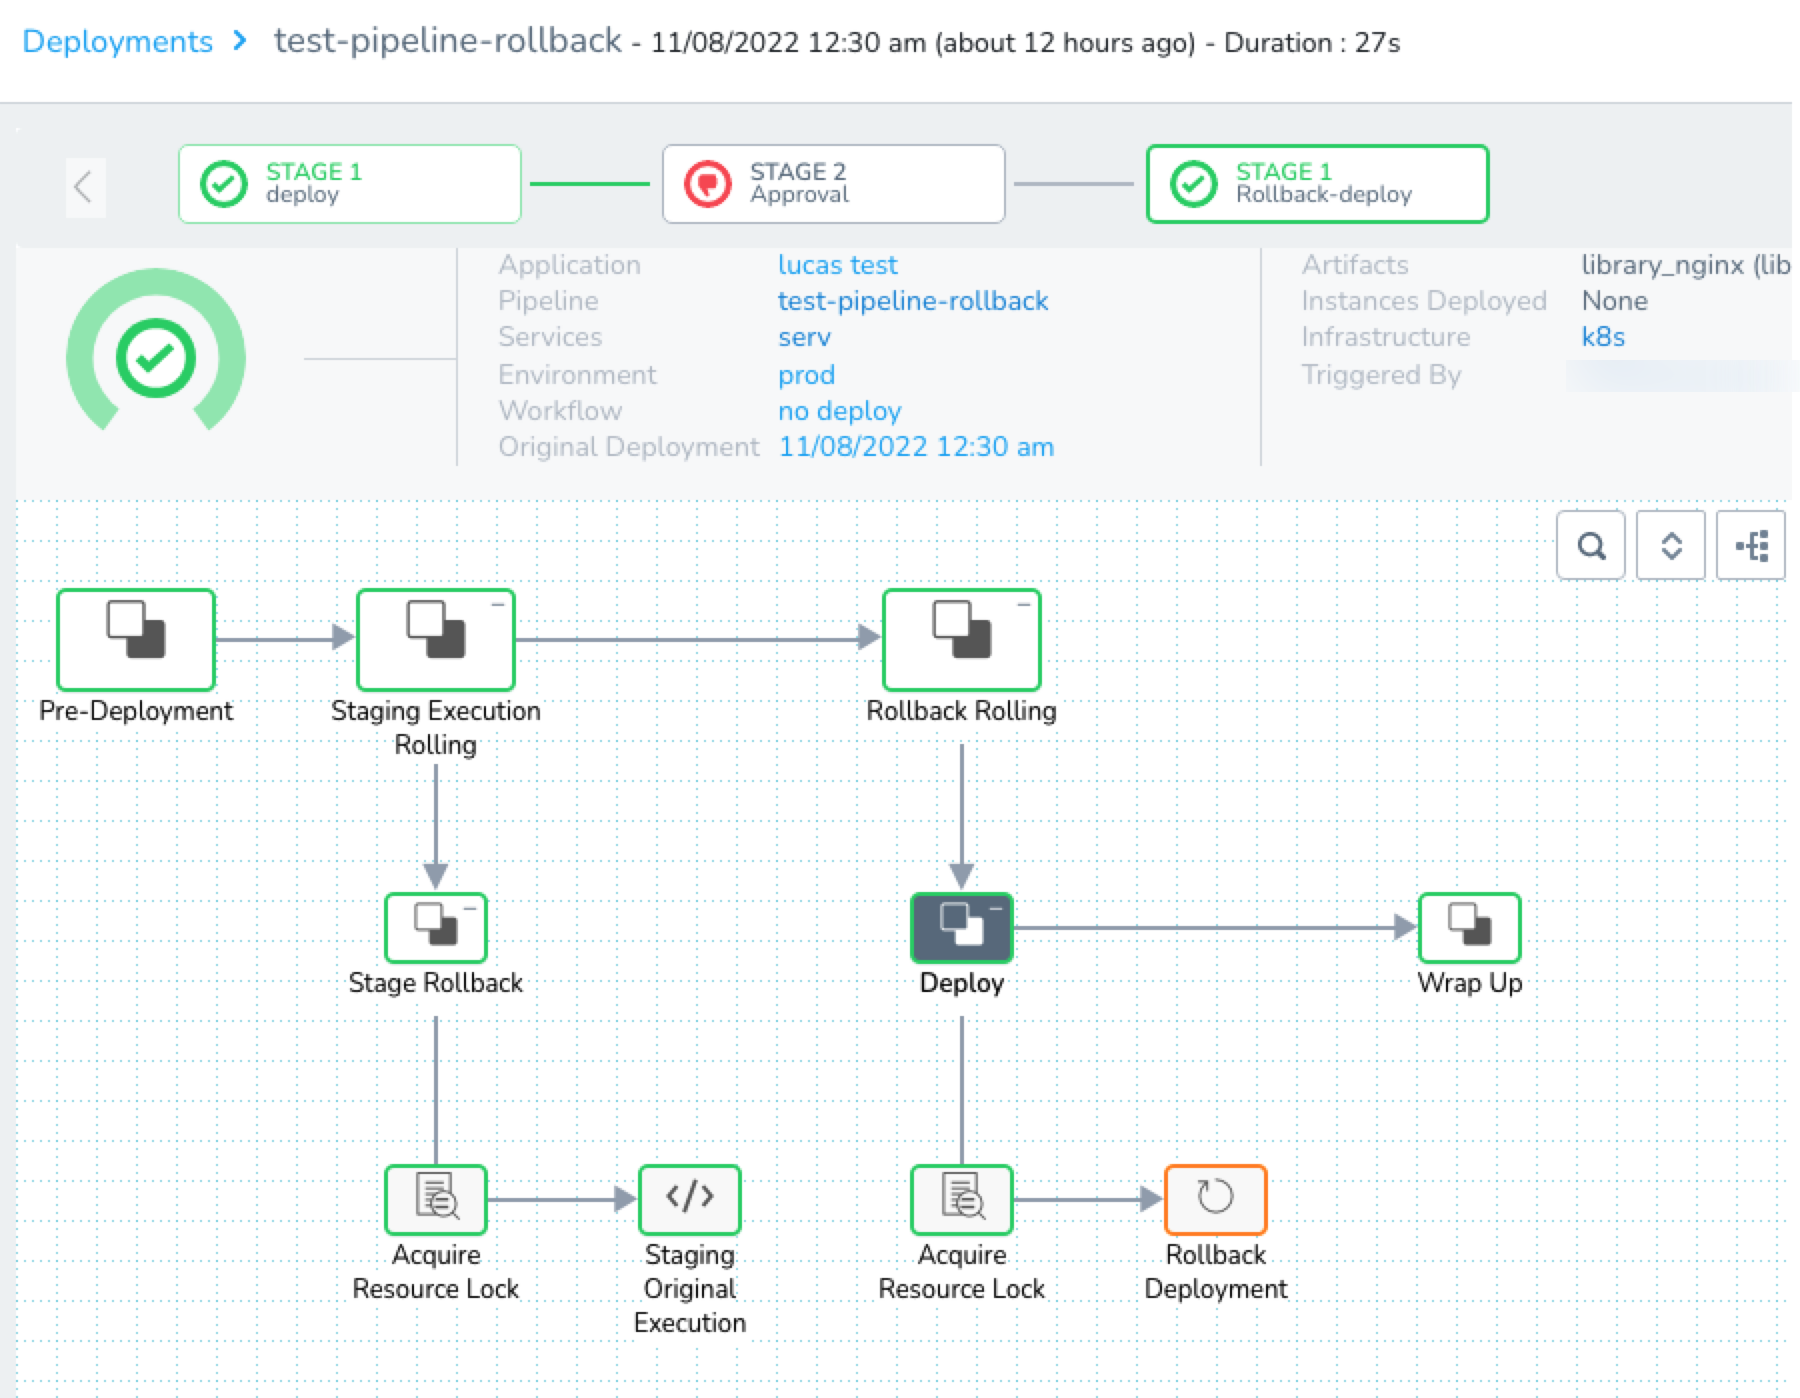
If the Workflows in previous stages have Rollback steps, those steps will be run.
Step 2: Deploy a Pipeline
Once you have set up a Pipeline, you can deploy it, running all the stages within the Pipeline.
In your Application, select the Pipeline that you want to deploy. The Pipeline Overview page appears.
Click Deploy to run the Pipeline. The Start New Deployment dialog appears.
When you set up the Pipeline stage(s), you picked the Workflow(s) the Pipeline will execute. The Workflow you selected is linked to a Service, Environment, and Infrastructure Definition.
Start New Deployment is configured with the settings linked to the Workflows included in the Pipeline.
If you have Workflow Variables or templatized settings, you are prompted to provide values for them.
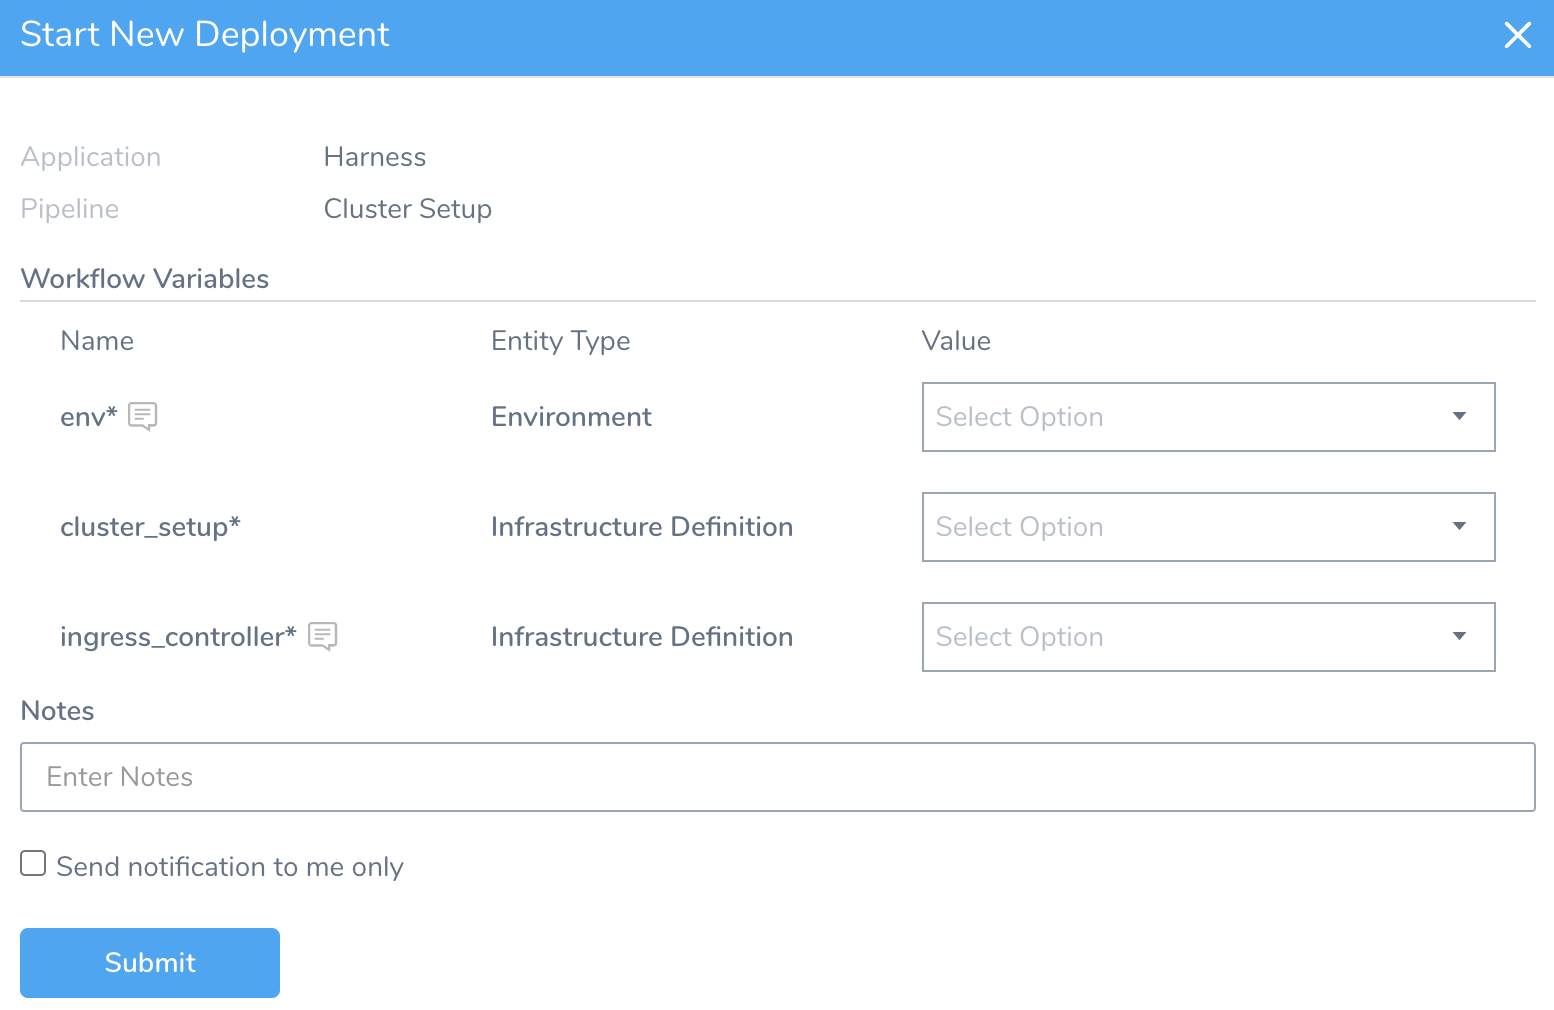
You can enter a value for the variable or use a Harness expression. See What is a Harness Variable Expression?.
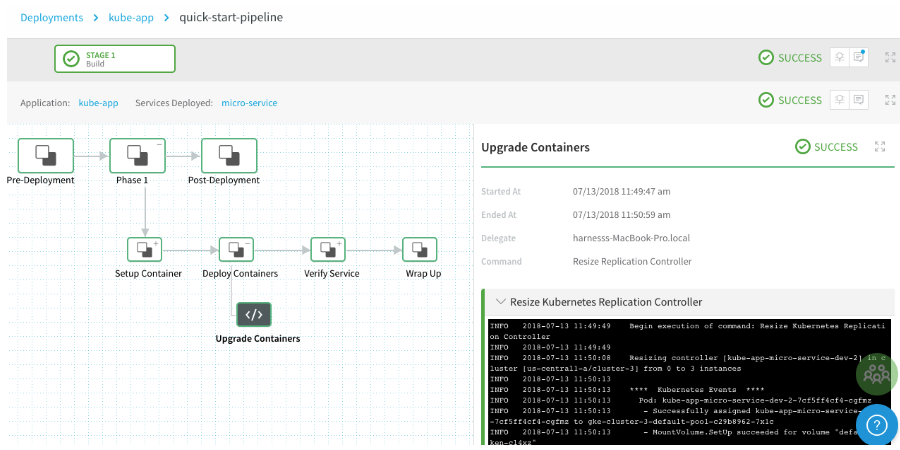
Click Submit. The Pipeline is deployed and the deployment details are displayed in the Deployments page. You can click each phase in the process to see logs and other details of the process.
Option: Runtime Input Settings
Sometimes, the inputs and settings for all of the Workflows in a Pipeline are not known before you deploy. Some inputs and settings can depend on the execution of the previous stages in the Pipeline.
For example, you might have an Approval step as part of the Workflow or Pipeline. Once the approval is received, you want to resume the next stage of the Pipeline execution by providing new inputs.
To do this, when you add an Execution Step stage to your Pipeline, use Runtime Input Settings.
- Select Runtime Input for each Workflow variable that you want to make a runtime input.
- For each variable value, enter a variable name or use a Harness expression. See What is a Harness Variable Expression?. When the Pipeline is deployed, you can add runtime values.
- In Timeout, enter how long Harness should wait for you to submit values before applying the selection in Action after Timeout.
- In Action after Timeout, select what Harness should do if the timeout occurs:
- End Execution: This option will fail the stage of the deployment and initiate rollback.
- Continue with Default Values: This option will use the values you entered in the Workflow Variable Default Value setting. If there are no default values, you must provide values.
- In User Groups, select the Harness User Group(s) to notify of the time.
During Pipeline execution, you are prompted for any Workflow variables you selected as a Runtime Input.
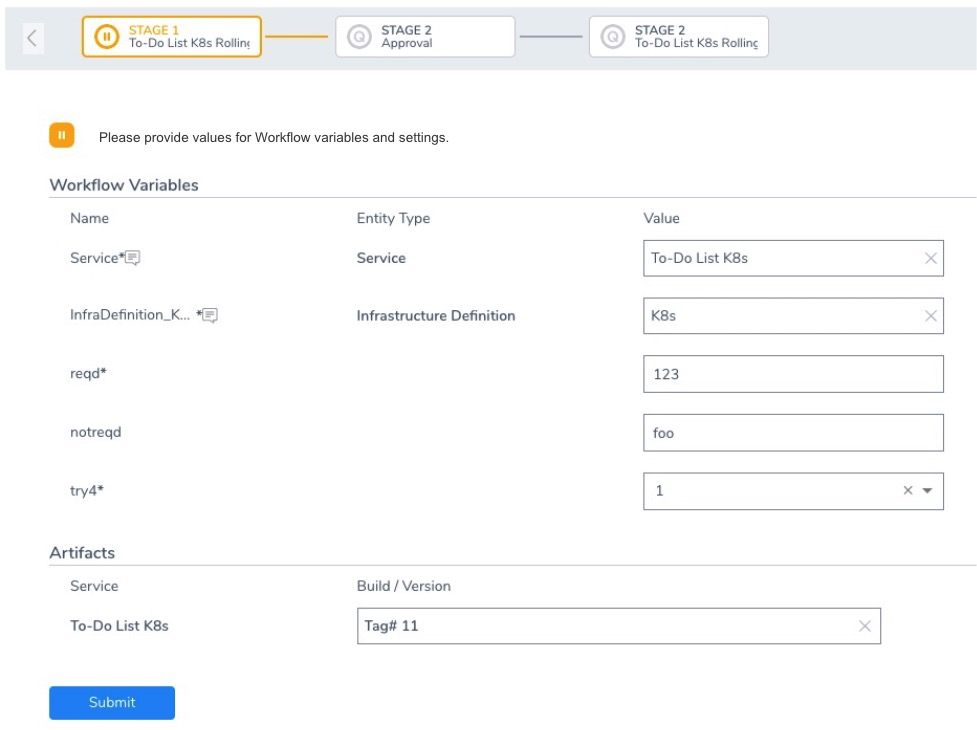
You can enter a value for the variable or use a Harness expression.
You will be prompted for each Workflow in the Pipeline where you have used Runtime Inputs.
Later, if you choose to rerun a Pipeline, the Pipeline will run using the runtime inputs you provided the last time it ran.
Step 3: Abort or Rollback a Running Deployment
If you deploy a Pipeline and choose the Abort option during the running deployment, the Rollback Steps for the Workflow(s) in the Pipeline are not executed. Abort stops the deployment execution without rollback or clean up. To execute the Rollback Steps, click the Rollback button.
| Abort Button | Rollback Button |
Incomplete Pipelines
If a Workflow in a Pipeline is incomplete (missing information in a Workflow step), then the Pipeline Stage for that Workflow will indicate that the Workflow is incomplete:
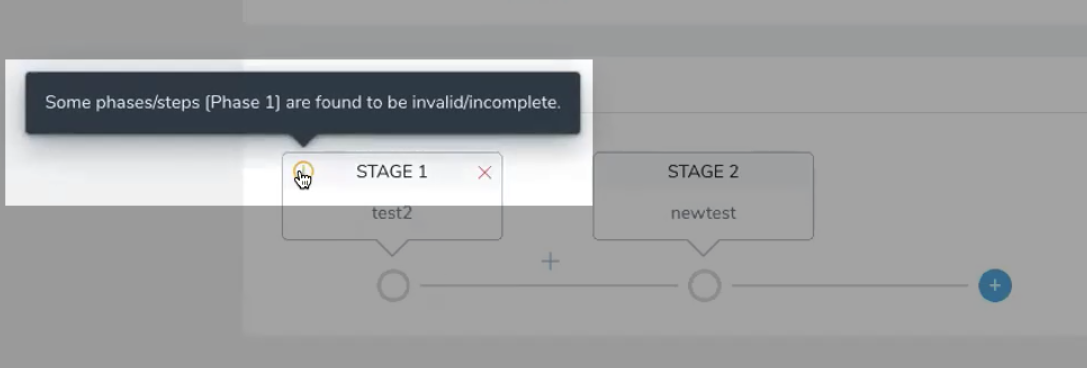
Open the incomplete Workflow, complete it, and then return to the Pipeline.
Workflow Variables and Incomplete Pipelines
Another example of an incomplete Pipeline is a Workflow stage with Workflow variables that have not been given default values.
Also, if you add a new Workflow variable to a Workflow that is already in a Pipeline, that Pipeline is marked incomplete. You must open the Workflow in the Pipeline, enter a value for the new Workflow variable, and then submit the stage.
If you try to deploy a Pipeline with an incomplete Workflow, Harness will prevent you.
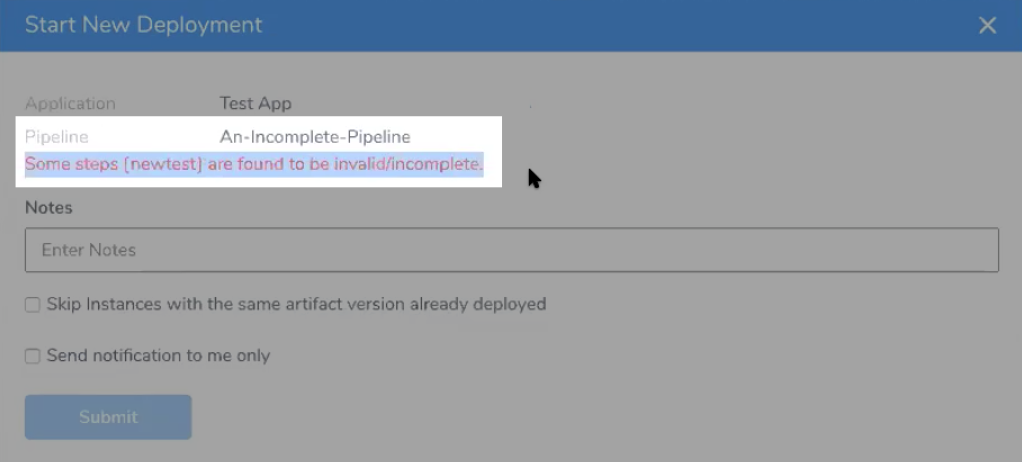
Simply fix the Workflow and then deploy the Pipeline.
Review: RBAC for Pipelines
Pipeline follows standard Harness RBAC as described in Managing Users and Groups (RBAC).
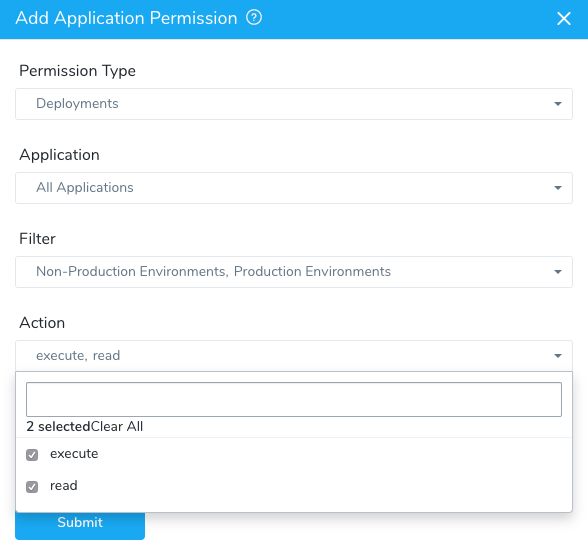
Your ability to read, create, delete, and update Pipelines depends on the Pipeline Application Permissions of your User Group.
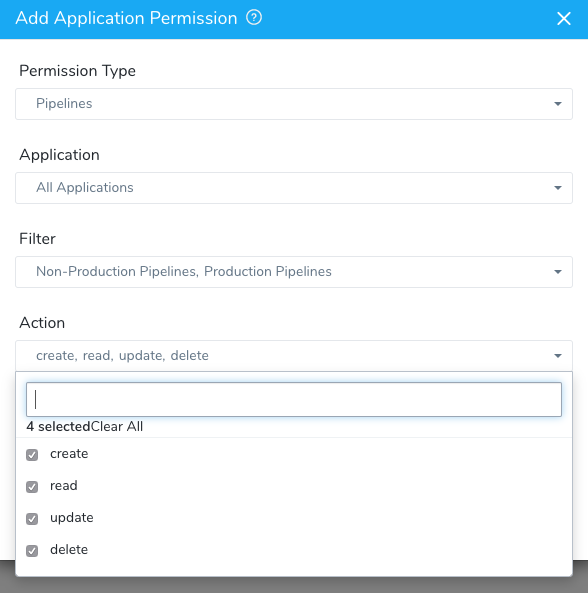
Your ability to deploy Pipelines also depends on your Deployments Application Permissions.
