Add Application Stacks
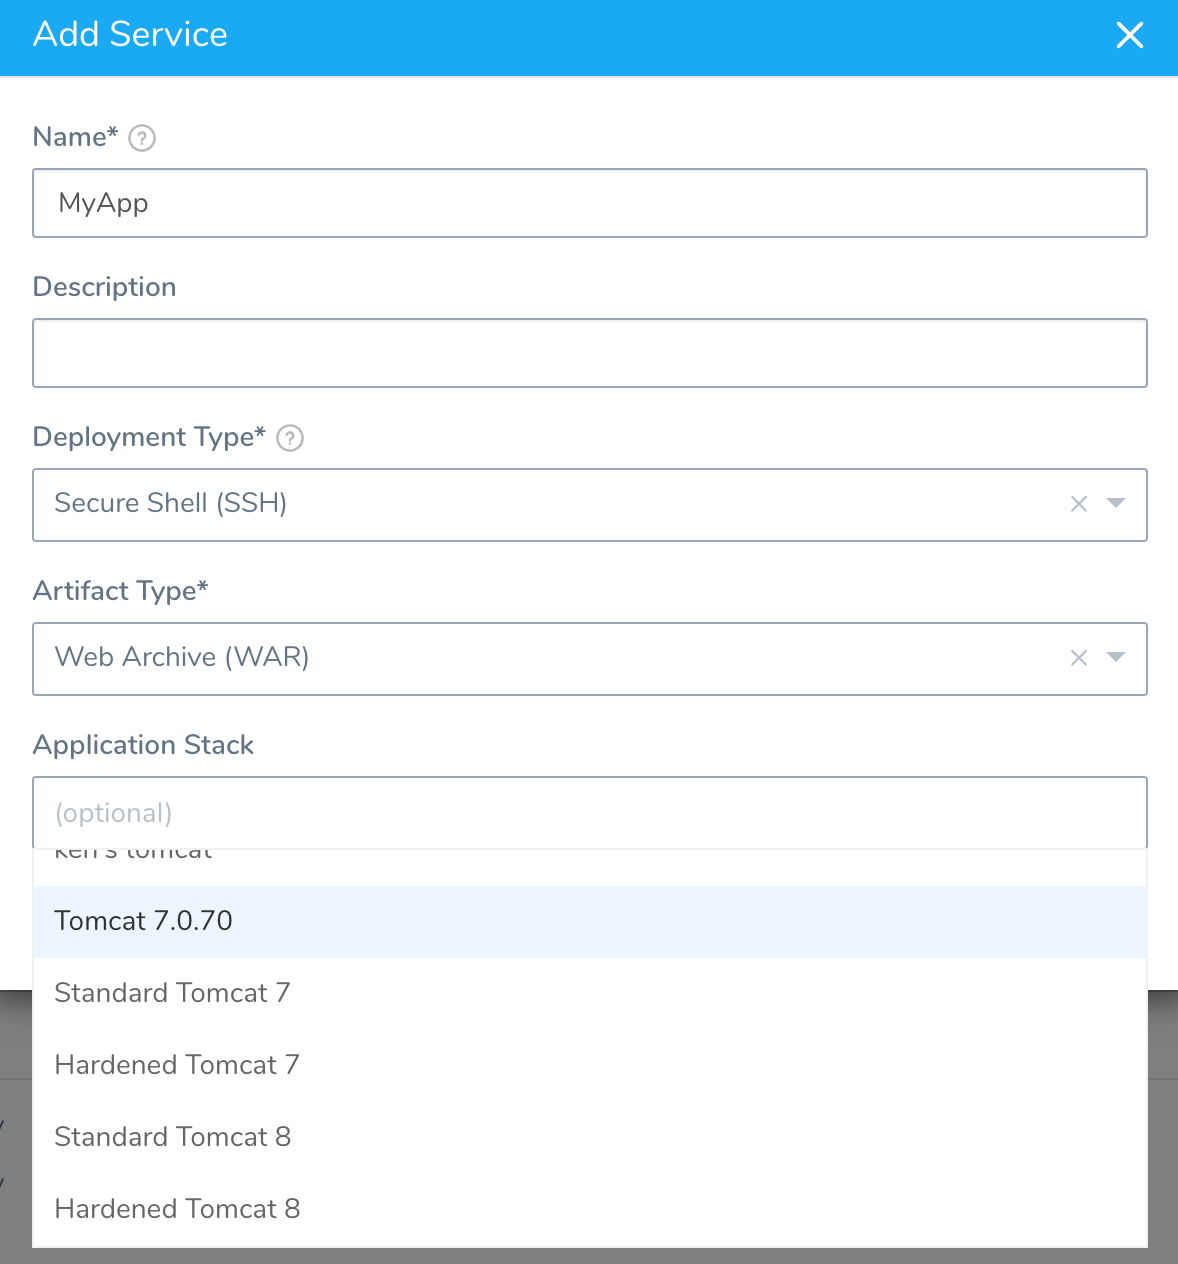
Use an application stack or catalog as the solution stack when deploying your application, such as Tomcat 7. You can add an application stack in one of the following ways:
- Add the application stack when you create your Harness Service from the Harness built-in application stack. Harness includes several common application stacks, such as Tomcat 7.
- Add your own application stack from the Setup option.
In this topic:
- Before You Begin
- Review: Permissions
- Option 1: Add an Application Stack when Adding Service
- Option 2: Add an Application Stack from the Setup
Before You Begin
Review: Permissions
In order to manage Application Stacks in Harness, a Harness User must belong to a User Group that has the Account Permission Manage Application Stacks enabled.
See Managing Users and Groups (RBAC).
Option 1: Add an Application Stack when Adding Service
Add the application stack when you create your Harness Service.

You can choose to include your application stack as part of the artifact you attach to your Harness Service. In this case, when you create a Service, leave the Application Stack field empty (do not choose any of the options in that list).
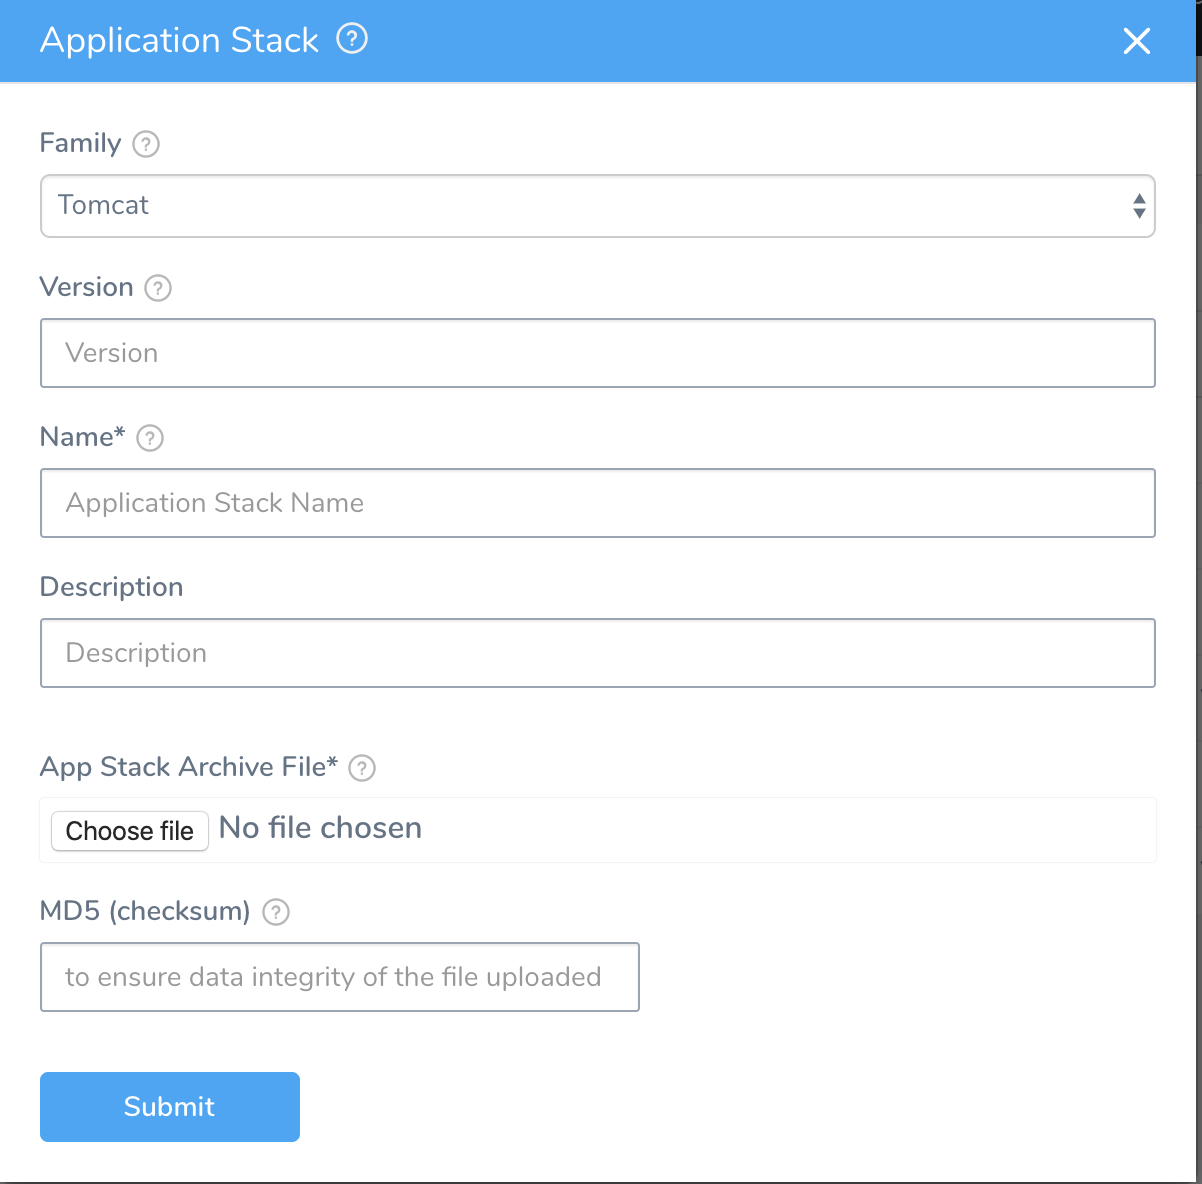
The Application Stack dialog has the following fields.
| Field | Description |
| Family | Click the name of the application stack family. |
| Version | Enter the version number, such as Tomcat 6. |
| Name | Enter a name for the application stack. |
| Description | Enter a description for the application stack. |
| App Stack Archive File | Upload the app stack file. For example, here are the Tomcat app stack files for Apache. The file must be in TAR or ZIP format. |
| MD5 | Enter the checksum to ensure transition and storage. |
Option 2: Add an Application Stack from the Setup
To add an application stack or catalog, do the following:
- Click Setup.
- In Account, click Application Stacks.
- Click Add Application Stack.
The Application Stack dialog appears.
png)

Refer to the table in Option 1 for details on each of the settings.