Build and push a container image to Amazon ECR
Docker made a revolution with containerization. It truly helped to bridge the gap between Dev and Ops teams. Similarly, the cloud providers introduced their own container registries to provide more security and governance. For example, Amazon has Elastic Container Registry (ECR), Microsoft has Azure Container Registry (ACR), and Google has a Google Container Registry (GCR). Container registries have become an integral part of any CI/CD pipeline to store images, metadata, and other important artifacts. In addition, they provide a secure way to store and share container images across a distributed system to help development teams build their software efficiently. In this article, we will explore the Amazon ECR container registry and see how to use it to push container images.
Understanding container registries
As the name suggests, container registries are used to store some valuable data related to a pipeline. In particular, for storing and sharing container images securely and reliably in a central repository, which multiple users and systems can access. This makes managing and deploying container images easy across a distributed system. Container registries also provide the ability to store multiple versions of a single container image, which allows for version control and rollback if needed. In addition, container registries can store and share sensitive data, such as credentials and secrets, across the team.
Overview of Amazon ECR
Amazon ECR is a fully managed service from Amazon Web Services (AWS). It is used to store and manage Docker images securely and reliably. In addition, Amazon ECR provides a simple web-based interface for creating, managing, and sharing Docker images and integrating them with other AWS services.
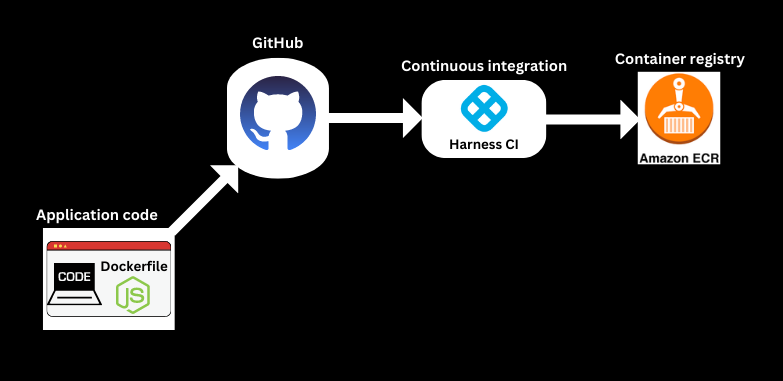
The following graphic shows how to push your container image to ECR from Harness CI:
Prerequisites
Before you can push your container image to ECR from Harness, there are a few prerequisites:
- You must have an AWS account and have created a repository in ECR.
- You must have a Docker image of your application ready to push to ECR - We have a sample application with a Dockerfile. You can clone it and use it in this tutorial.
- You must have access to the AWS CLI or the AWS Management Console.
- To use Harness CI, you must have an account on Harness (it is Free). Harness offers hosted virtual machines (VMs) to run your builds. With Harness Cloud, you can build your code worry-free on the infrastructure that Harness provides. You don't have to spend time and effort to maintain build infrastructure; you can focus on developing great software instead.
Push your container image to ECR using Harness
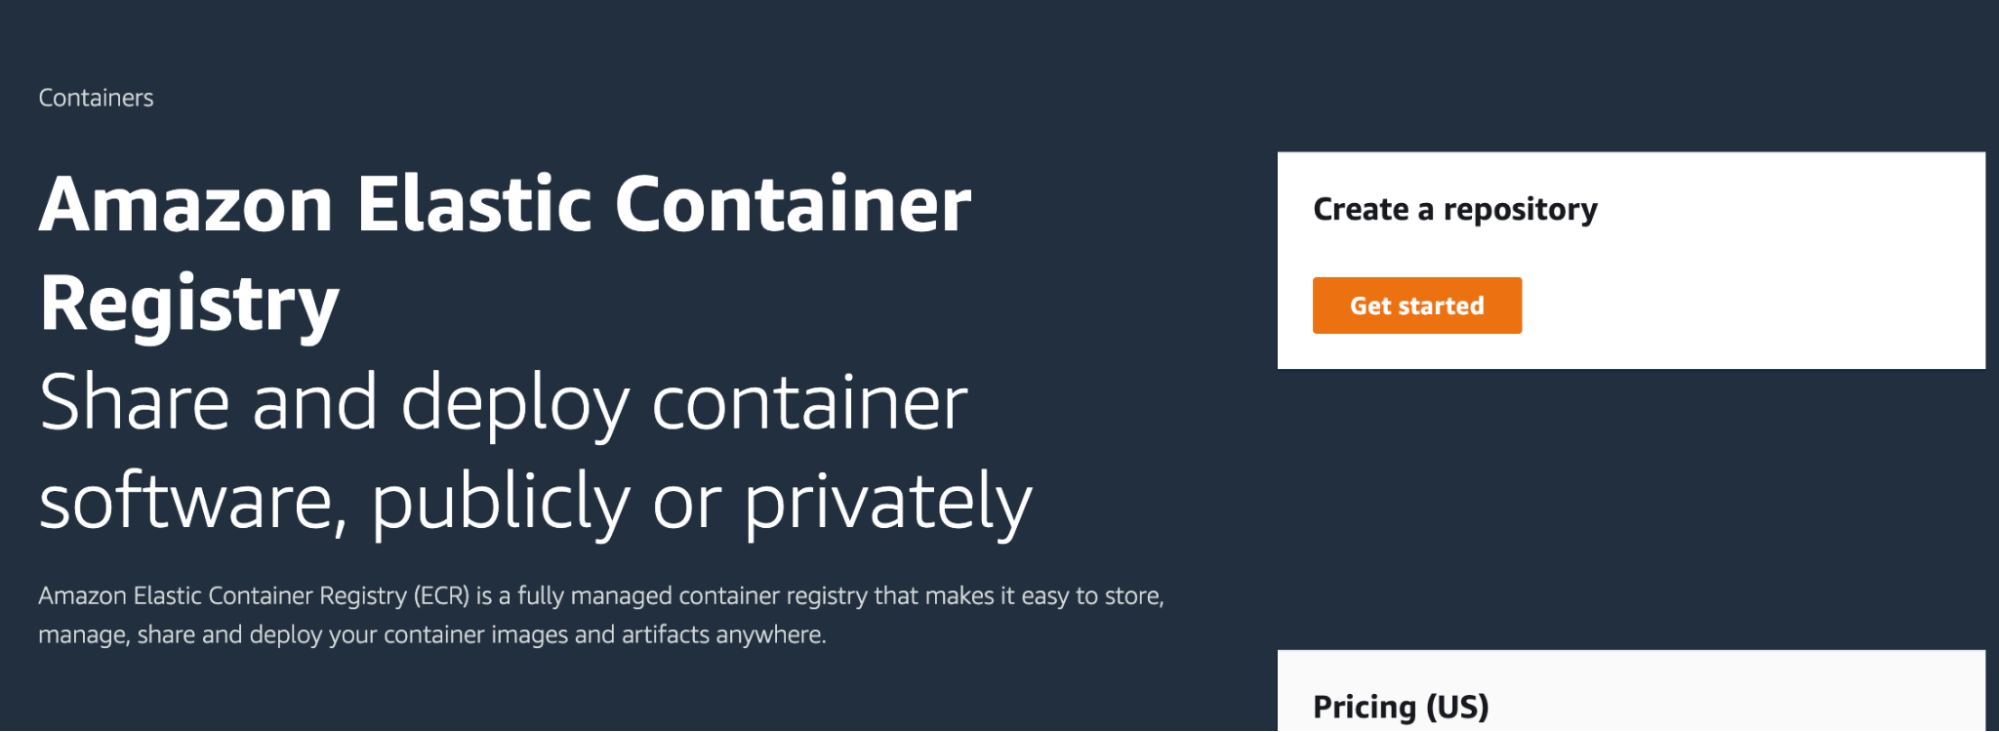
We have a sample application you can fork and use. This sample code repo has a Dockerfile with instructions to build our image. We need to create an ECR repository on AWS to push our image. Then, we will use the Harness CI module to test, build, and push the image to our ECR repo.
This tutorial assumes you have the ECR repo created on AWS.
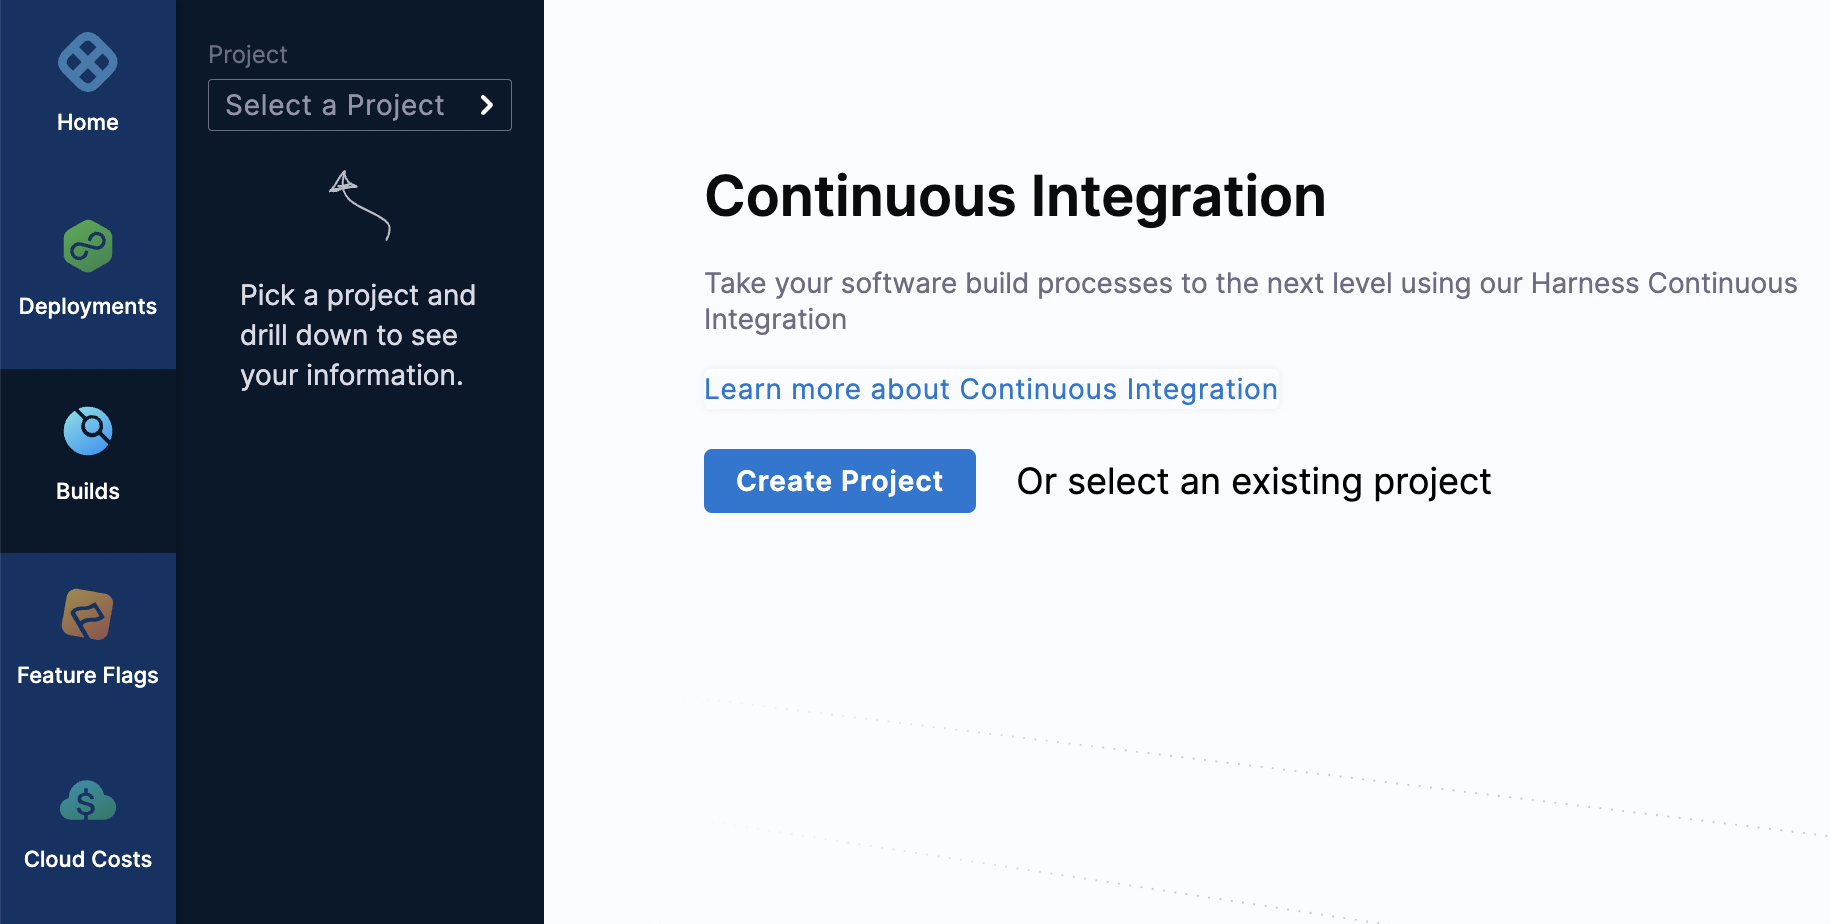
Log in to your Harness CI module and create a project.
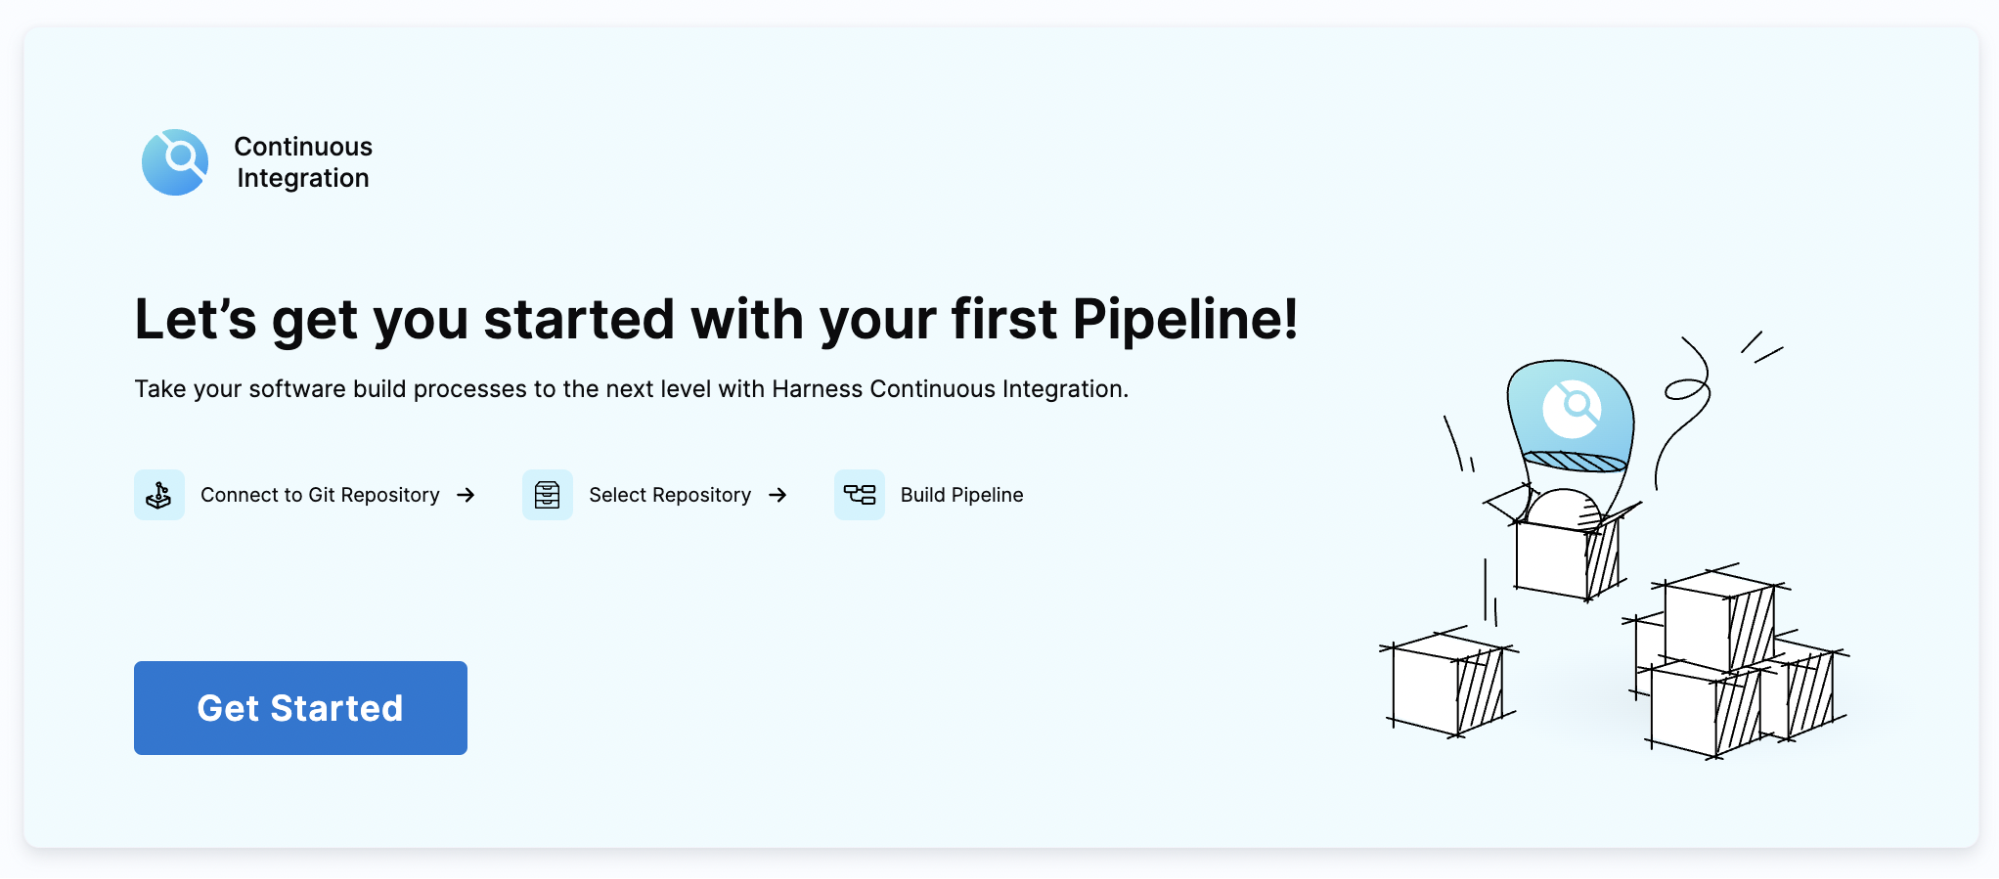
Create your first pipeline. Select Get Started.
Connect your repository. Since our code is on GitHub, we will authenticate with GitHub.
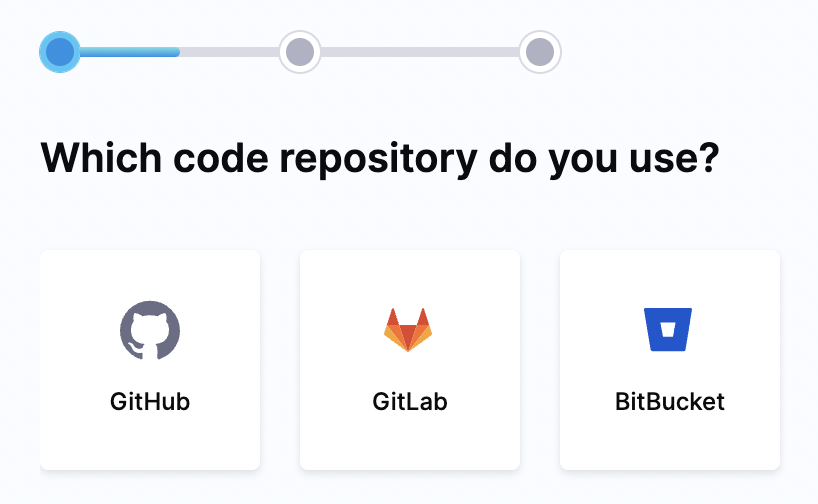
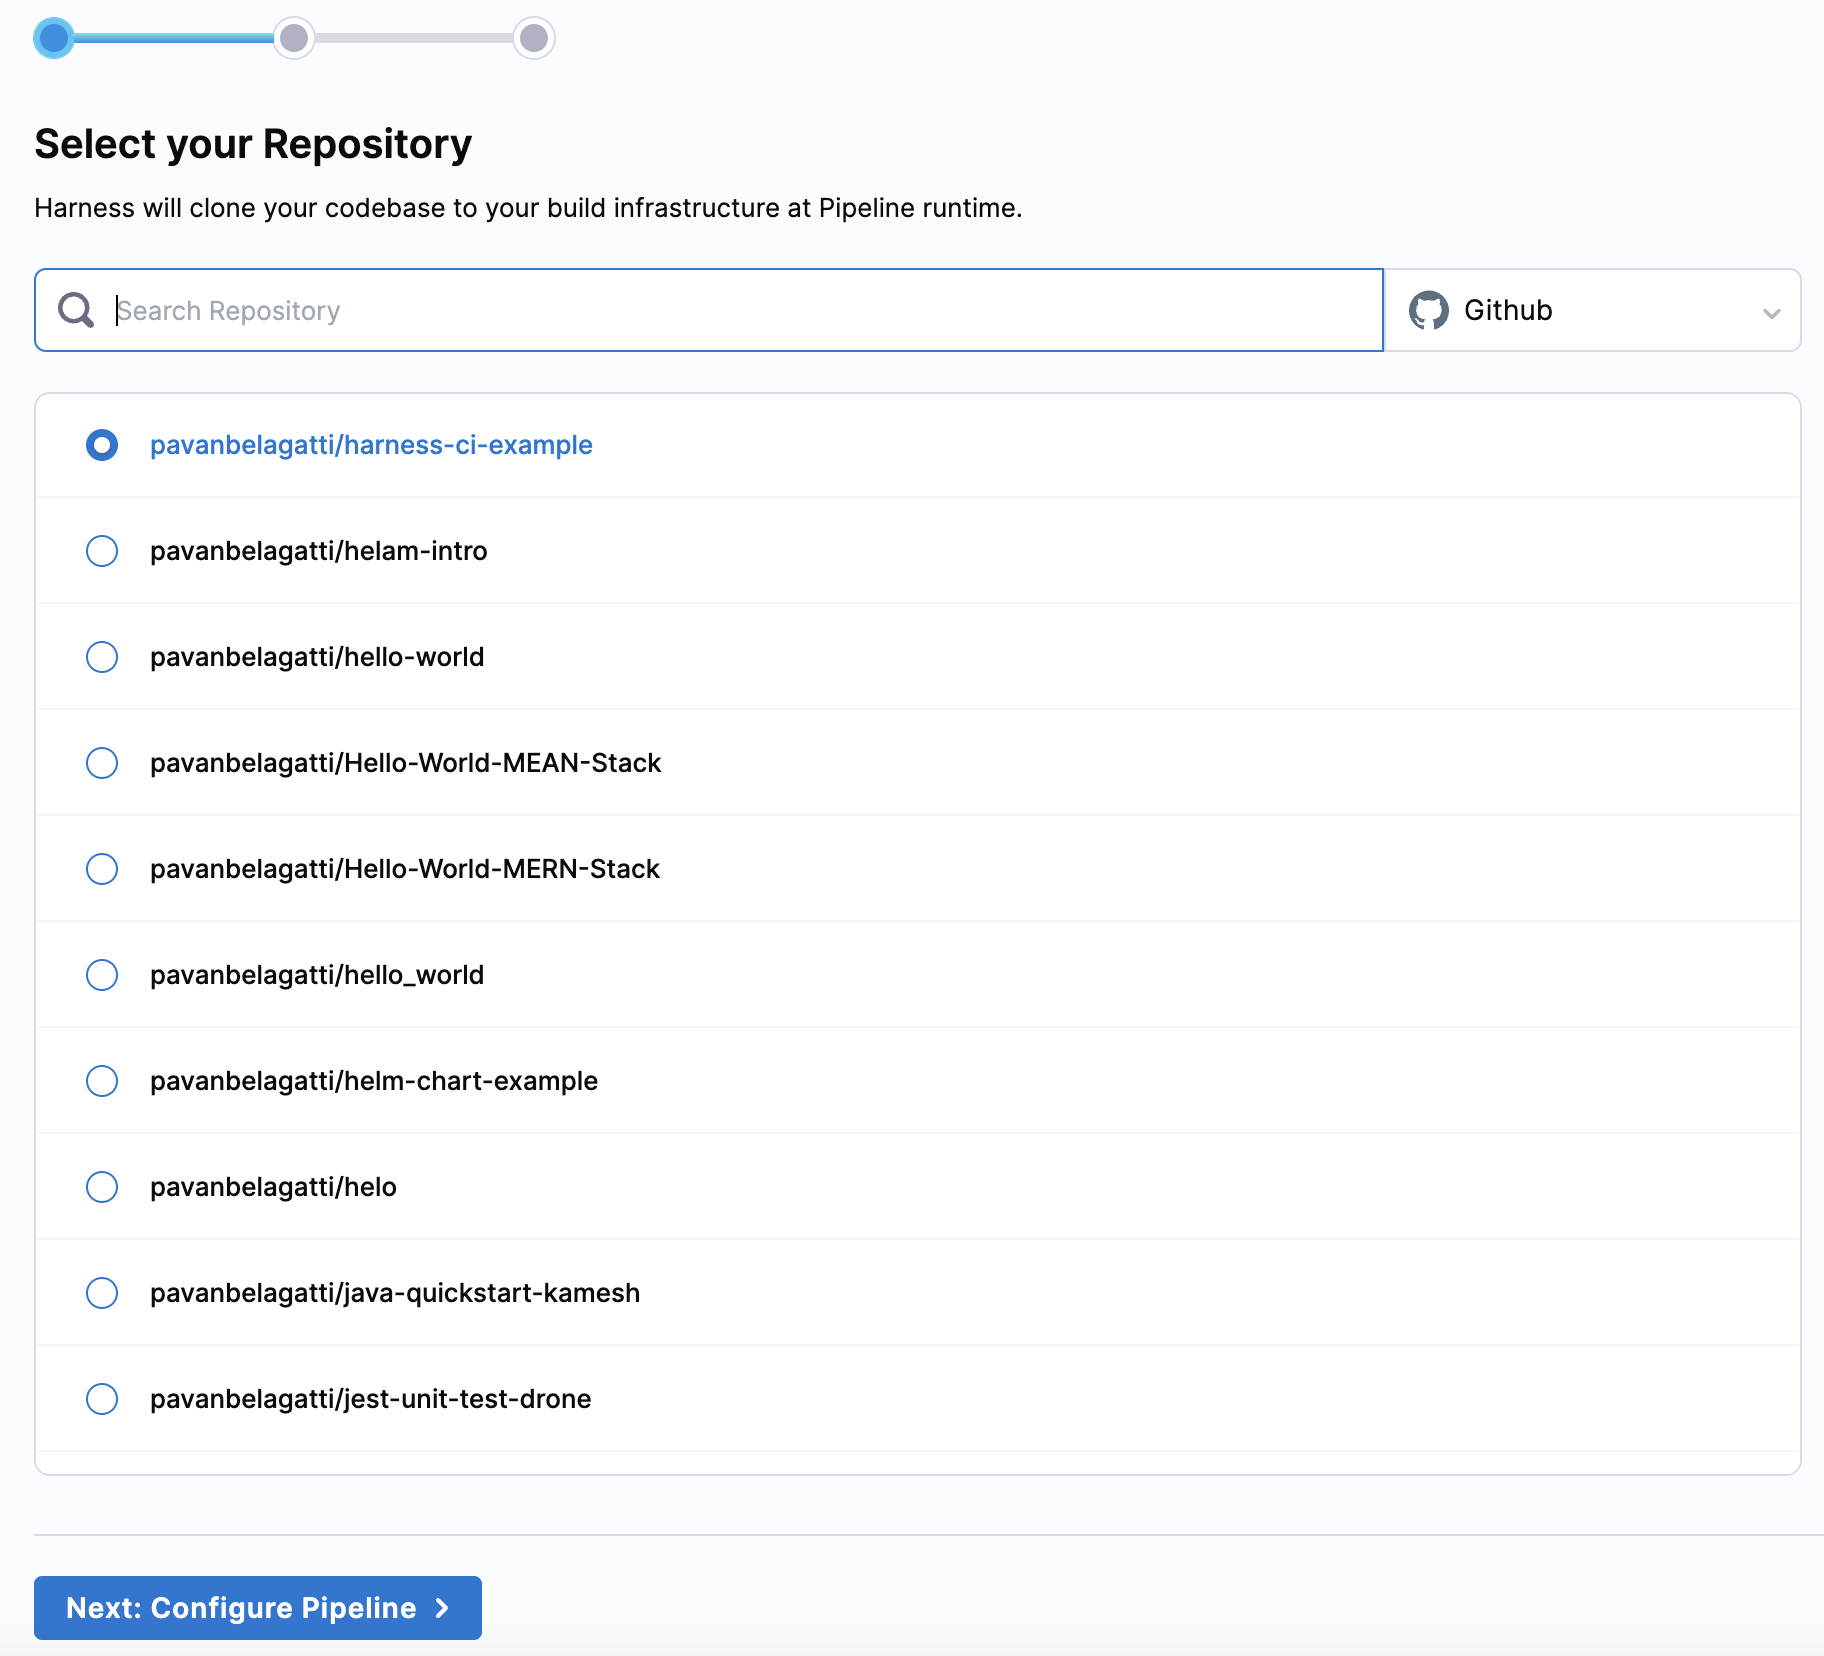
Once the GitHub authentication is done, you should see all your GitHub repositories listed.
4. Select your repository and continue with Configure Pipeline.
- Since it is a Node.js project, select Node.js, and then continue to build the pipeline.
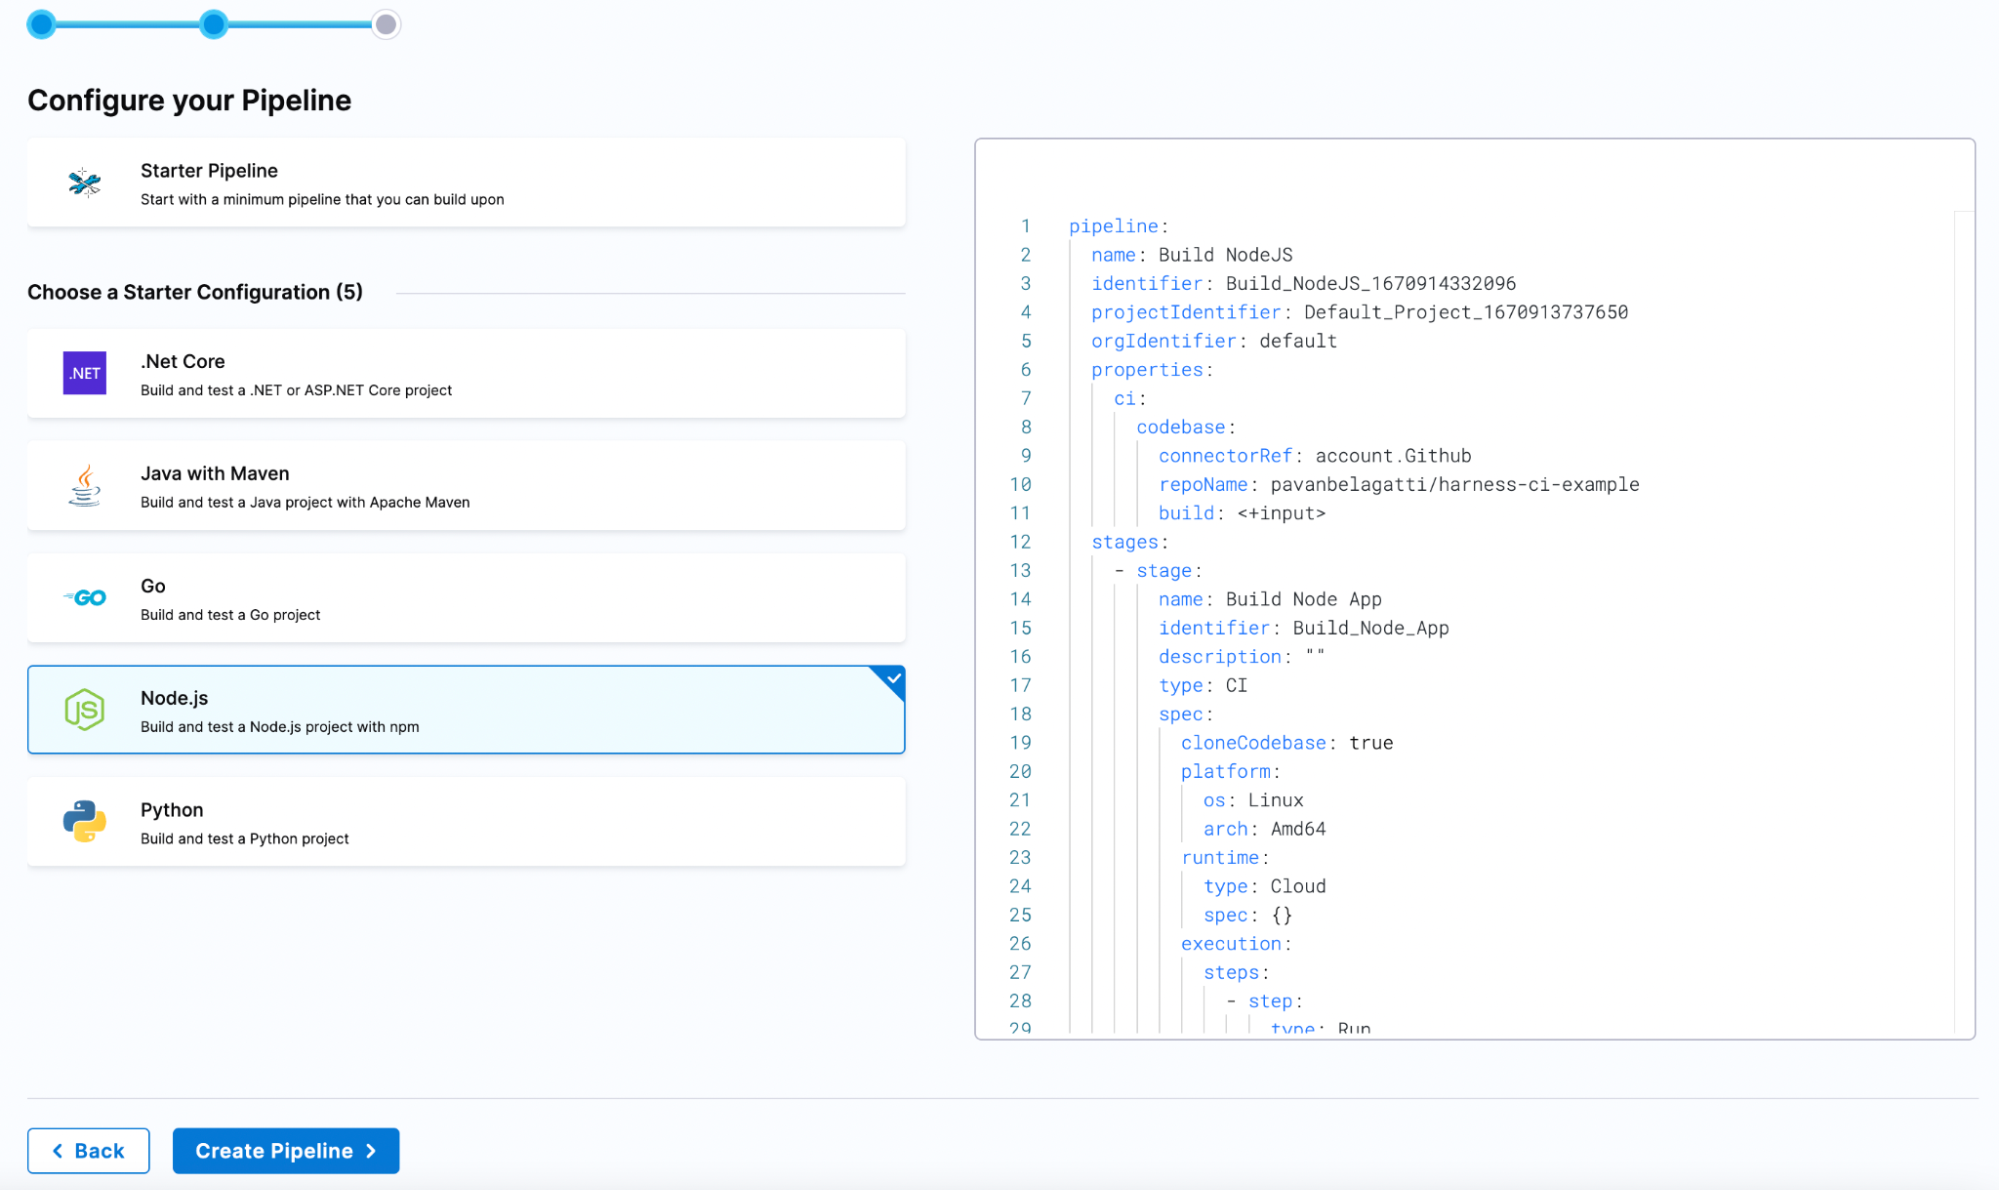
After you select Create Pipeline, you should see the skeleton of your CI pipeline.
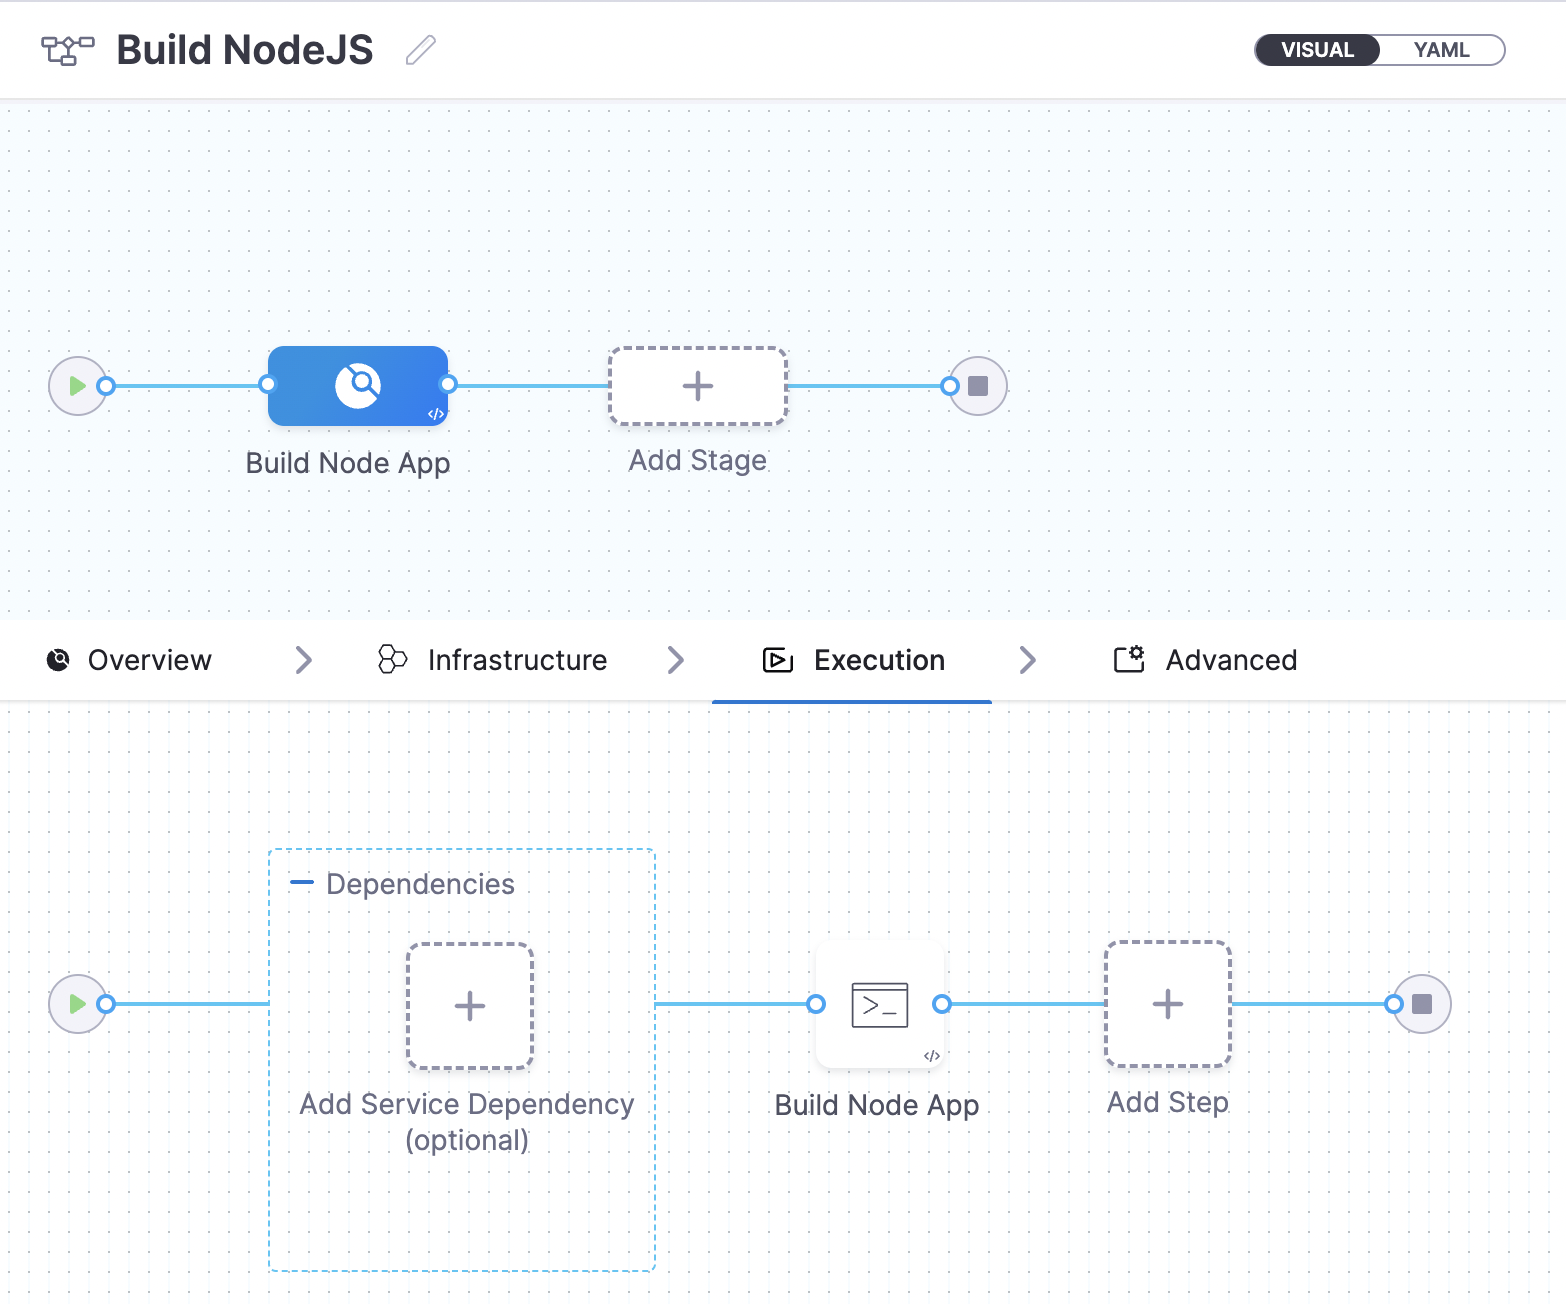
Select the name Build NodeJS, and then modify the name accordingly. Select the Execution tab, and then select Build Node App You should see the Run step configured for you automatically.
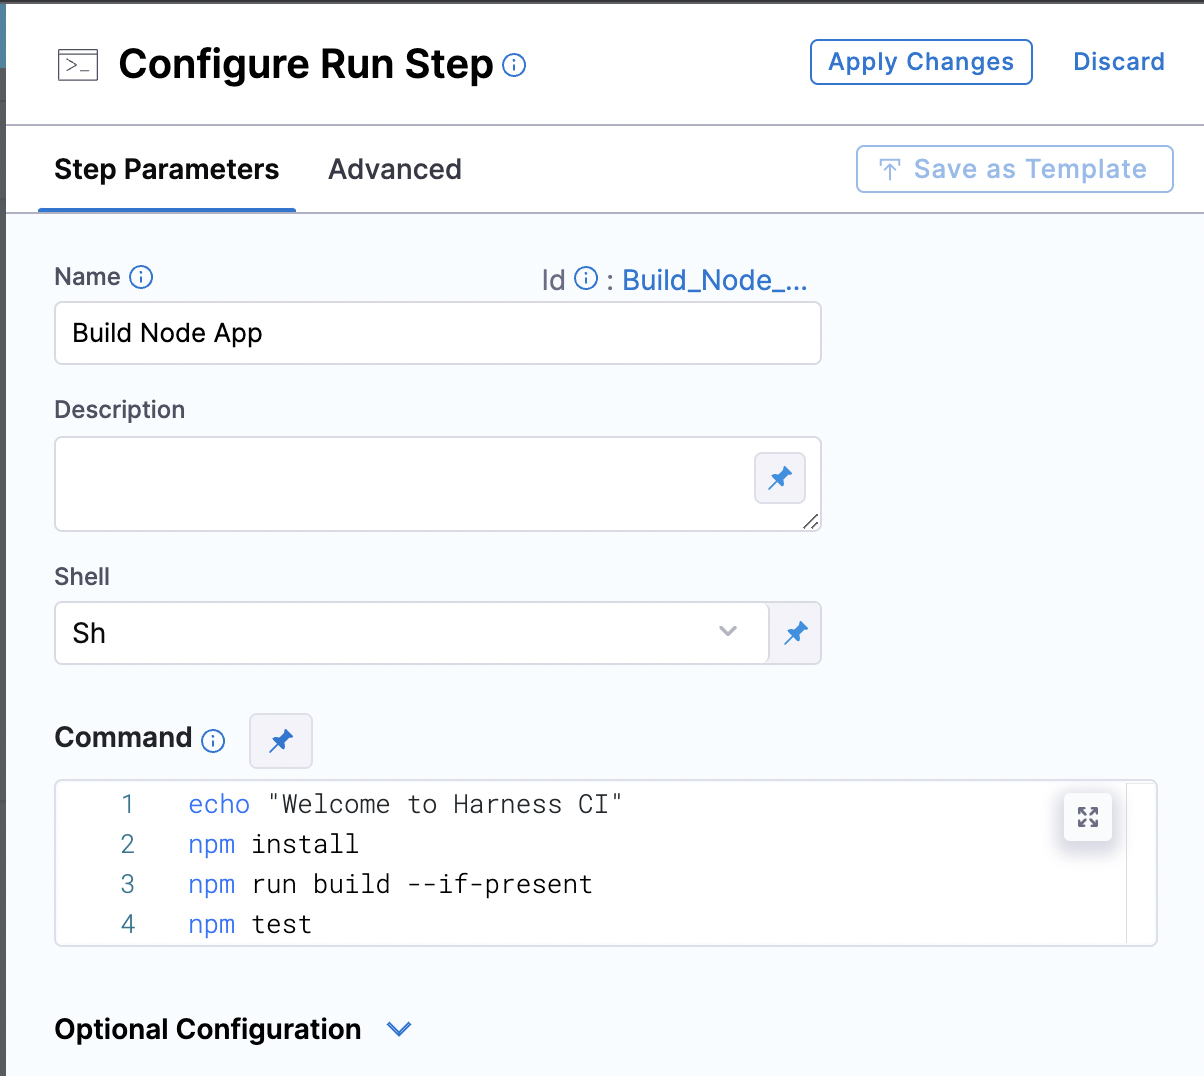
Now, you can modify the commands. Since we don’t want the first three lines in this project, we will remove them and just keep the ‘npm test’ command. Apply changes and save the pipeline.
The pipeline is ready for testing and building the application. What is left is to push our built image to Amazon ECR. So, let us connect our AWS account with Harness to make sure they communicate with each other.
- In the project setup, go to the Connectors tab to connect our AWS account.

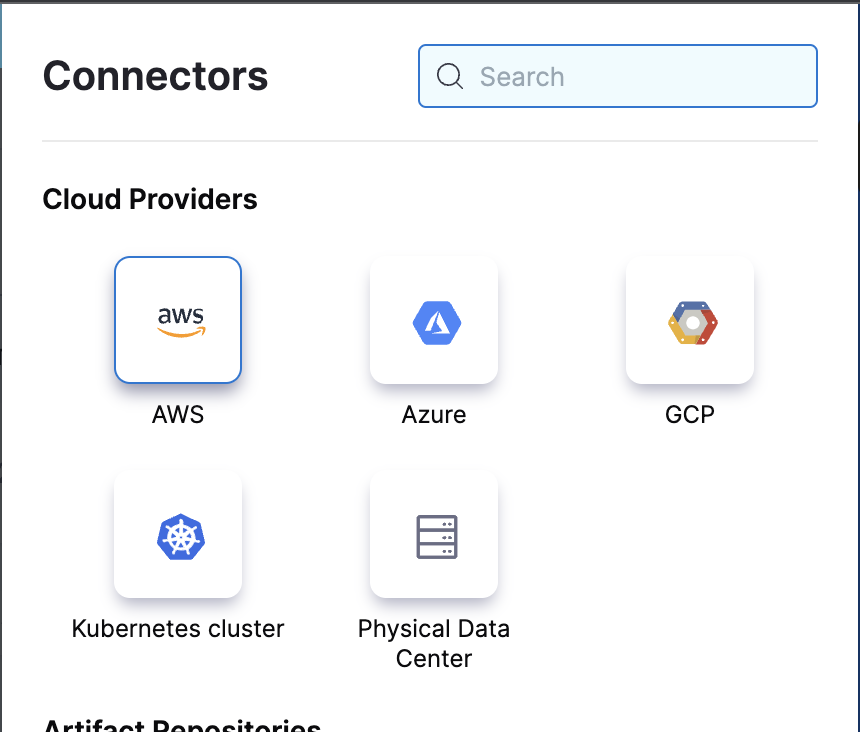
Select AWS from the list and add the required details.
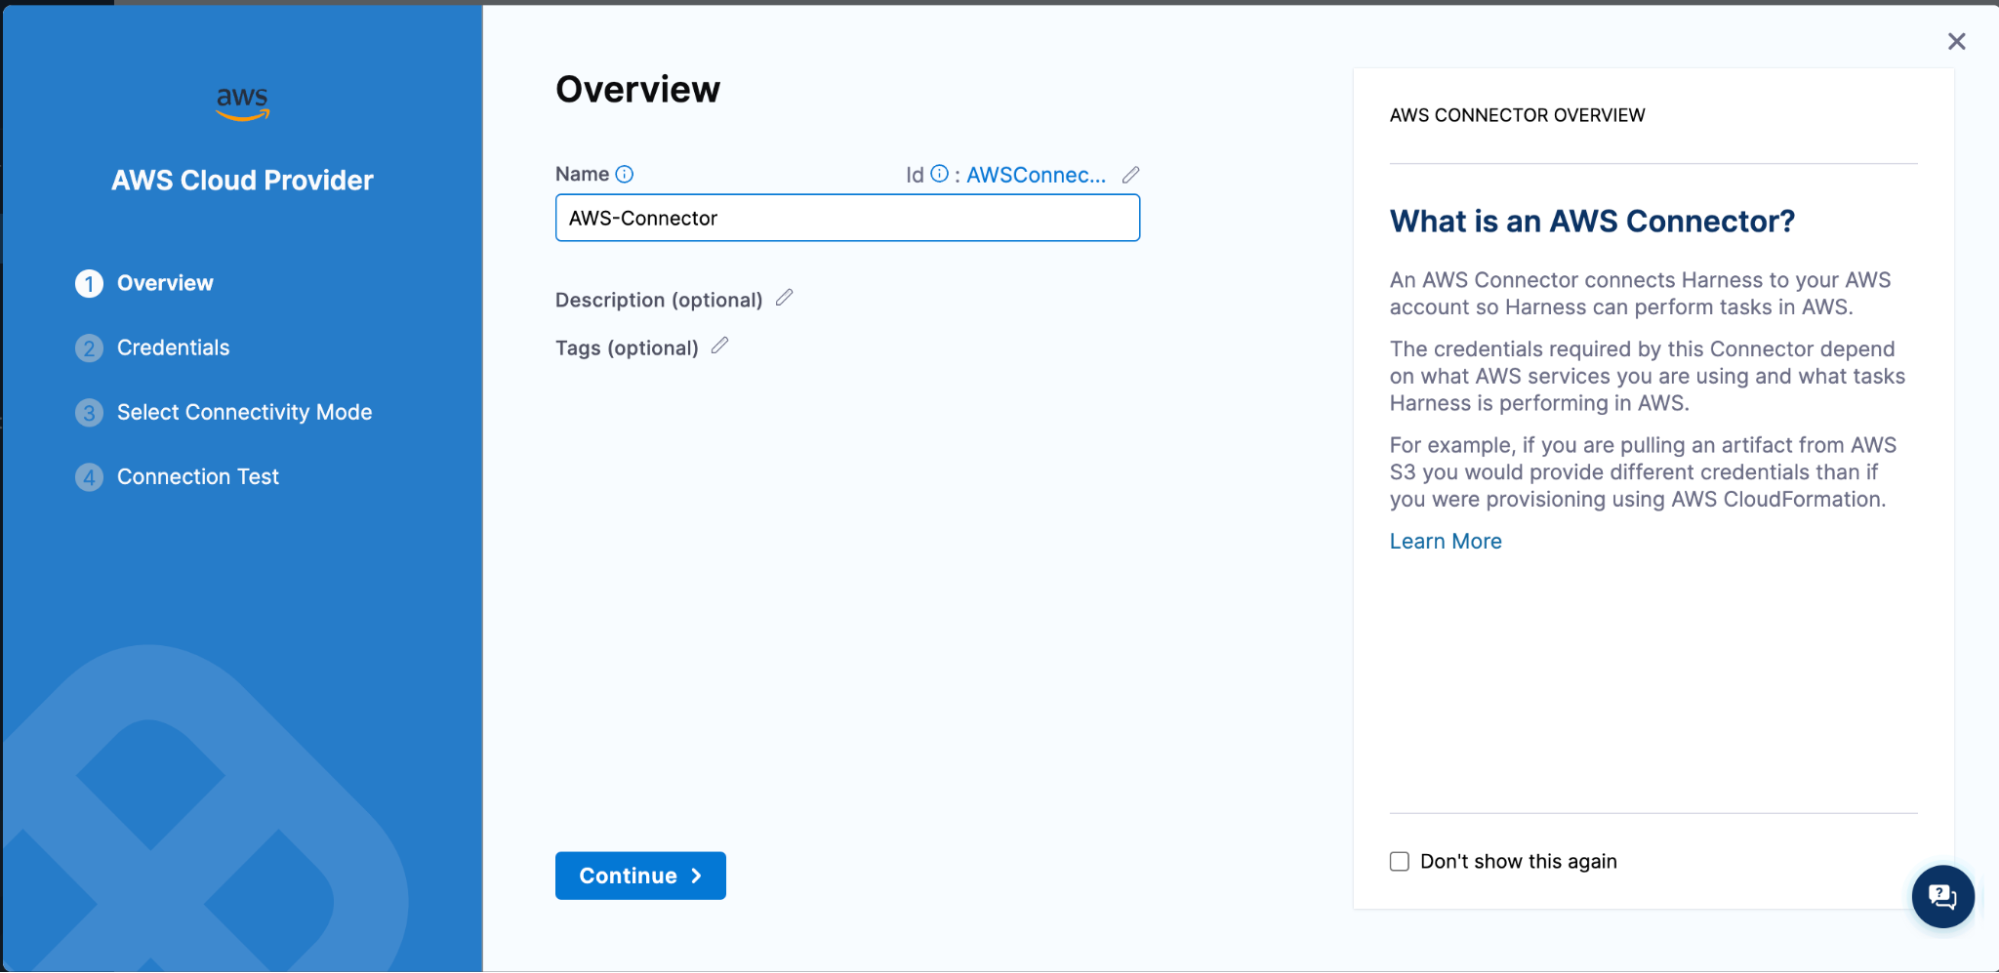
There are three ways to connect your AWS account. We will use AWS Access Key method to authenticate and connect.
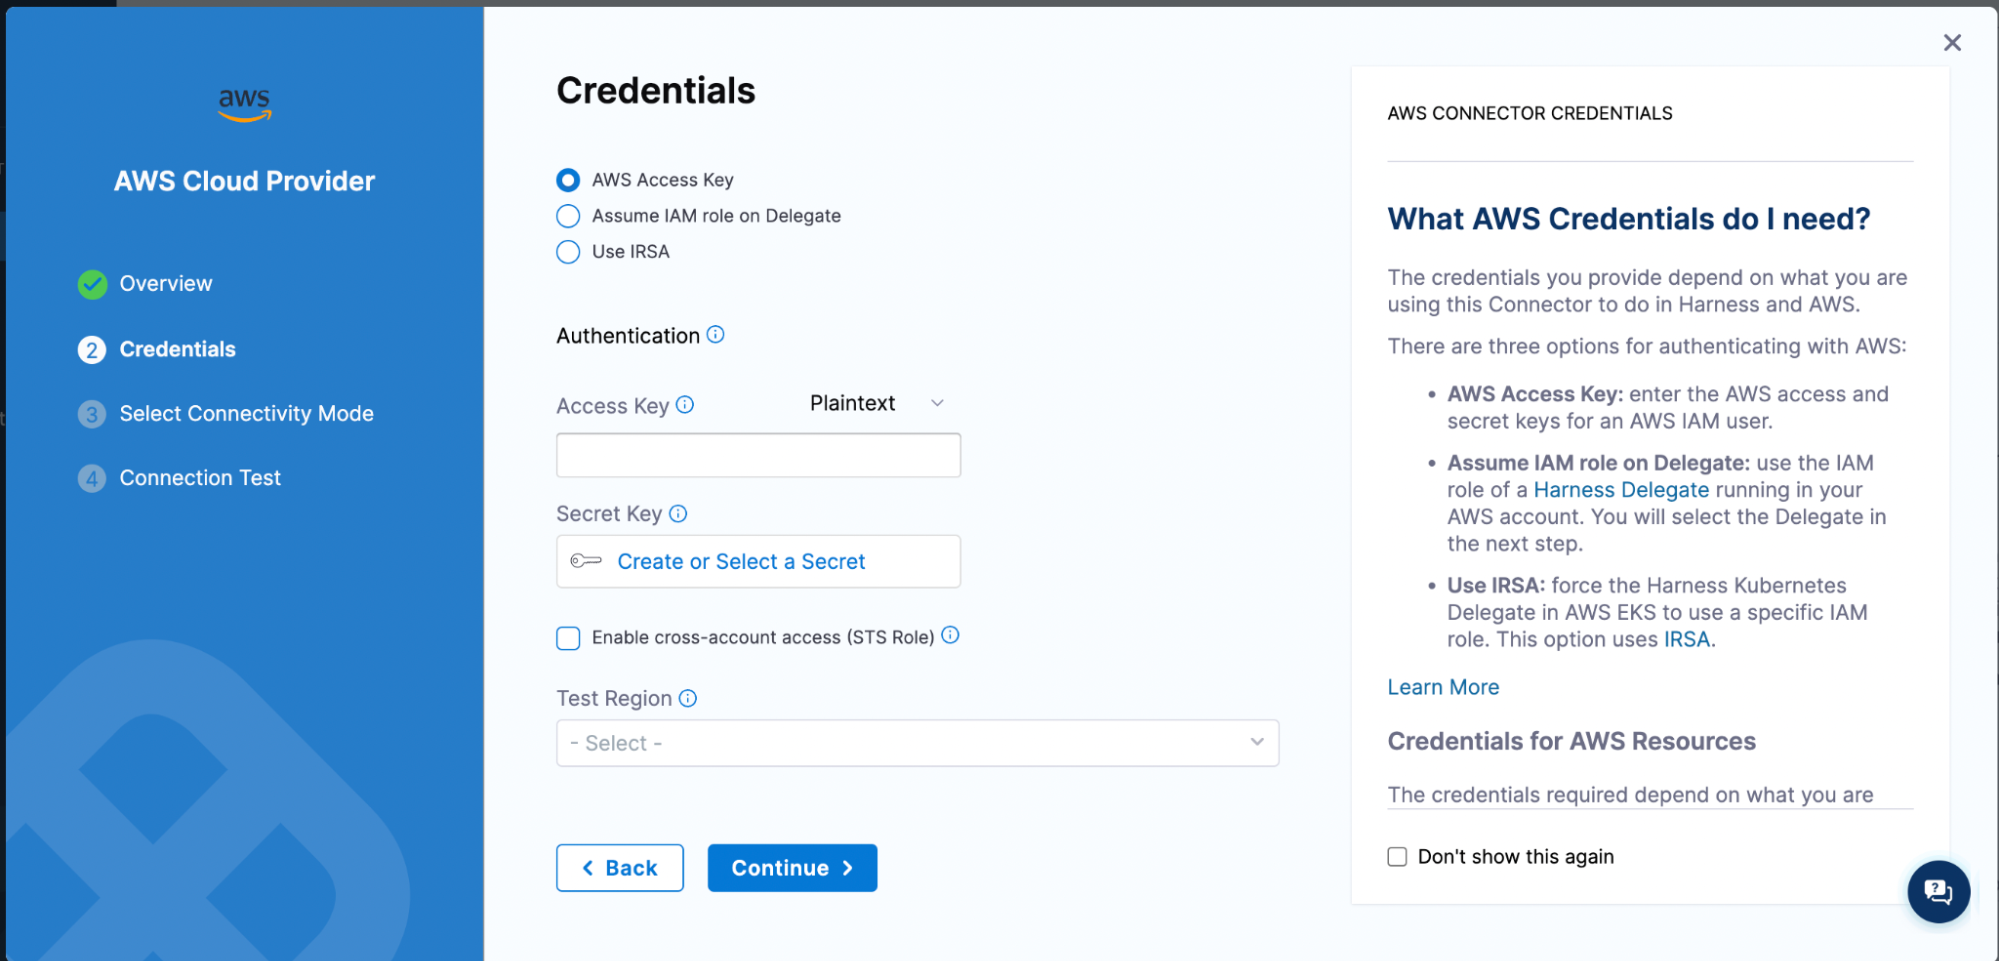
Connect the Harness platform as our option to connect with AWS.
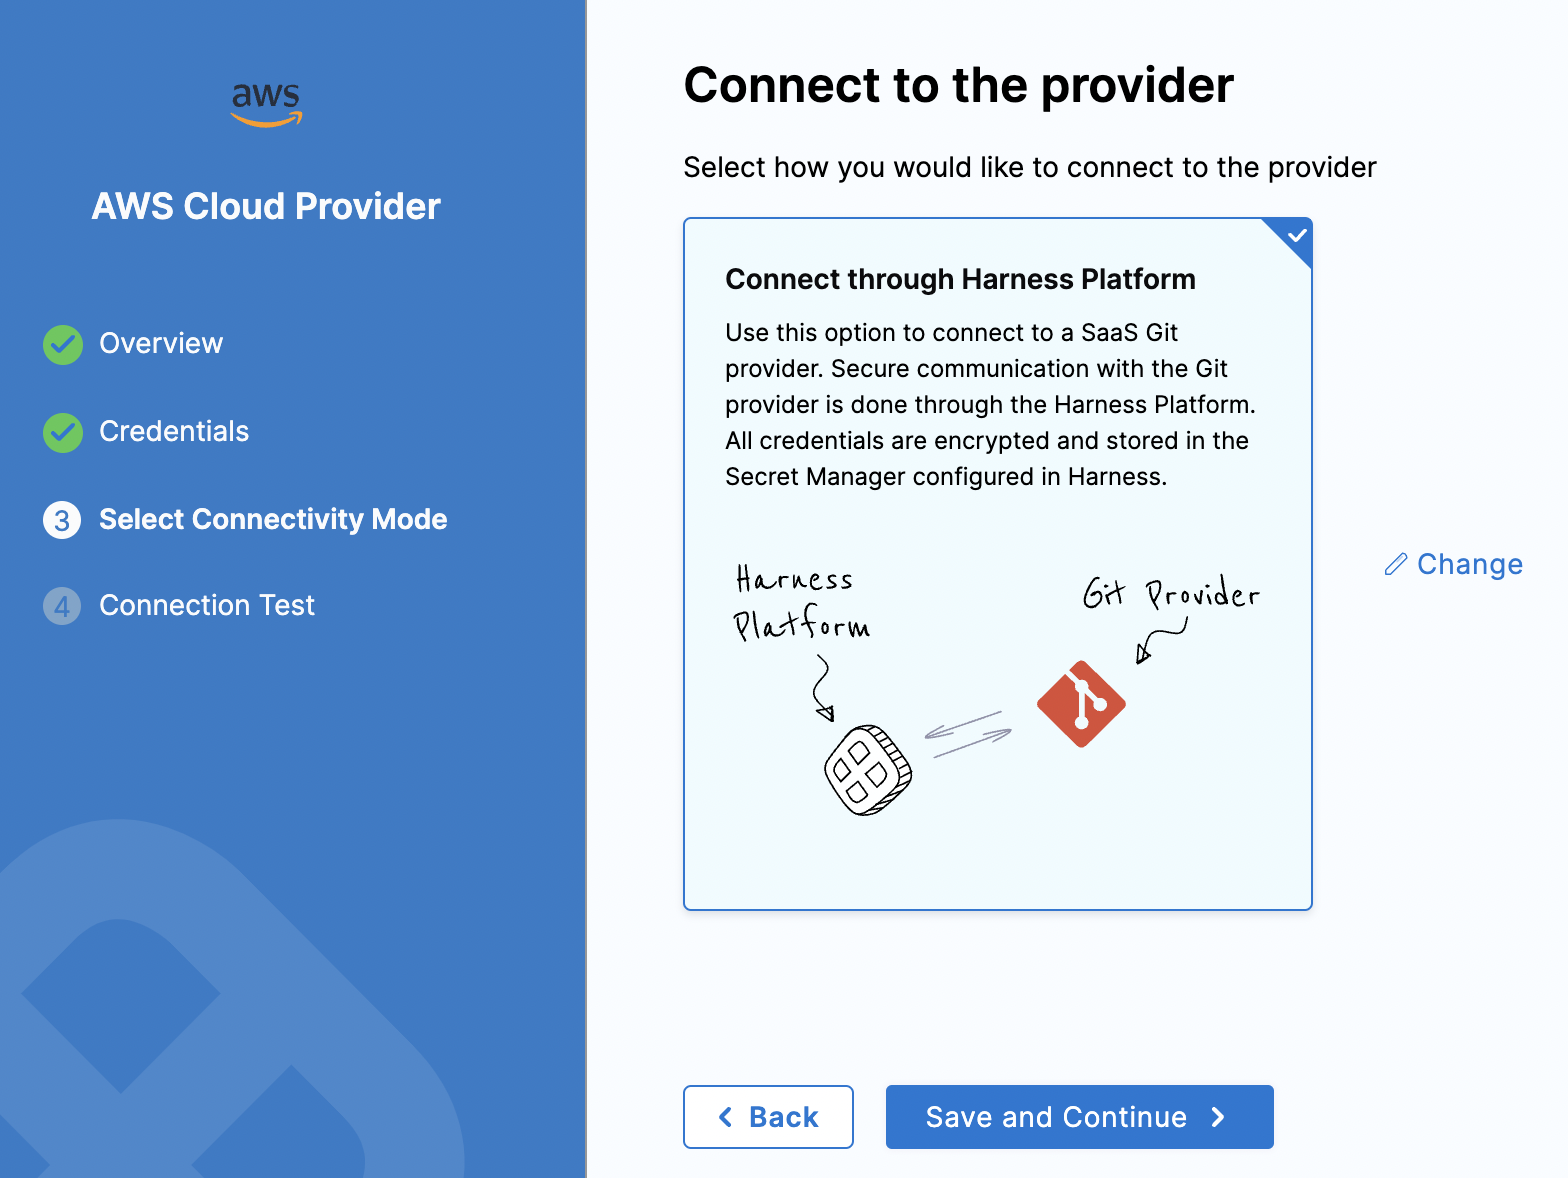
After you select Save and Continue, you should see a successful connection message.
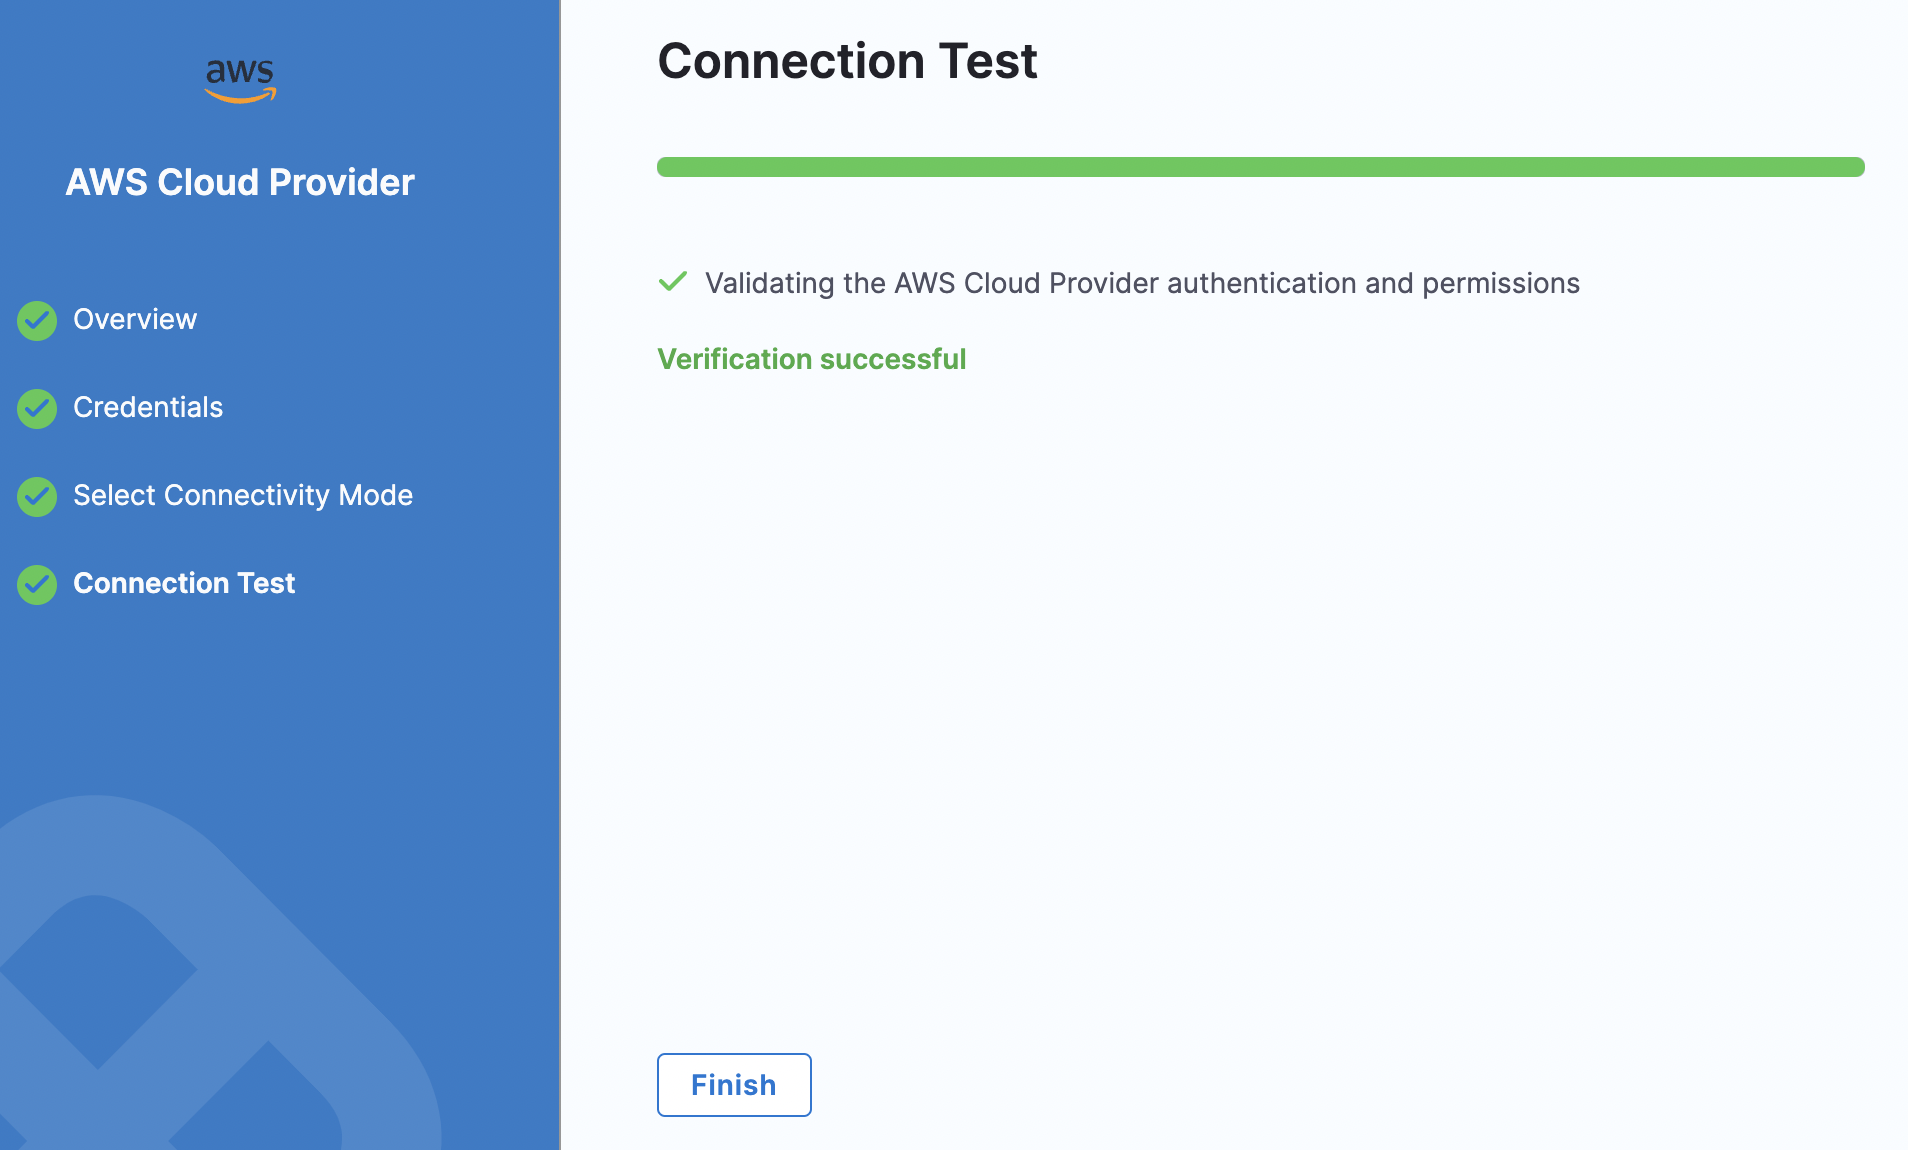
Now, you have successfully connected your AWS account with Harness.
It is time to add our last step in the CI pipeline; pushing the image to Amazon ECR.
Go back to your pipeline and add a step under the Build and Test stage (under execution).
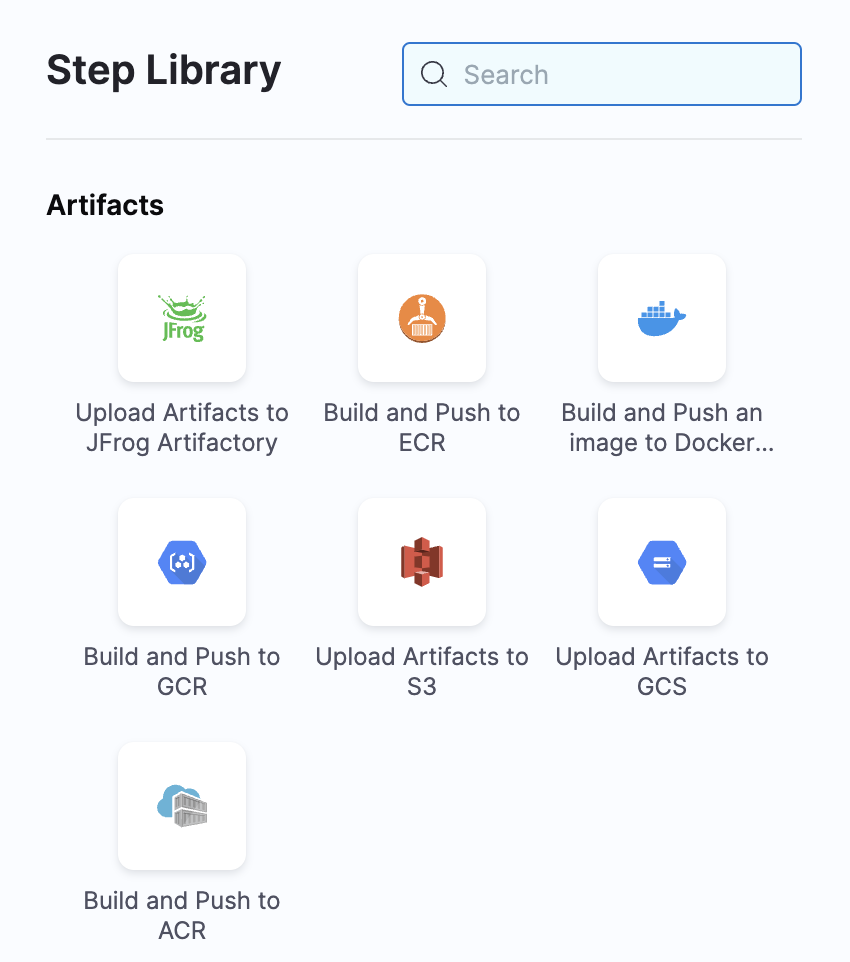
Select Build and Push to ECR.
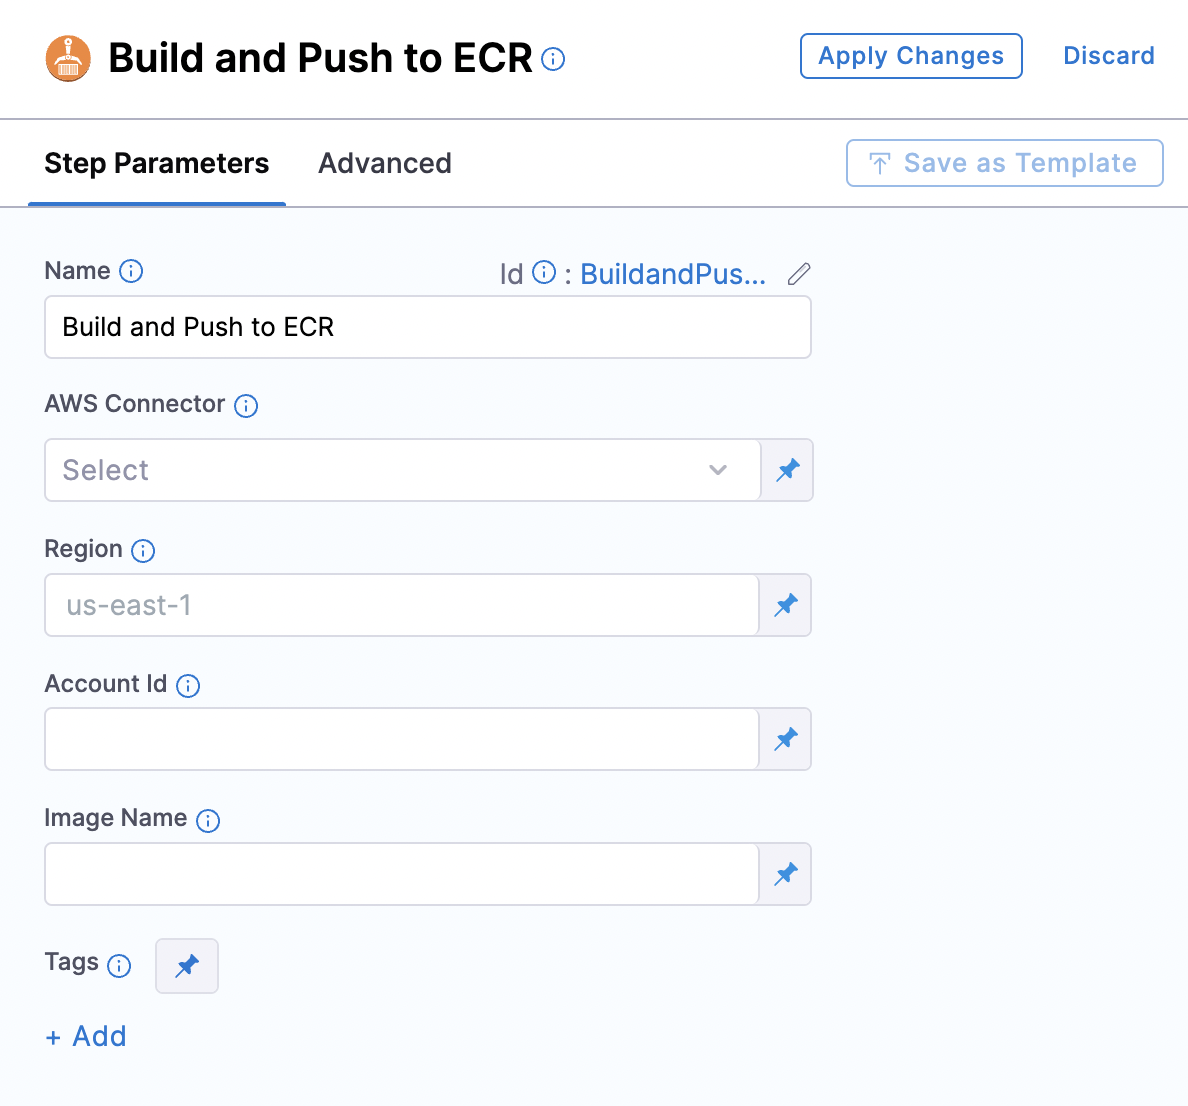
Make sure to correctly add the Region, Account ID, and Image Name. Add the Tags [I have added testing as a Tag]. Apply the changes and save the pipeline settings.
Finally, your pipeline should look like this.
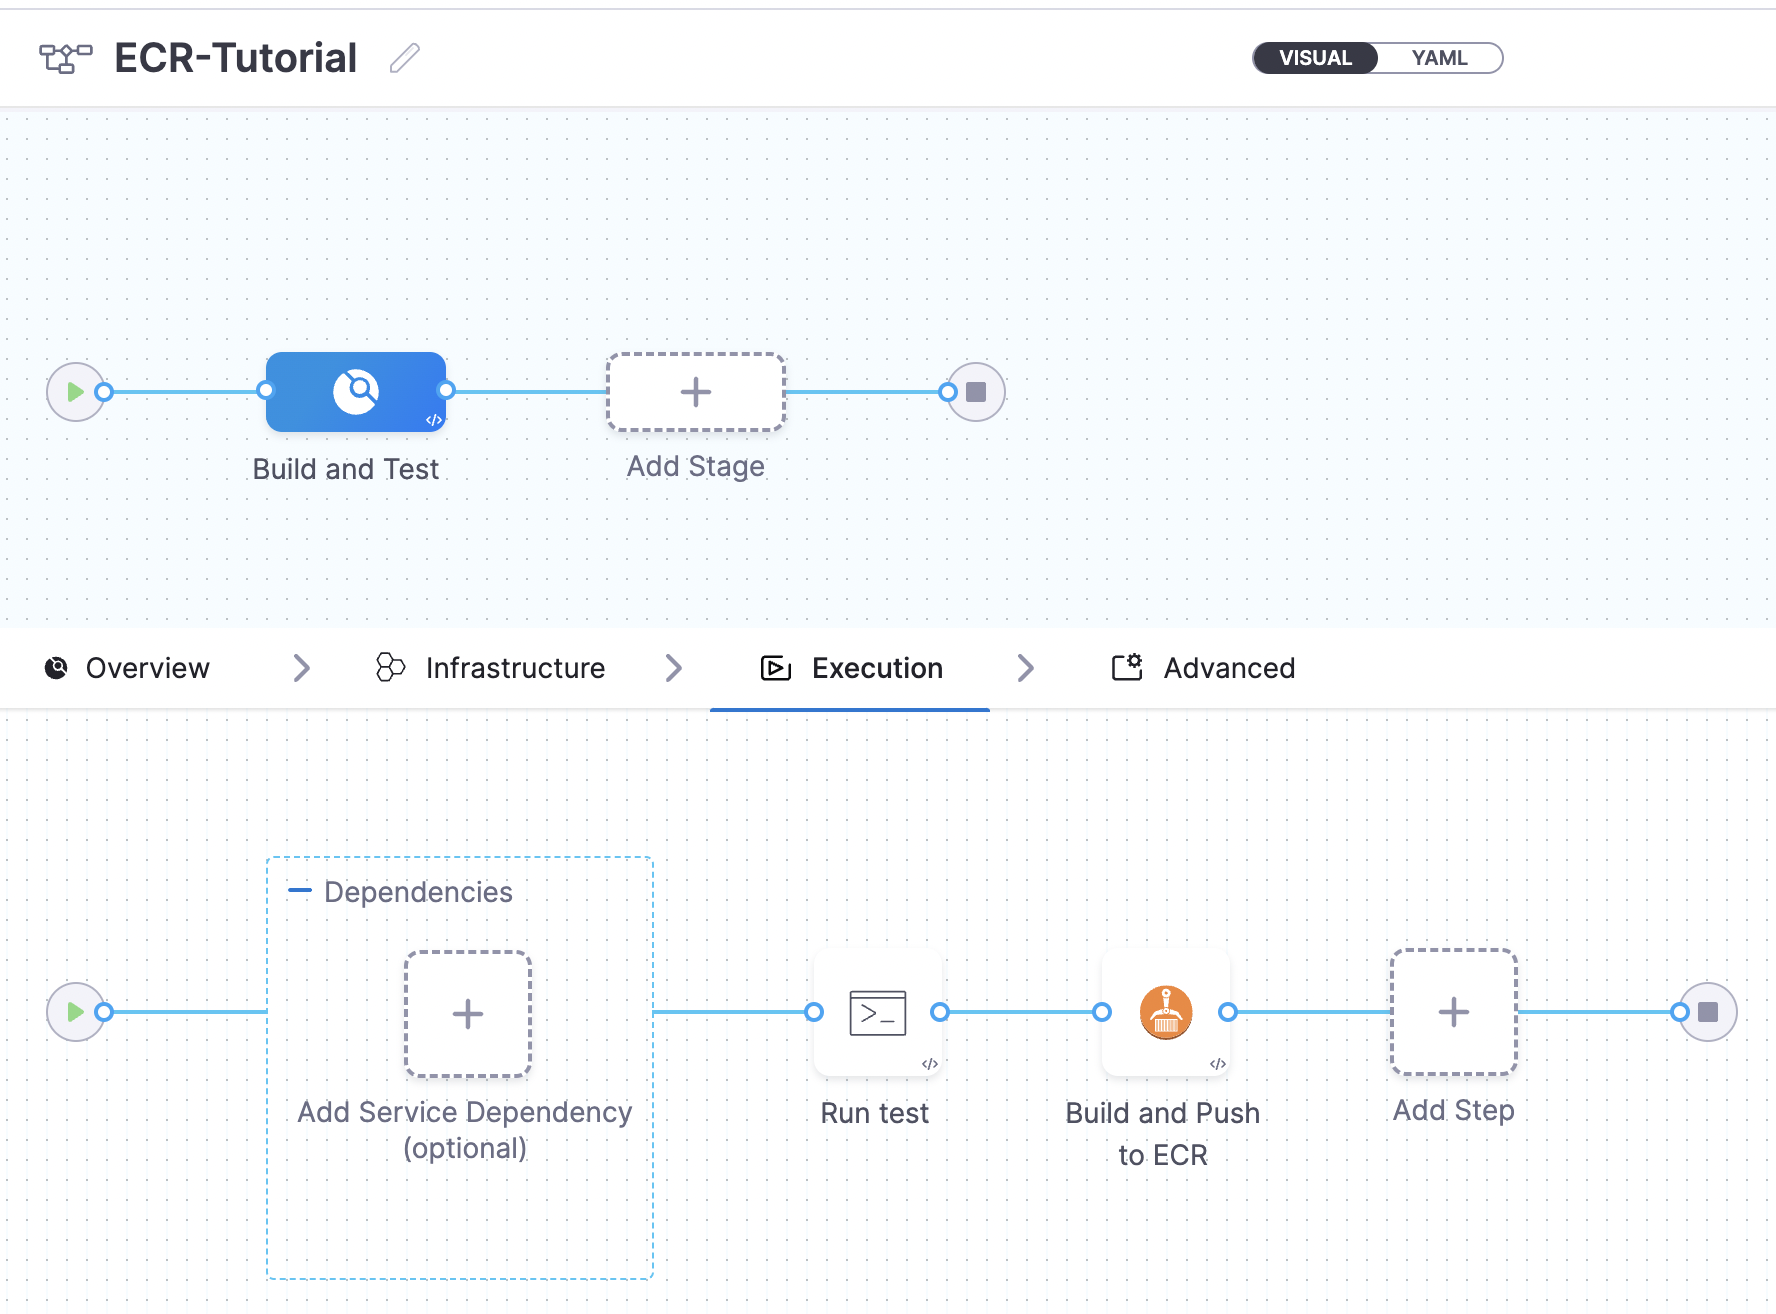
Basically, we are testing the application with a simple ‘npm test’ command as configured in the ‘Run’ step and pushing the built image to Amazon ECR (configured in the last step).
Save and run the pipeline.
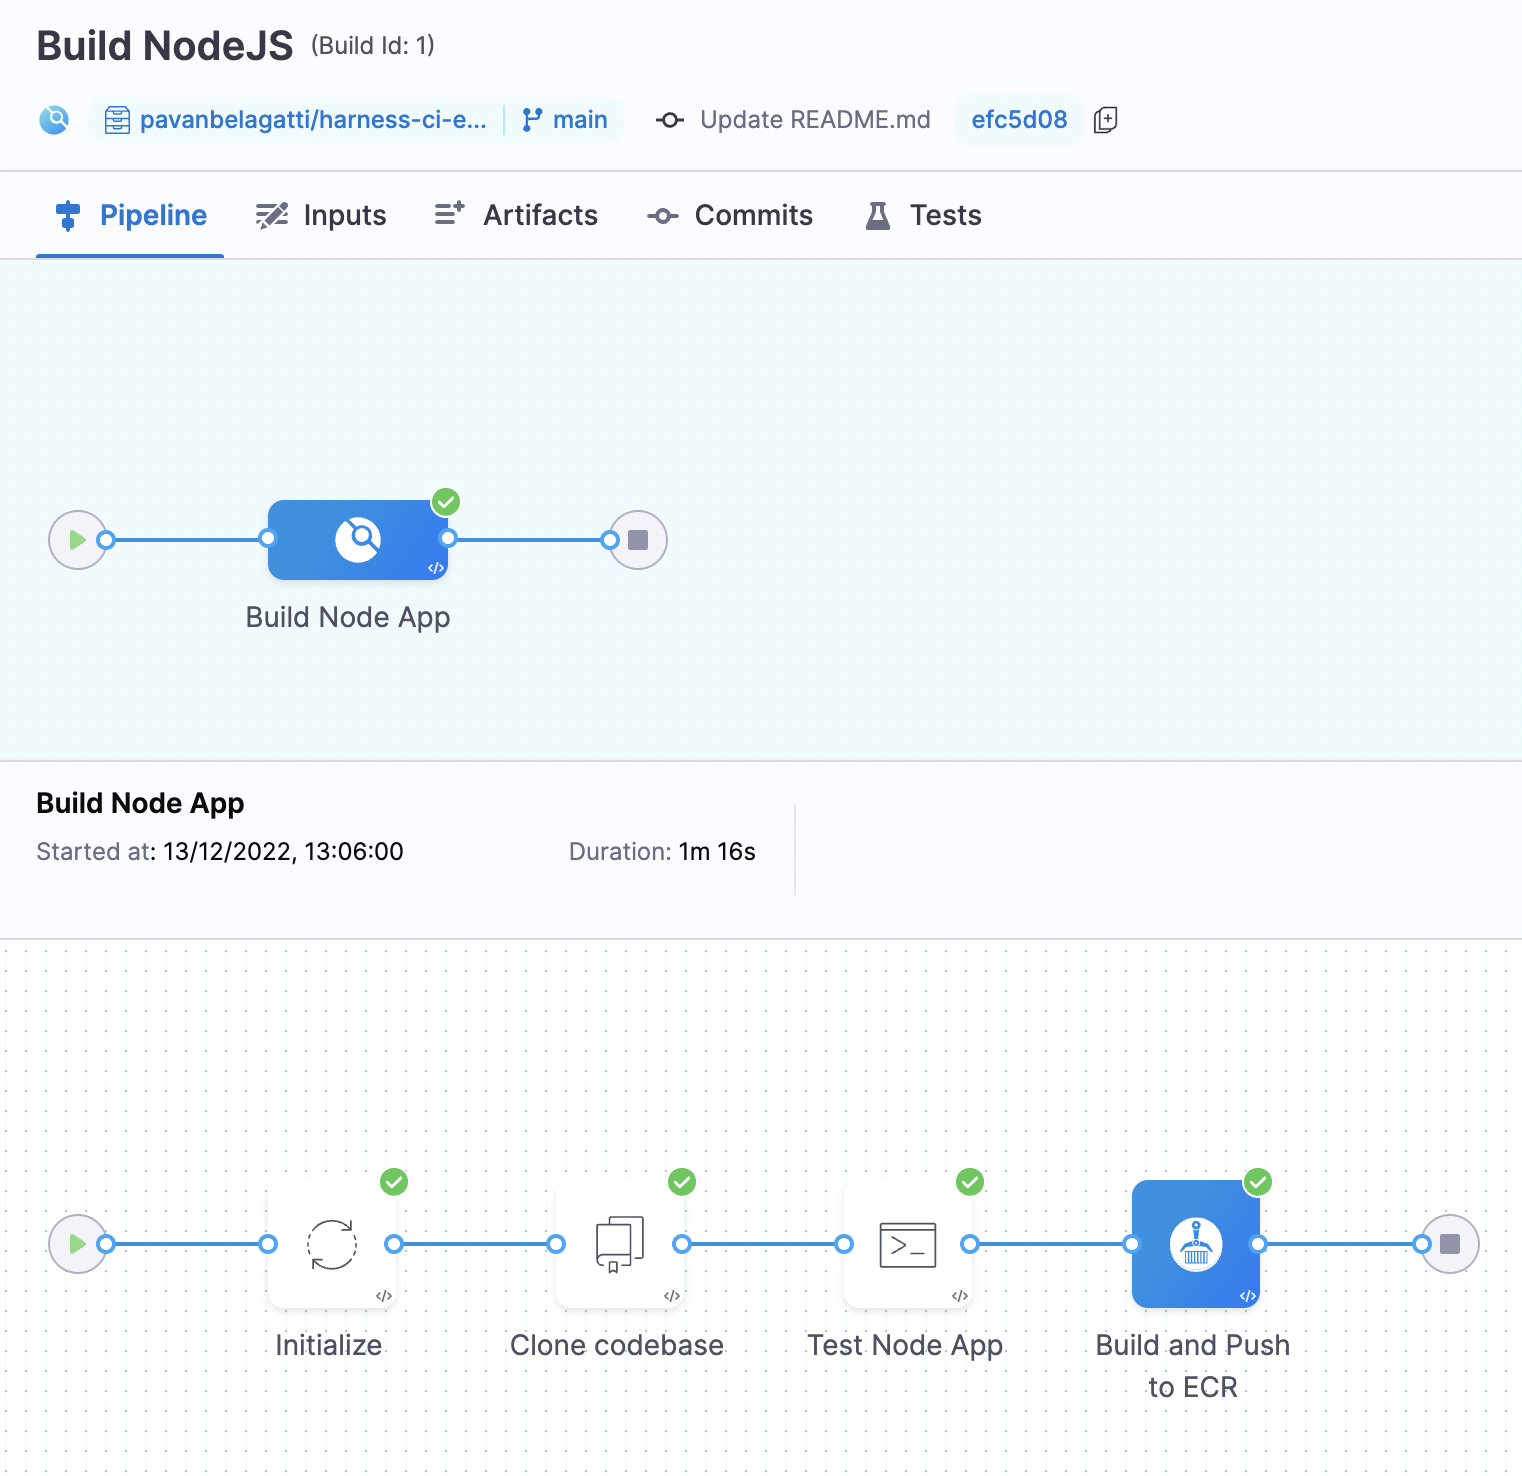
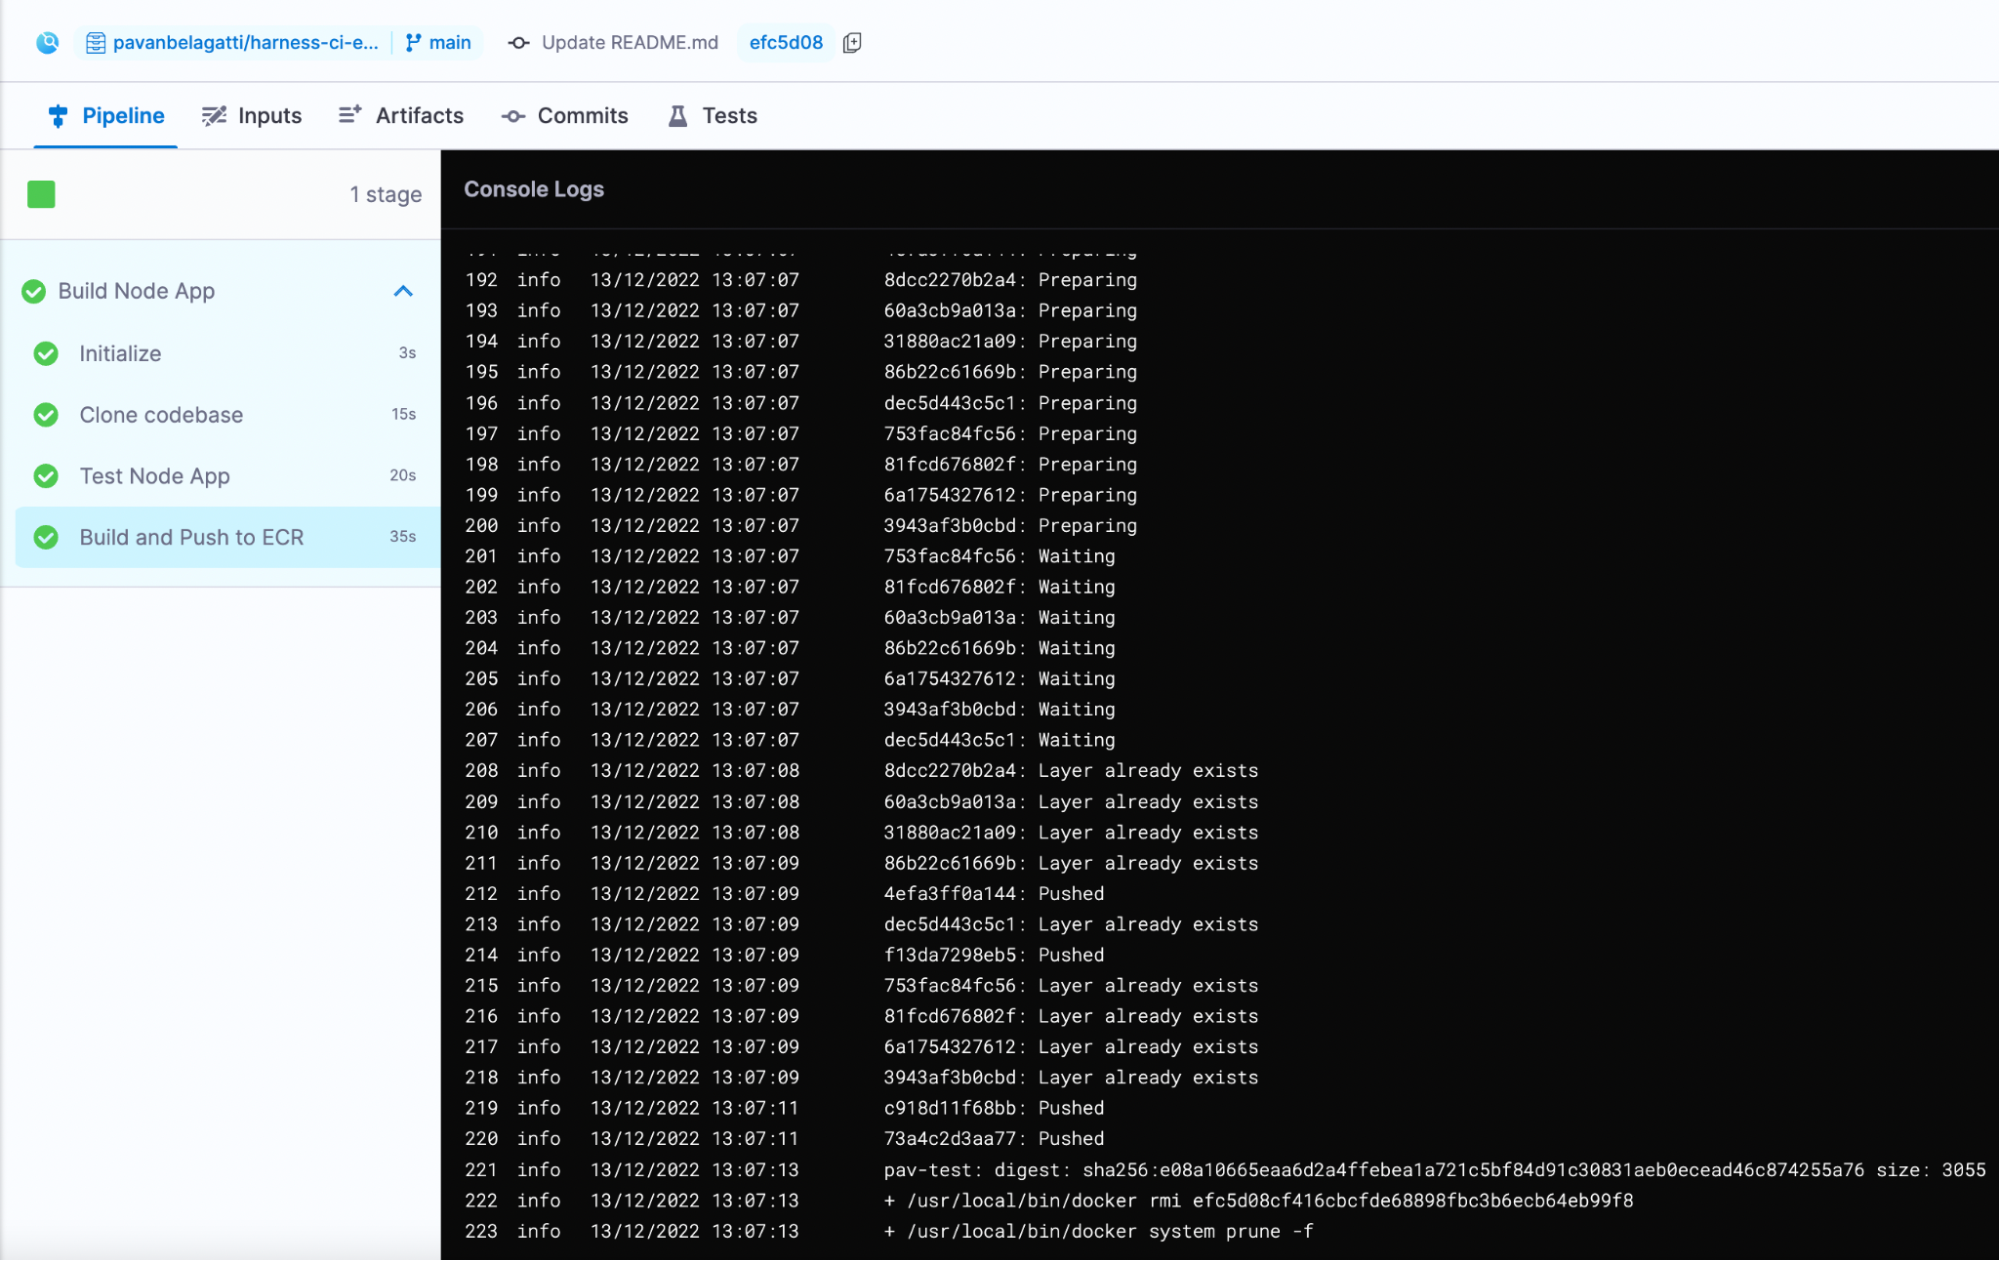
You should see a successful output of all steps passing the pipeline if you followed this tutorial and configured everything correctly. You can switch to the console view to see what is happening with each step for more details.
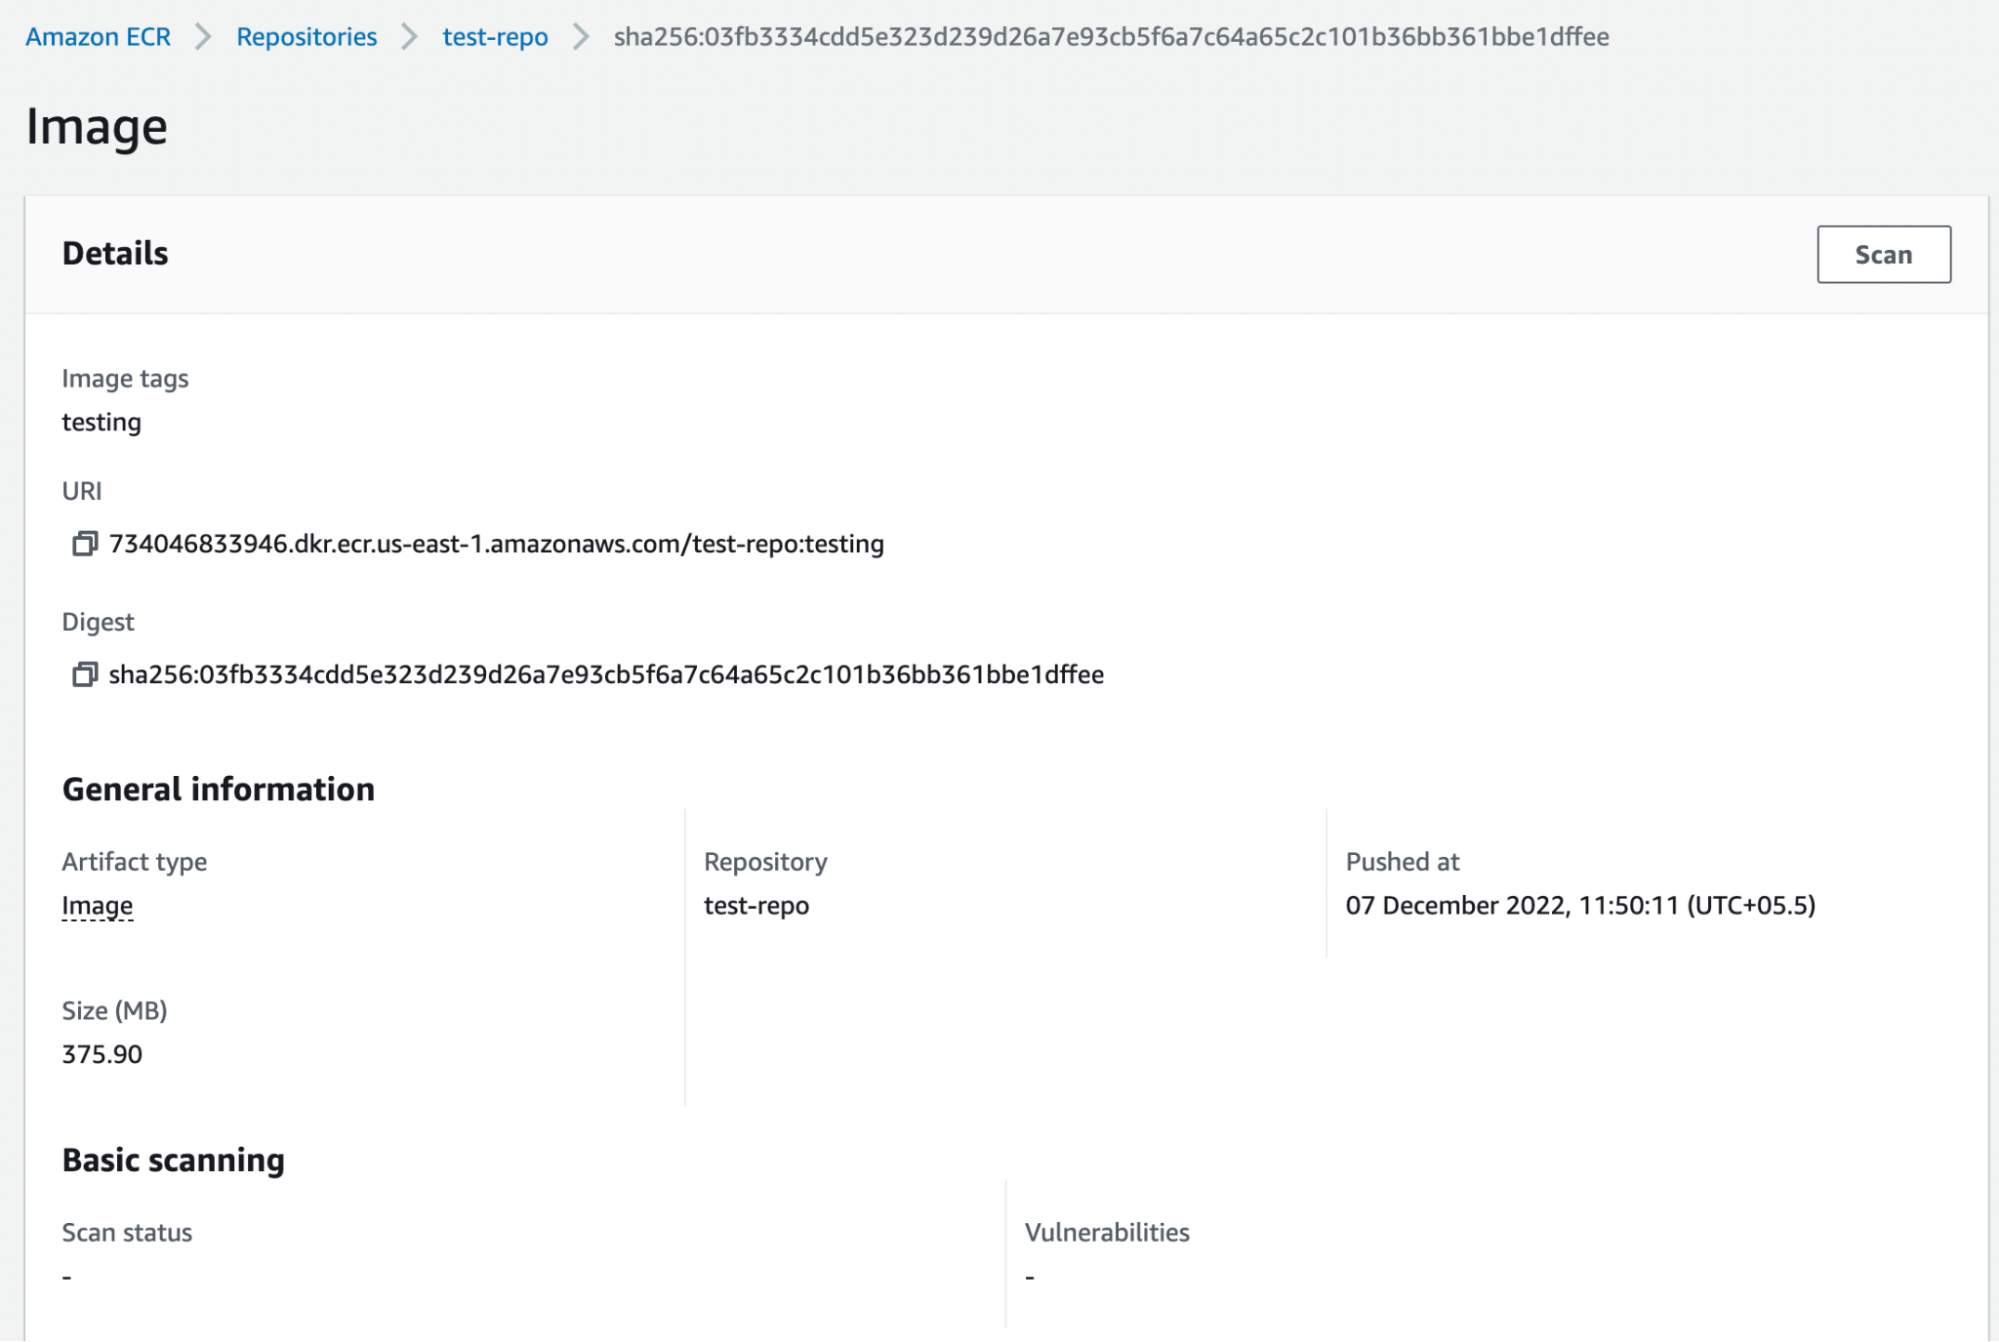
Now, you can go to your ECR repository and check the image pushed.
Harness CI is the fastest CI on the planet that can help you get going in minutes to test, build and push your artifacts to any registry of your choice. Amazon ECR offers several advantages, and it is a fully managed service, meaning that you don’t have to worry about managing the underlying infrastructure.
In this tutorial, we explored Amazon ECR and saw how to use it to push our container images using Harness CI. Now that you have a better understanding of ECR and Harness CI, why not give it a try? Push your container images to ECR using Harness and speed up your build process.