Connect to Azure Repos
Azure Repos is a set of version control tools that you can use to manage your code. Azure Repos provide the following kinds of version control:
- Git: distributed version control
- Team Foundation Version Control (TFVC): centralized version control
This topic explains how to connect your Harness Accounts, Organizations or Projects with one of the Azure Repos. You can do this by adding an Azure Repos connector to Harness.
Important notes
- Make sure you have set up your Azure Project and Repo.
- Make sure you have Create/Edit permissions to add an Azure Repos connector in Harness.
This functionality is behind a feature flag, OPTIMIZED_GIT_FETCH_FILES.
Harness performs a git clone to fetch files. When fetching very large repositories, the network connection may time out. Enable the feature flag, OPTIMIZED_GIT_FETCH_FILES to fetch very large repositories from Azure Repo. When this feature flag is enabled, Harness will use provider-specific APIs to improve performance.
This functionality is behind a feature flag: OPTIMIZED_GIT_FETCH_FILES.
Step 1: Add an Azure Repos Connector
This topic assumes you have a Harness Project set up. If not, see Create Organizations and Projects.
You can add a Connector from any module in your Project in Project setup.
This topic shows you how to create an Azure Repos Connector from the CD module. To do this, perform the below steps:
In Harness, click Deployments and select your Project.
Click Project Setup and then click Connectors.
Click New Connector.
In Code Repositories, click Azure Repos.
The Azure Repos Connector settings appear.
Enter a Name for your Azure Repos Connector.
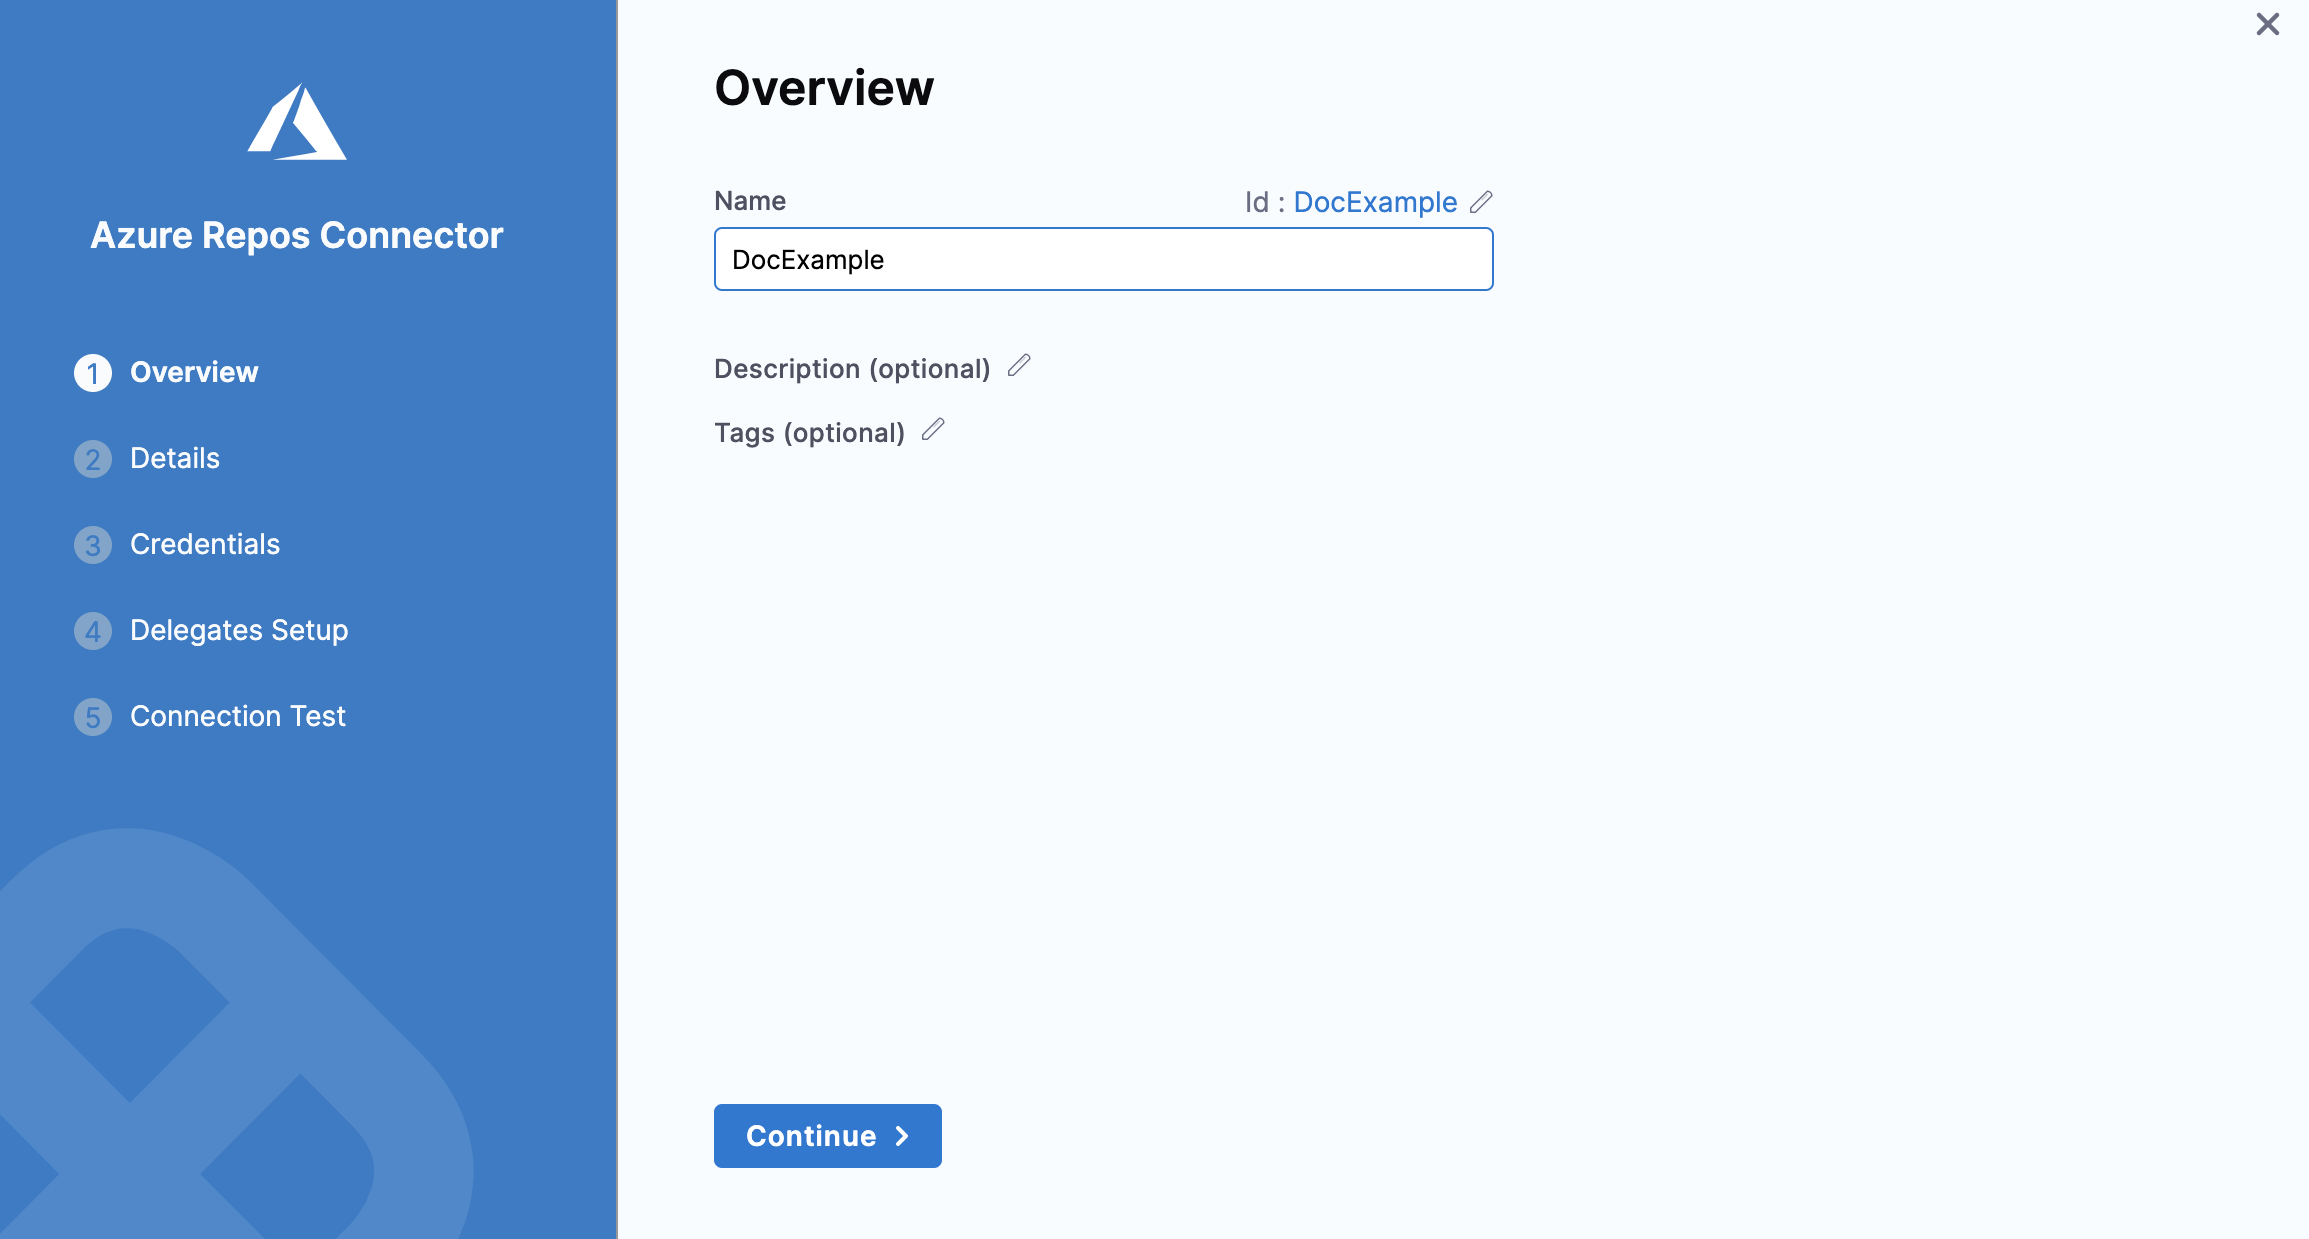 Click Continue.
Step 2: Details
Select Project or Repository in the URL Type.
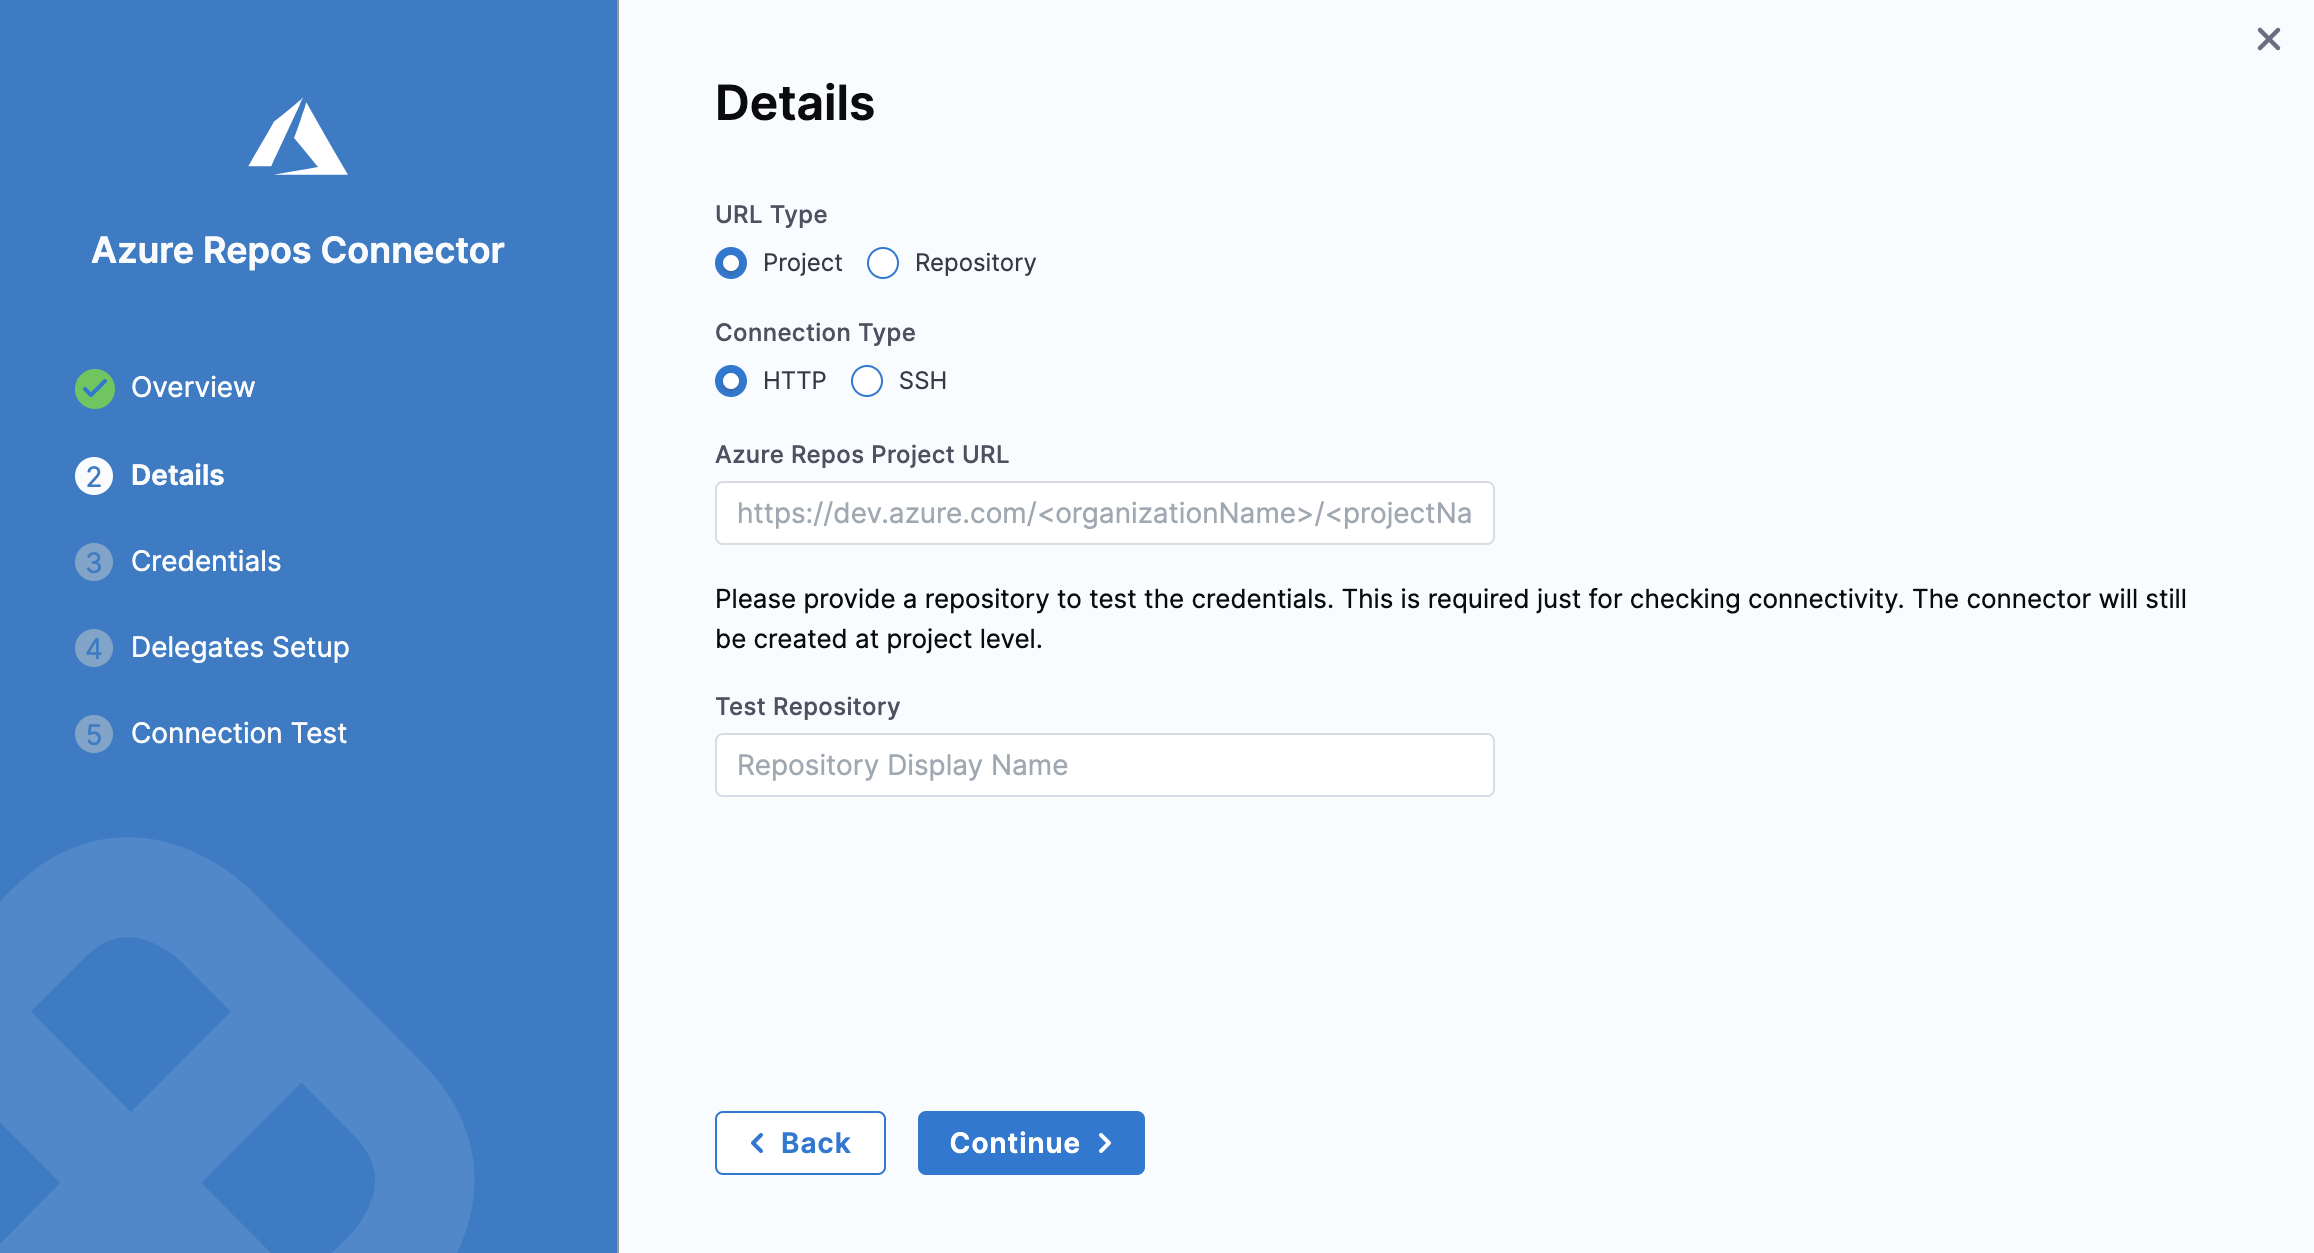
Option: Project
Select HTTP or SSH in the Connection Type.
Enter your Azure Repos Project URL. For example: https://dev.azure.com/mycomp/myproject.
Be careful when copying the project URL because if you are looking a Repos the URL will include _git in the path.If you selected Project, enter the name of your repository in Test Repository, not the full URL.
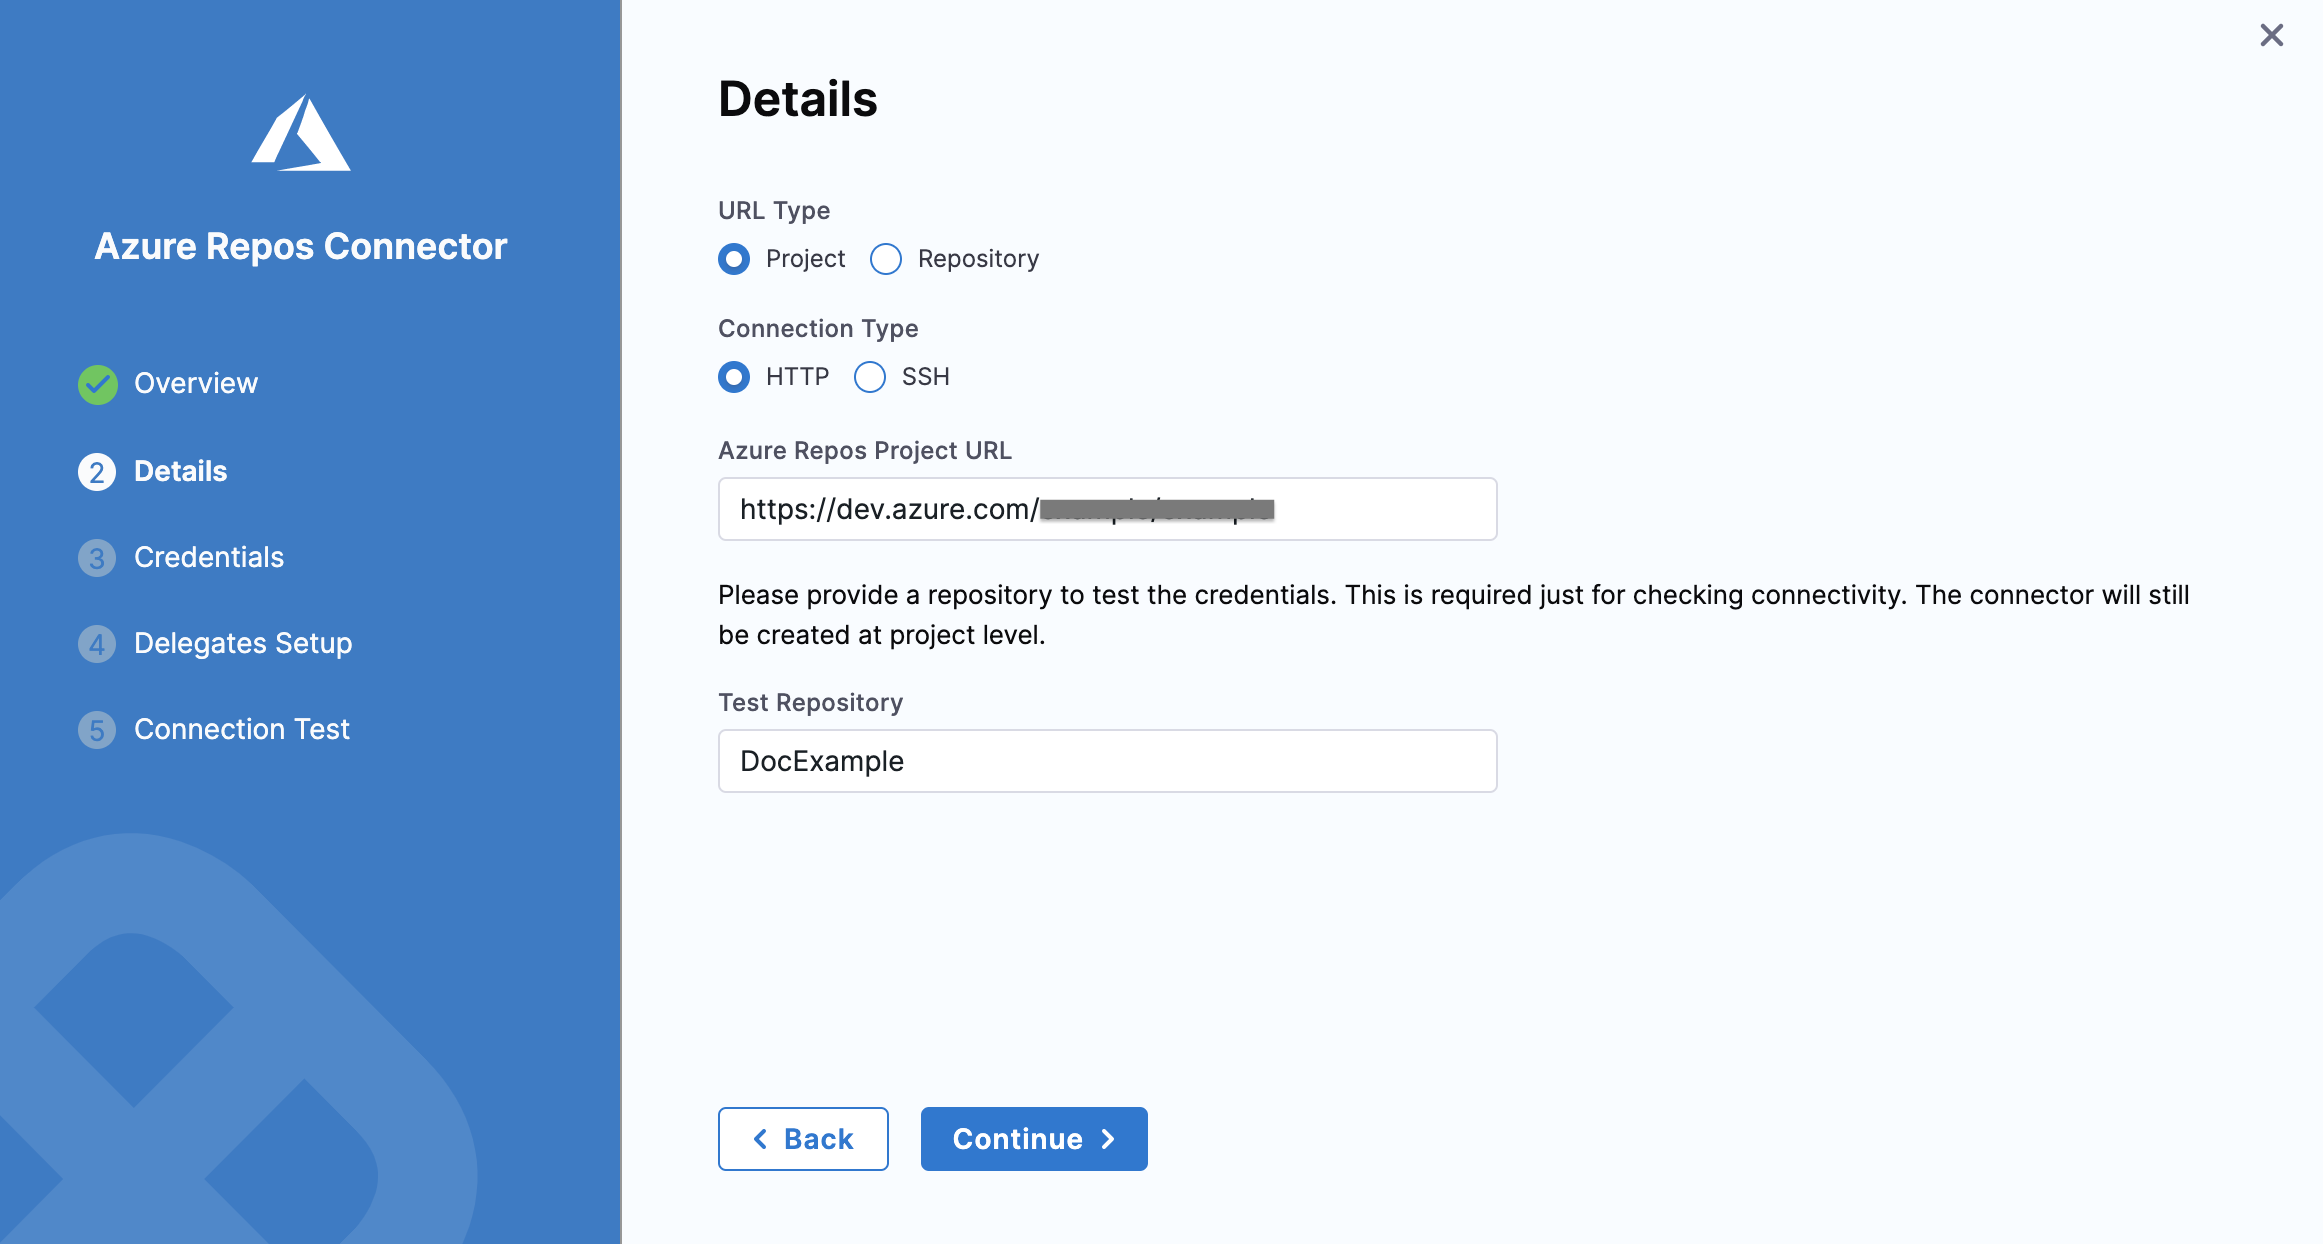 You can get the project URL from your browser's location field.
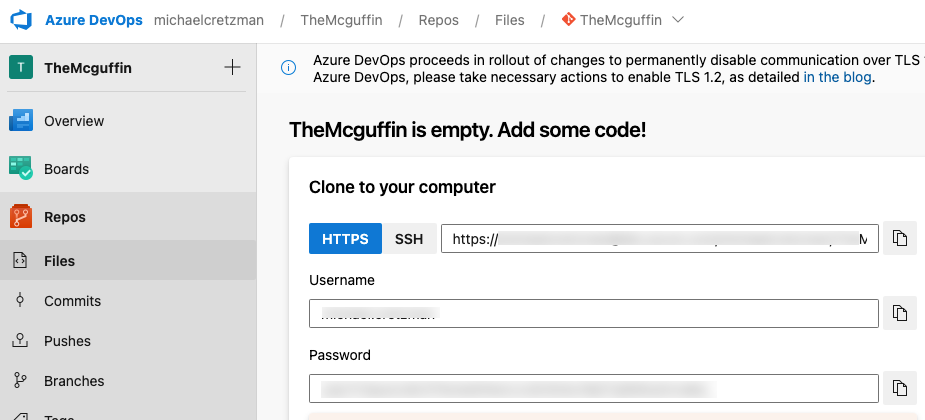
Option: Repository
Enter your Azure Repos Repository URL. For example: https://johnsmith@dev.azure.com/johnsmith/MyProject/_git/myrepo.
You can get the repo URL from the Azure repo:
 Click Continue.
Step 3: Credentials
Enter the username and password from the repo.
Enable API Access
This option is required for using Git-based triggers, Webhooks management, and updating Git statuses.
This is a common option for code repos.
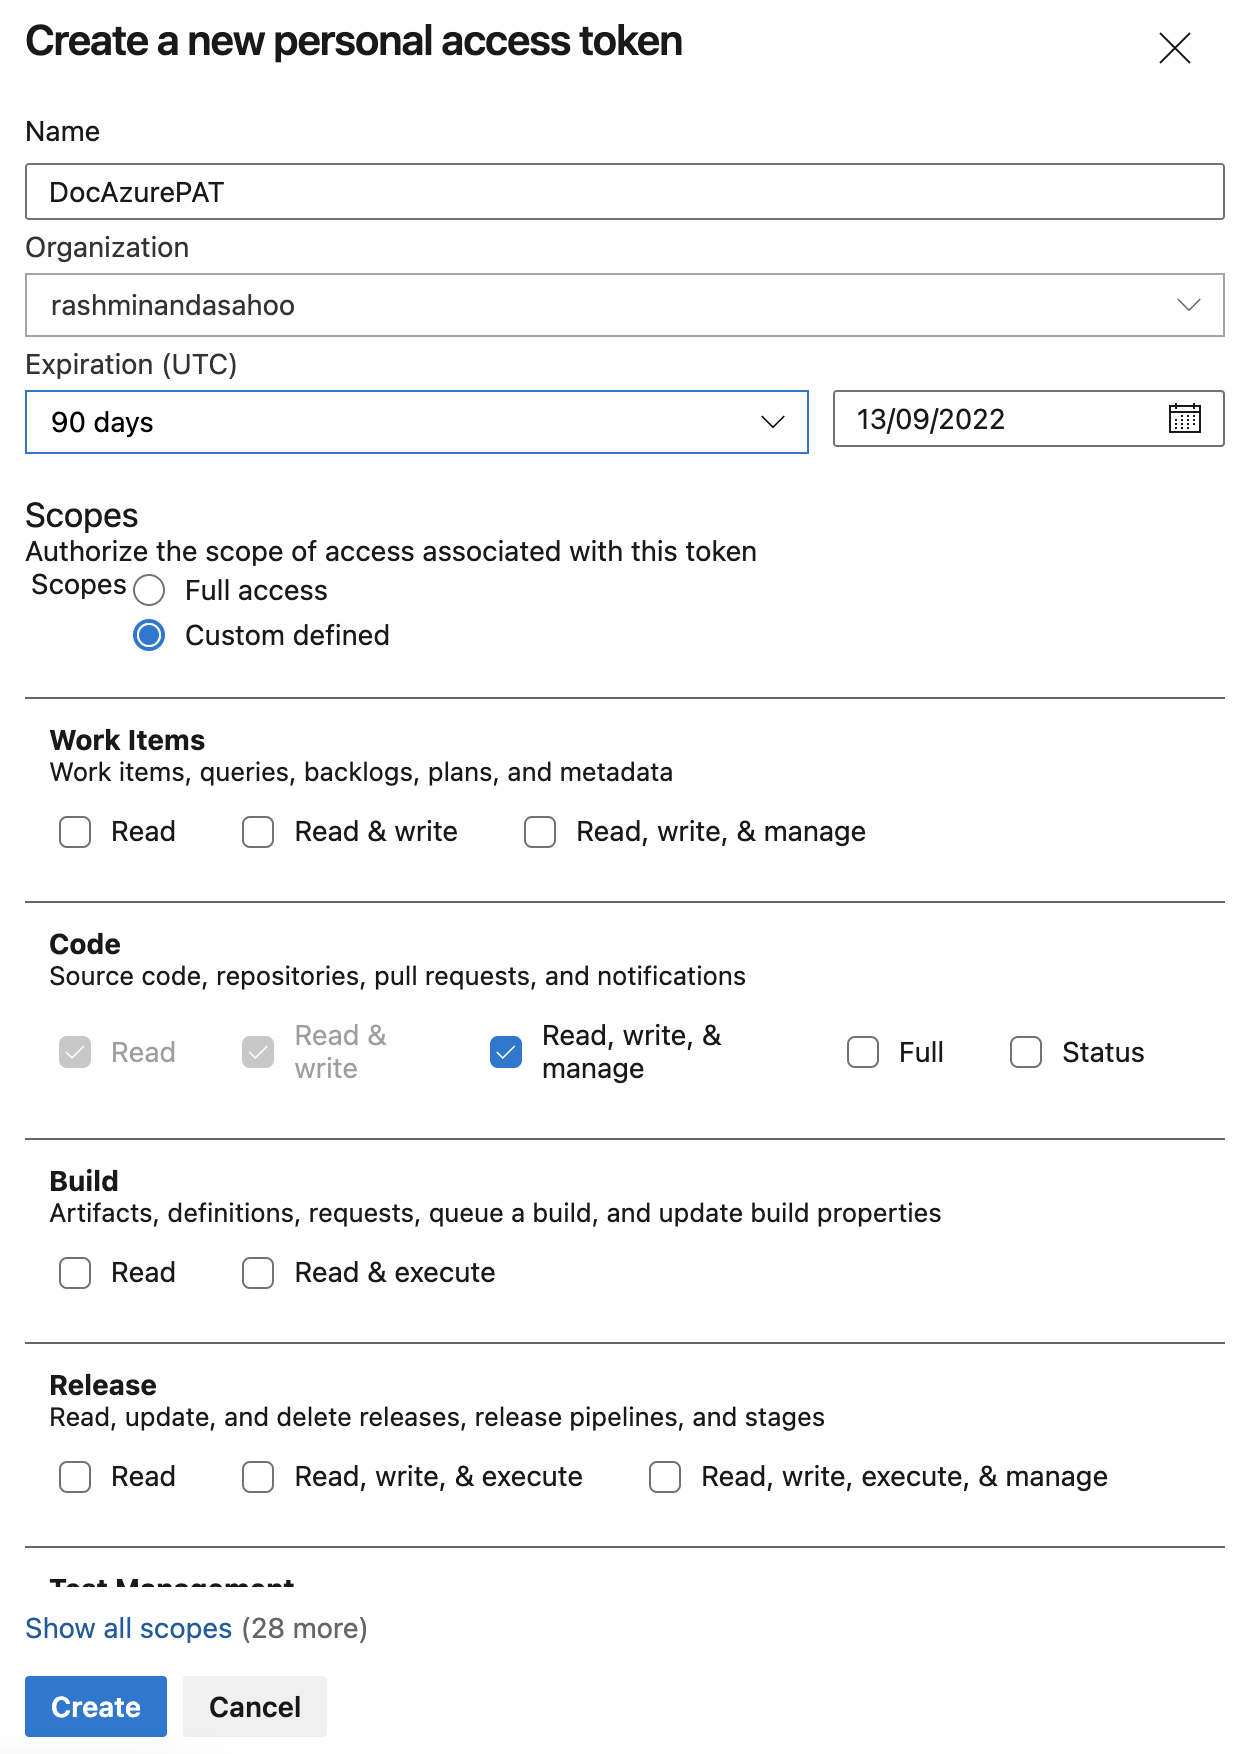
In Personal Access Token, either create a new Encrypted Text or use an existing one that has your Azure Personal Access Token. Harness requires the token for API access. Generate the token in your Azure account and add it to Harness as a Secret.
To create a Personal Acces Token in Azure, see Create a PAT.
 If you selected SSH as the Connection Type, you must add your SSH Private key to use with the connection as a Harness Encrypted Text.
To create a private SSH Key, enter the following command in your terminal window:
ssh-keygen -t rsa
For more information, see Create SSH Keys.
Click Continue.
Delegates Setup
Select one of the following:
- Use any available Delegate: to let Harness select a Delegate at runtime.
- Only use Delegates with all of the following tags: to use specific Delegates using their Tags.
Click Save and Continue.
Harness tests the connection. Click Finish once the verification is successful.
The Azure Repos connector is listed in Connectors.
Kubernetes delegate with self-signed certificates
If your codebase connector allows API access and connects through a Harness Delegate that uses self-signed certificates, you must specify ADDITIONAL_CERTS_PATH in the delegate pod, as described in Configure a Kubernetes build farm to use self-signed certificates.