Connect to Jira
You can connect Harness to Jira using a Harness Jira Connector. This Connector allows you to create and update Jira issues, and to use Jira issues in Approval steps.
Looking for How-tos? See Create Jira Issues in CD Stages, Update Jira Issues in CD Stages, and Adding Jira Approval Stages and Steps.
Before you begin
Limitations
- Your Jira REST API account must have permissions to create and edit issues in the relevant Jira projects. The Administer Jira permission includes all relevant permissions (as does the Administrator or Member permission on Jira next-gen).
For details, see Atlassian's documentation on Operation Permissions, Issues, and Managing Project Permissions. - When you set up the Jira Connector, Username requires the full email address you use to log into Jira.
Add a Jira Connector
You can add a Jira Connector at the Project, Org, or Account level. We'll cover Projects here. The process is the same for Org and Account.
You can also add the Jira Connector when setting up the Jira Create, Jira Approval, or Jira Update steps. We'll cover adding it to the Project's Connectors here.
To add a Jira connector to your Harness project:
In Project Setup, click Connectors.
Click New Connector, and then click Jira. The Jira Connector settings appear.
In Name, enter a name for this connection. You will use this name to select this connection in Jira steps.
Click Continue.
In Jira URL, enter the base URL by which your users access your Jira applications. For example:
https://mycompany.atlassian.net.
In Jira, the base URL is set to the same URL that Web browsers use to view your Jira instance. For details, see Configuring the Base URL from Atlassian. If you are using on-premises Jira server with HTTPS redirects enabled, use the HTTPS URL to ensure the JIRA client follows redirects.
In Authentication, you can select one of the following:
Username and API Key: Enter your credentials. For username, use the full email address you use to log into Jira. For API Key, use a Harness Text Secret. See Manage API tokens for your Atlassian account from Atlassian.
Personal Access Token: Add your Personal Access Token (PAT) to Harness as an encrypted text and select the same in the Jira connector.
infoThis feature requires Harness Delegate version 78707.
connector:
   name: jiraPat
   identifier: jiraPat
   description: ""
   orgIdentifier: default
   projectIdentifier: myproject
   type: Jira
   spec:
     jiraUrl: https://jira.dev.example.io/
     delegateSelectors:
       - test
     auth:
       type: PersonalAccessToken
       spec:
patRef: patinfoJira only supports Personal Access Tokens in its Server version. For the exact version, refer Using Personal Access Tokens.
Click Continue.
Select the Harness Delegate(s) to use when making a connection to Jira using this Connector.
Click Save and Continue.
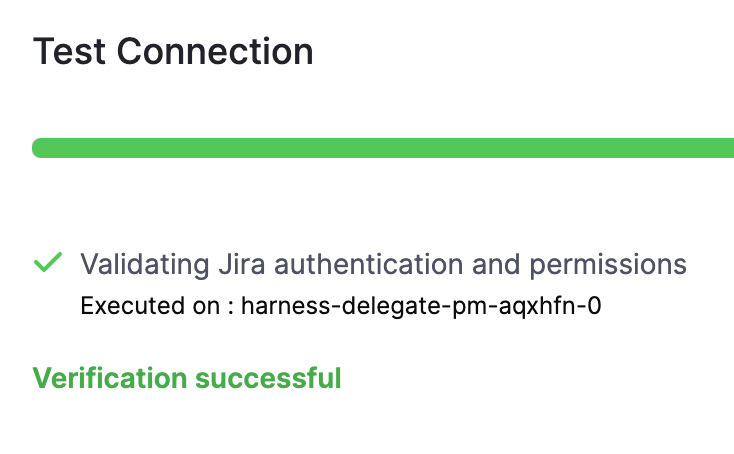
Harness tests the connection.
 Click Finish.
The Jira Connector is listed in Connectors.