Harness Git Experience overview
Harness Git Experience lets you store configurations for your resources like pipelines, input sets in Git. You can choose Git as the source of truth and use your Git credentials to access and modify your configurations.
With Harness Git Experience, you can select the repository and branch from where you want to execute your pipelines, hence simplifying your pipeline execution by seamless access to your Harness resources and their configurations stored in Git.
Before you begin
- Make sure you have a Git repo with at least one branch.
- Make sure you have a Git connector with a Personal Access Token (PAT) for your Git account.
Supported Git providers
The following section lists the support for Git providers for Harness Git Sync:
- GitHub
- Bitbucket Cloud
- Bitbucket Server
- Azure Repos
- GitLab
Make sure feature.file.editor is not set to false in the bitbucket.properties file if you are using Bitbucket on-prem.
Supported Harness entities
You can save the following Harness resources in Git using Harness Git Experience:
- Pipelines
- Input sets
- Templates
What is Harness Git experience?
Harness Git Experience lets you choose a Git-First approach for managing Harness configurations as code, using Git as the source of truth.
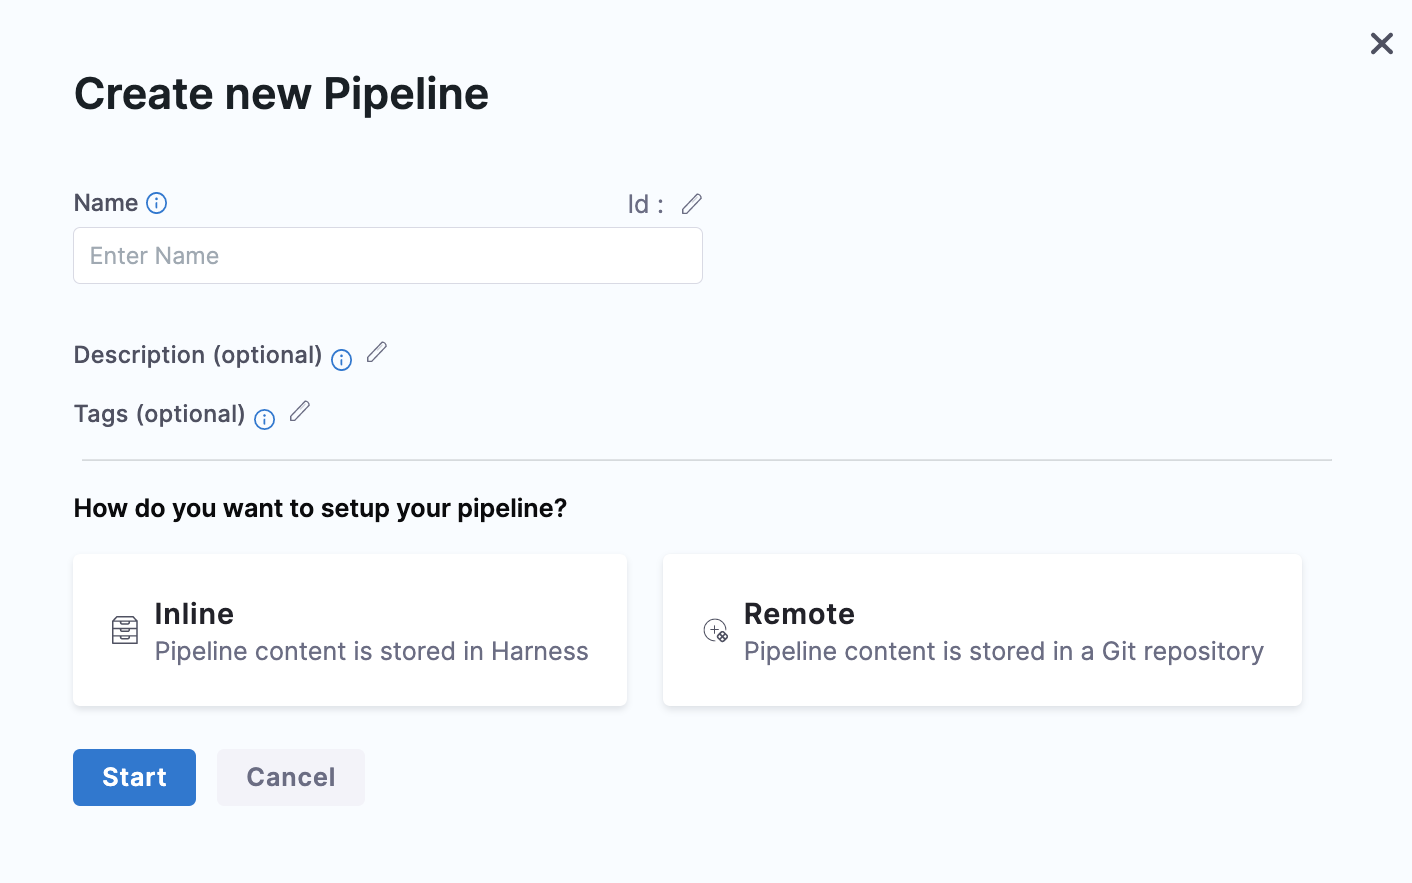
You can do this by creating a resource with the Remote option and specifying the Git repo and branch where you want to save your configurations.
For example, you can create a pipeline by choosing the Remote option and save it in Git by providing the repo name and branch name along with the file path.
Harness Git Experience lets you modify the configurations stored in Git through the Harness UI and save it back to Git.
You can save the modifications in the existing branch or a new branch through a PR.
Harness Git experience workflow
When you create a Remote resource in Harness, the configurations are stored in Git.
You can select the branch from which you want to run the pipeline.
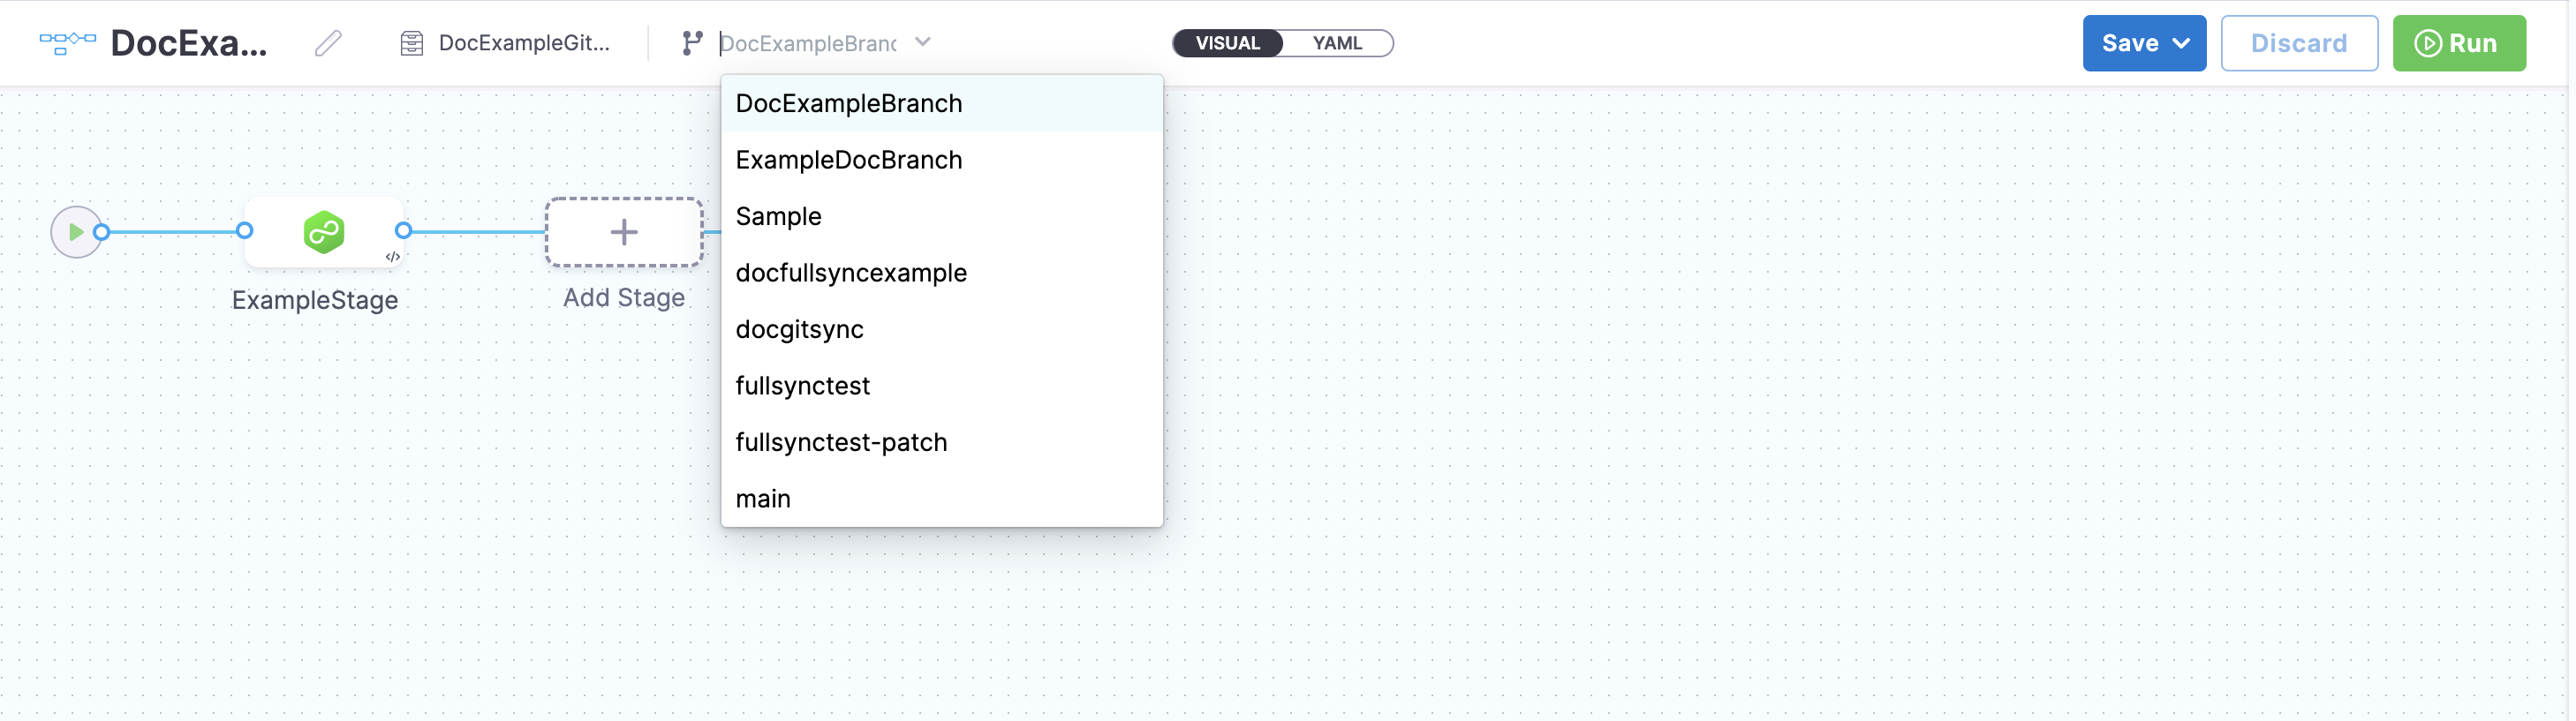
You can also select the branch in the Run Pipeline settings.

During pipeline execution, the configurations of the required resources and any referenced entities like input sets, are fetched from Git.
If the referenced entities exist in the same repo, they are fetched from the same branch that you have selected for pipeline execution.
If the referenced entities exist in a different repo, they are fetched from the default branch of the repo where the entities are stored.Harness resolves all the dependencies and then proceeds with the pipeline execution.
Key features
Following are the key features of Harness Git Experience:
Multiple repo support
Your Harness resources and their configurations can exist in multiple repos. You can choose the repository where you wish to make the modifications before pushing each configuration. At pipeline execution, Harness pulls them all together to execute your pipeline as you designed it. This gives you the flexibility to manage your Git repositories in the way you want.
You can store your configurations in the following ways:
Store configuration files along with the code repository.
Store configuration files in a repository separate from the code.
Store the prod configurations in one repo, and the non-prod ones in another repo, so that only the selected developers can access prod configs.
Store the configuration files of different environments in different branches.
Store the pipelines in one repository, and other configuration files in another.
infoTo link input sets and pipelines from different repositories, enable
Allow different repo for Pipeline and InputSetsin the default settings. For more information, go to Default settings.
Multiple branch support
Multiple users can make commits to multiple branches for the resources that are synced with the Git Provider. This provides the flexibility for various branching workflows.
What can I do with Harness Git experience?
Harness Git Experience helps you do the following:
- Store and retrieve your Harness configurations to/from Git.
- Change the Harness configuration just by changing the YAML files in Git.
- Add a remote pipeline in Harness, and it gets added to your specified Git repo and branch.
- Maintain your key Harness resources like pipelines, Input sets like you maintain code.
- Submit config changes using the Harness pipeline Studio (GUI and/or YAML) or entirely in Git.
- Make Harness pipeline or resource config changes in a branch, test it in isolation (sandbox), and submit changes to master using Harness Manager or your Git platform.
What do I need to enable Harness Git experience?
Git connector
A Harness Git Connector is used to sync your Harness Project with your Git repo. You can set up a Git Connector first and simply select it when setting up Git Experience, or you can create a Git Connector as part of the Git Experience setup.
You will need a Harness Git Connector to connect with the Git provider and perform operations like generating a webhook. Your Git Connector credentials are used to commit to Git when operations are performed using API.
Important: The Connector must use the Enable API access option and Username and Token authentication. Harness requires the token to access the Git API. Generate the token in your account on the Git provider and add it to Harness as a Secret. Next, use the token in the credentials for the Git Connector. For detailed steps to add a Git Connector, see Code Repo Connectors.
Repository
Harness configurations are stored in repositories. These configuration files can be kept in the same repository as the code, or they can be kept separate. You can map your resources and configurations to multiple repositories.
You must have valid Git credentials and a repo within this Git account before you enable Harness Git Experience.