Harness Terraform Provider quickstart
Terraform is an infrastructure as code (IaC) tool that allows you to build, change, and version infrastructure safely and efficiently.
Harness Terraform Provider is a library that you can use to create Harness Infrastructure. You can administer and use Harness functionality from within your Terraform setup using Harness Terraform Provider.
This quickstart shows you how to write your configurations in Terraform and provision your Harness resources using the Harness Terraform Provider.
Before you begin
Prerequisites
- You must have a Harness Account.
- You must have an admin setup for your Harness Account.
- You must have a Personal Access Token (PAT) or a Service Access Token (SAT).
For detailed steps on how to generate a PAT, see Create a Personal Access Token.
Important
- Harness Terraform Provider lets you provision the following:
- Organizations
- Projects
- Permissions setup
- Connectors
- Secrets
- Pipelines
- You cannot provision users using Harness Terraform Provider.
You can provision users through SCIM using Okta, OneLogin or Azure AD. - You cannot run or monitor your Pipelines using Harness Terraform Provider.
Why use Harness Terraform Provider?
Harness Terraform Provider lets you use Terraform scripts to configure Harness. Through scripts, it supports the creation of all the key Harness objects, including Projects, Pipelines, Connectors, and Secrets.
It thus lets you create a repeatable and scalable structure of Harness infrastructure.
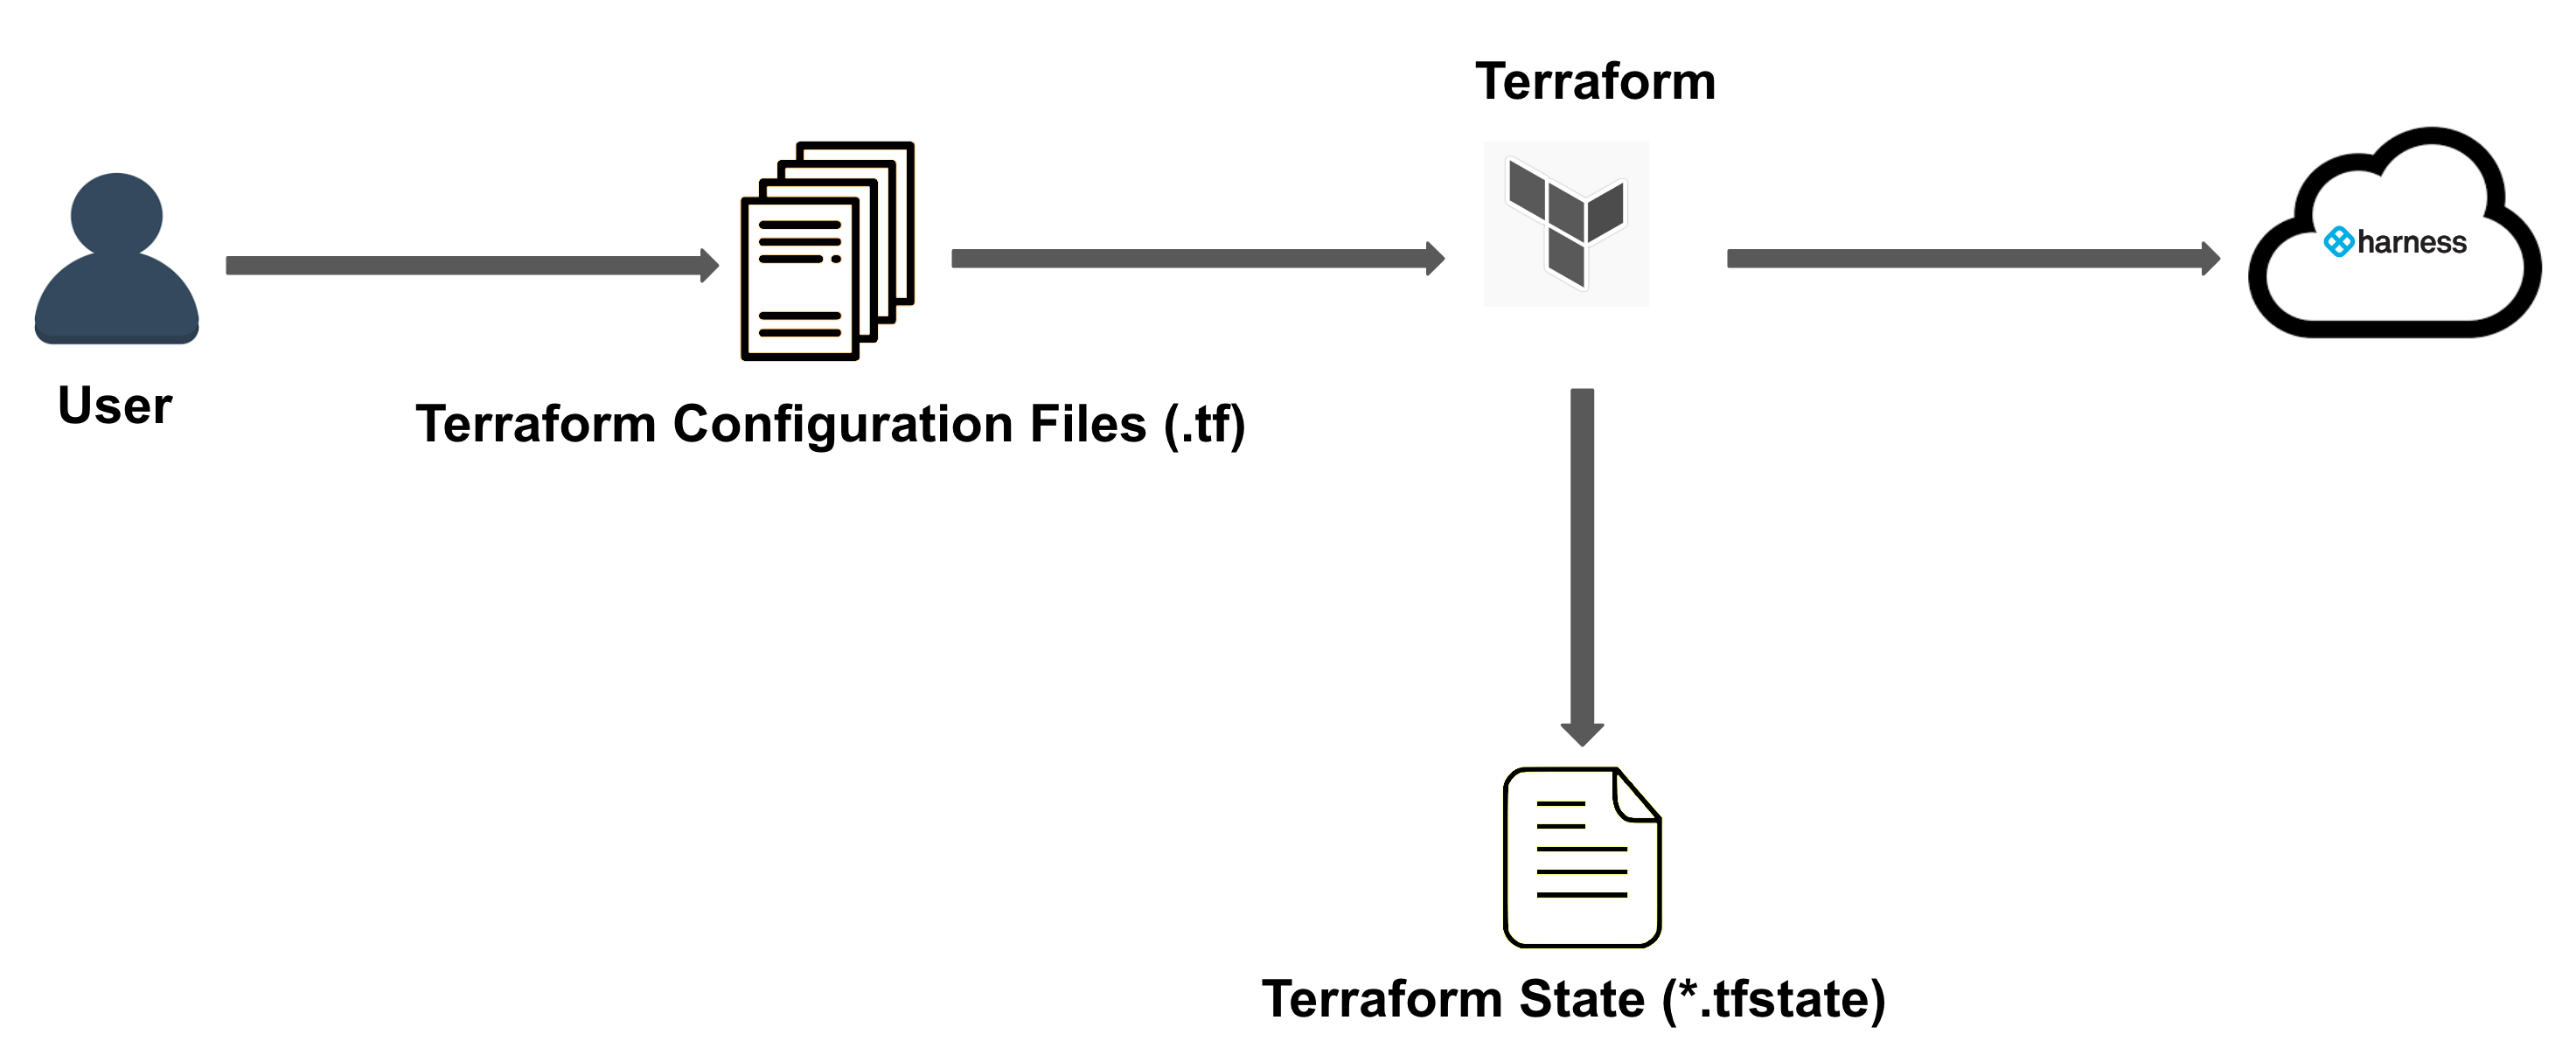
Visual summary
Here is a quick overview of Harness Terraform Provider:
- You write your Terraform Configuration in
.tffile.
You declare all the resources that represent your infrastructure objects in this file.
For more details, see Configuration Language. - Next, you initialize, plan, and apply your resources using the following commands:
terraform initterraform planterraform apply
- Once you confirm Terraform apply, a state file
terraform.tfstateis generated. - Your resources are provisioned successfully.

Install Harness Terraform Provider
To install the Harness Terraform Provider, copy, and paste the following code into your Terraform configuration.
Enter your Harness Account Id in account_id.
The account Id is in every URL when using Harness:
https://app.harness.io/ng/#/account/``**{accountid}**``/home/get-started
Enter your PAT or SAT in platform_api_key.
Harness recommends using SAT to install the Harness Terraform Provider.
For detailed steps on how to generate a PAT or SAT, go to Add and manage API keys.
terraform {
    required_providers {
        harness = {
            source = "harness/harness"
            version = "<version_number>"
        }
    }
}

provider "harness" {
    endpoint   = "https://app.harness.io/gateway"
    account_id = "<your_harness_accountid"
    platform_api_key    = "your_pat"
}
Add Harness Resource configurations to Terraform files
Before you start provisioning Harness Resources, make sure you have written your Terraform Configuration as declarative scripts as a.tf file.
The .tf Terraform file will contain the Harness infrastructure details that you want to provision.
Let us see examples of adding the following resources to your Terraform Configuration:
- Organization
- Project
- Encrypted Text Secret within a Project
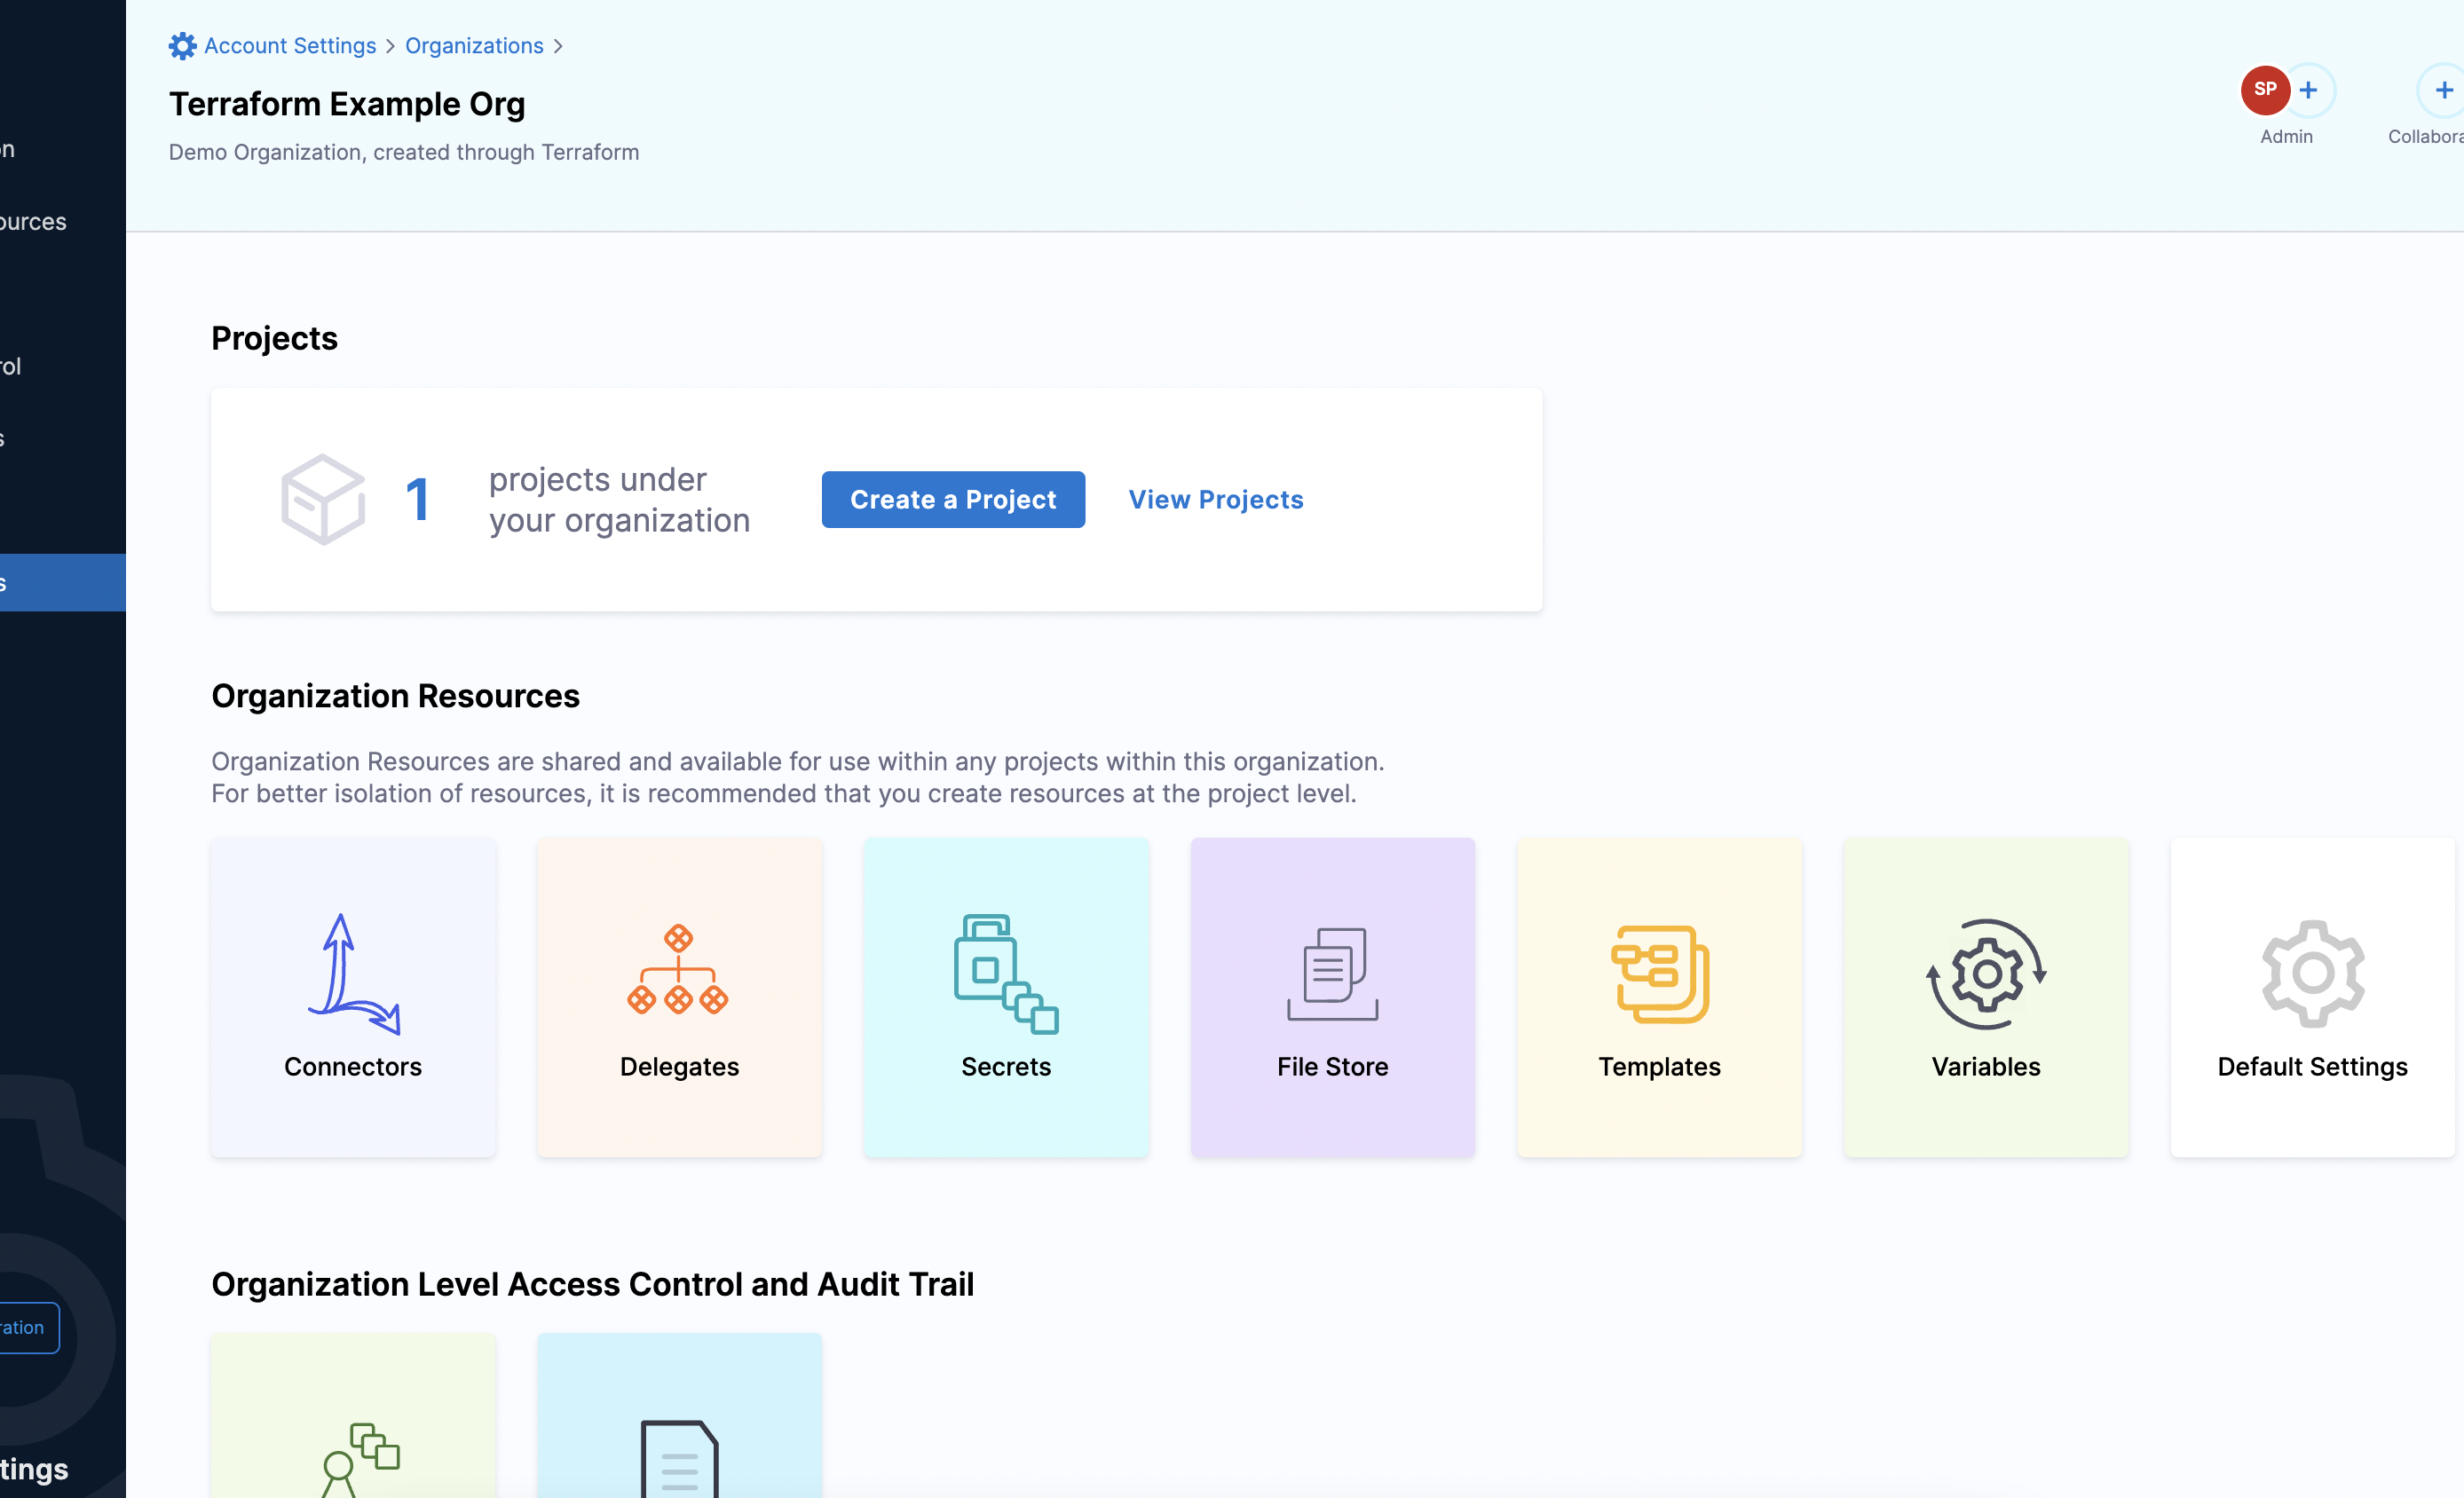
Add Organization details
resource "harness_platform_organization" "org" {
name = "Terraform Example Org"
identifier = "terraform_example_org"
description = "Demo Organization, created through Terraform"
}
Your Organization now appears in the list of Organizations within the scope of your Harness Account.
 To try it out, see Harness Organization.
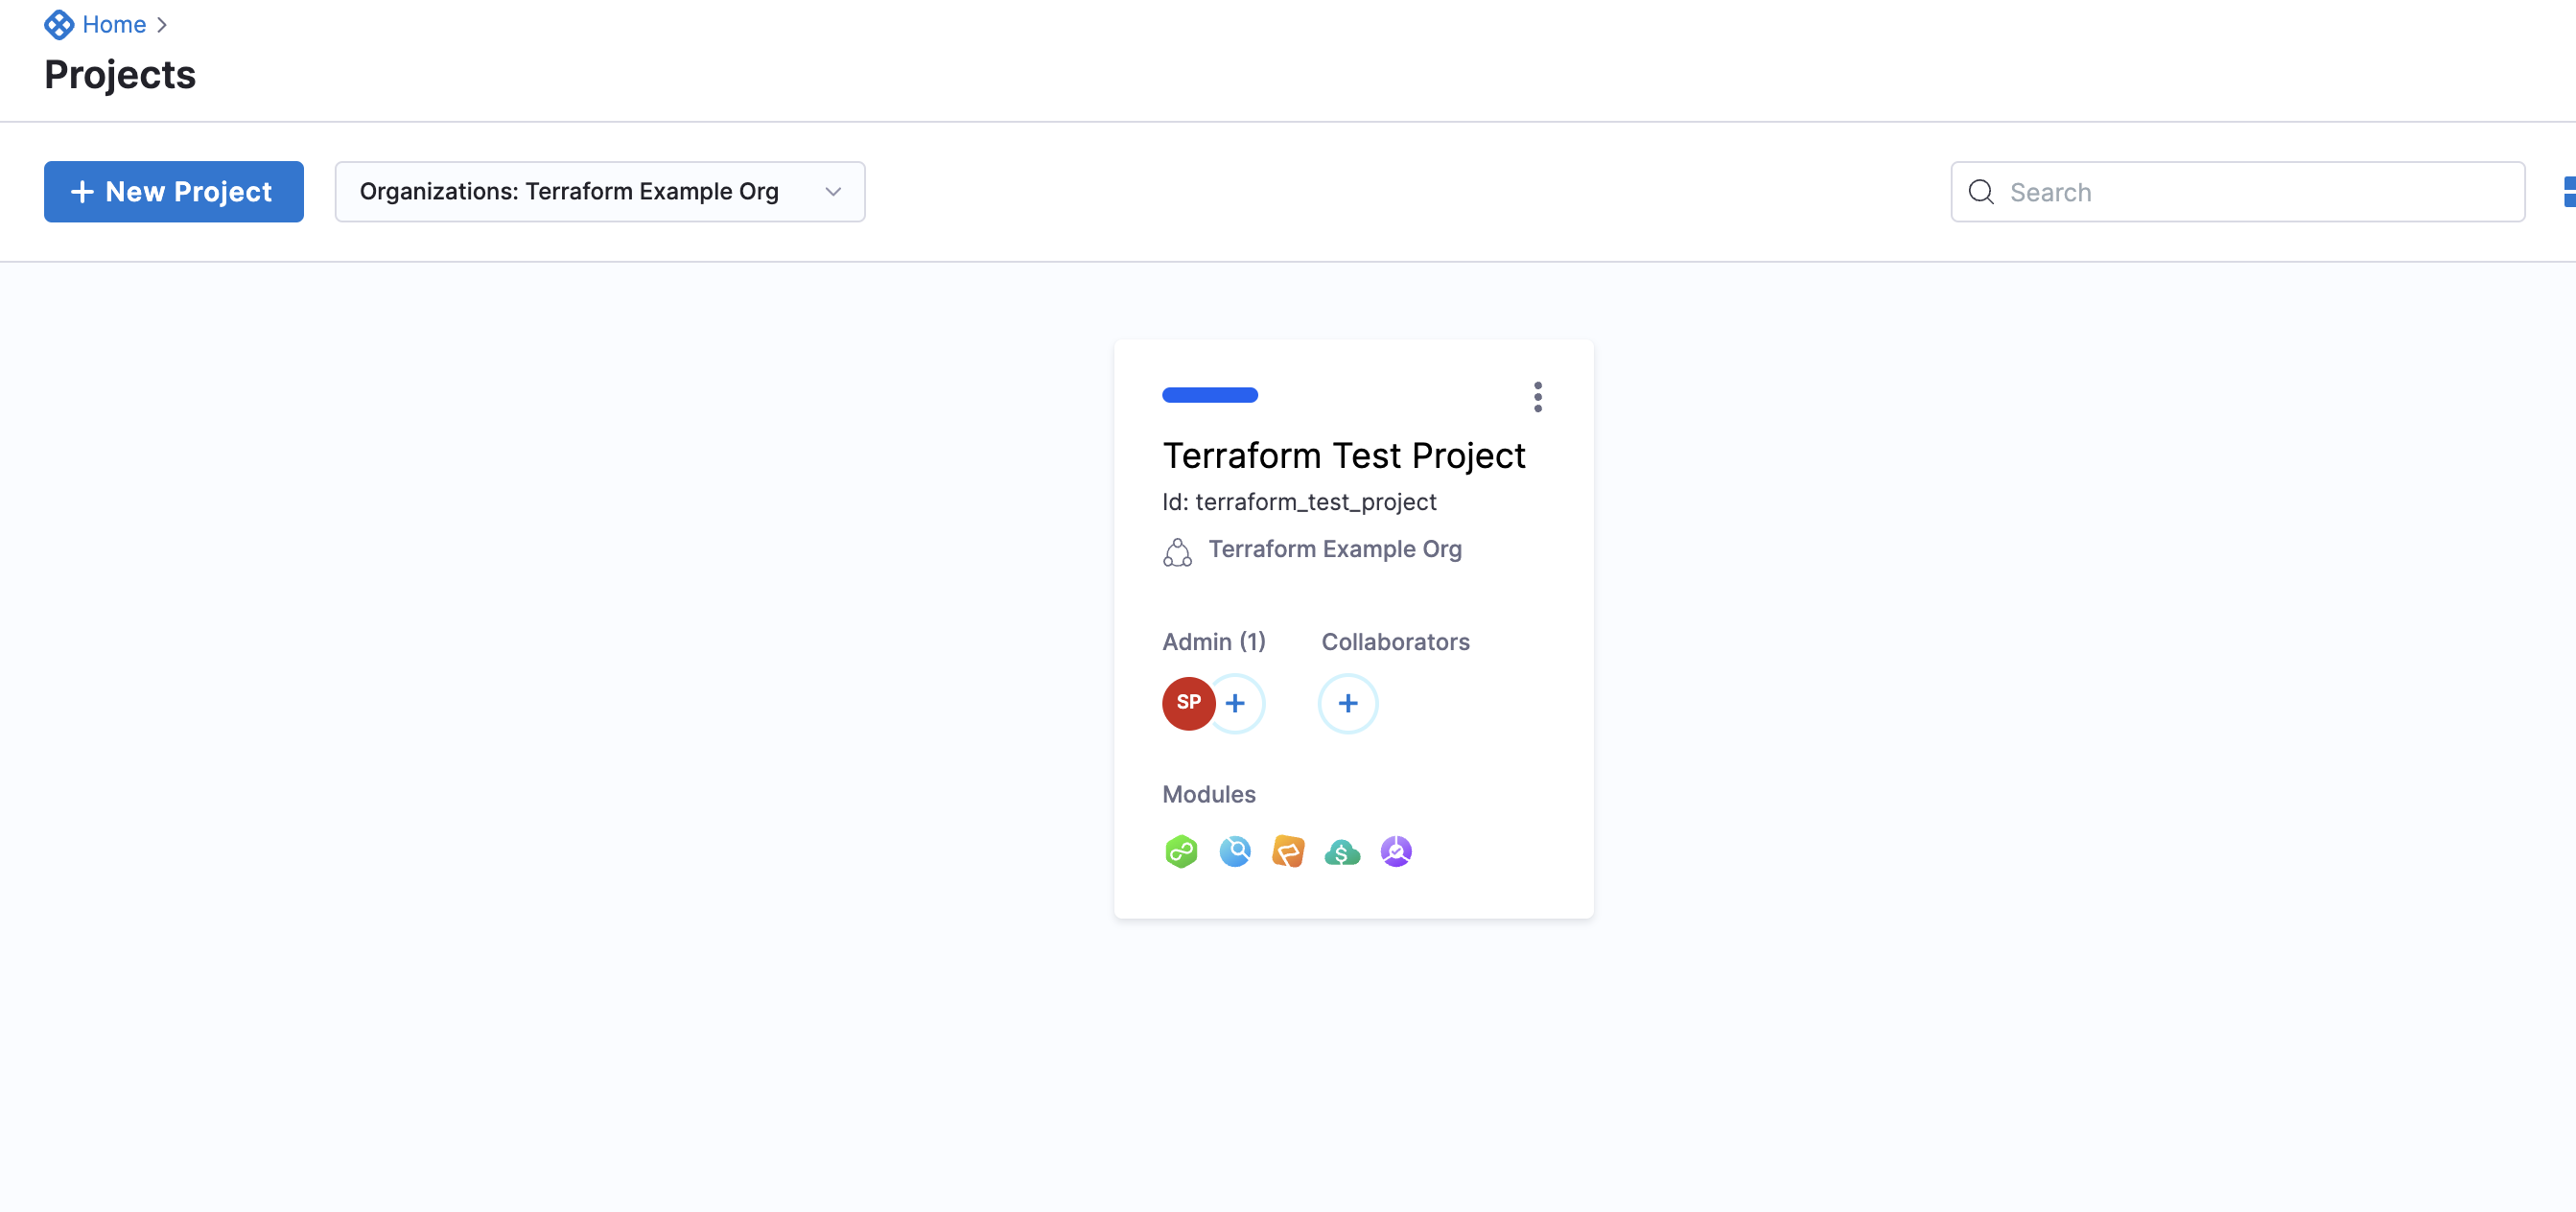
Add Project details
resource "harness_platform_project" "project" {
    name      = "Terraform Test Project"
    identifier = "terraform_test_project"
    org_id    = "terraform_example_org"
}
Your Project now appears in the list of Projects within the scope of your Organization.
 To try it out, see Harness Project.
Add Encrypted Text Secret details
resource "harness_platform_secret_text" "textsecret" {
identifier = "terraform_example_secret"
name = "Terraform Example Secret"
description = "This is a text Secret, generated through Terraform"
org_id = "terraform_example_org"
project_id = "terraform_test_project"
tags = ["example:tags"]
secret_manager_identifier = "harnessSecretManager"
value_type = "Inline"
value = "secret"
lifecycle {
ignore_changes = [
value,
]
}
}
Your Text Secret now appears in the list of Secrets within the scope of your Project.
 To try it out, see Harness Text Secret.
If you do not provide the org_id and the project_id in the configuration, the Secret is created at the Account scope.
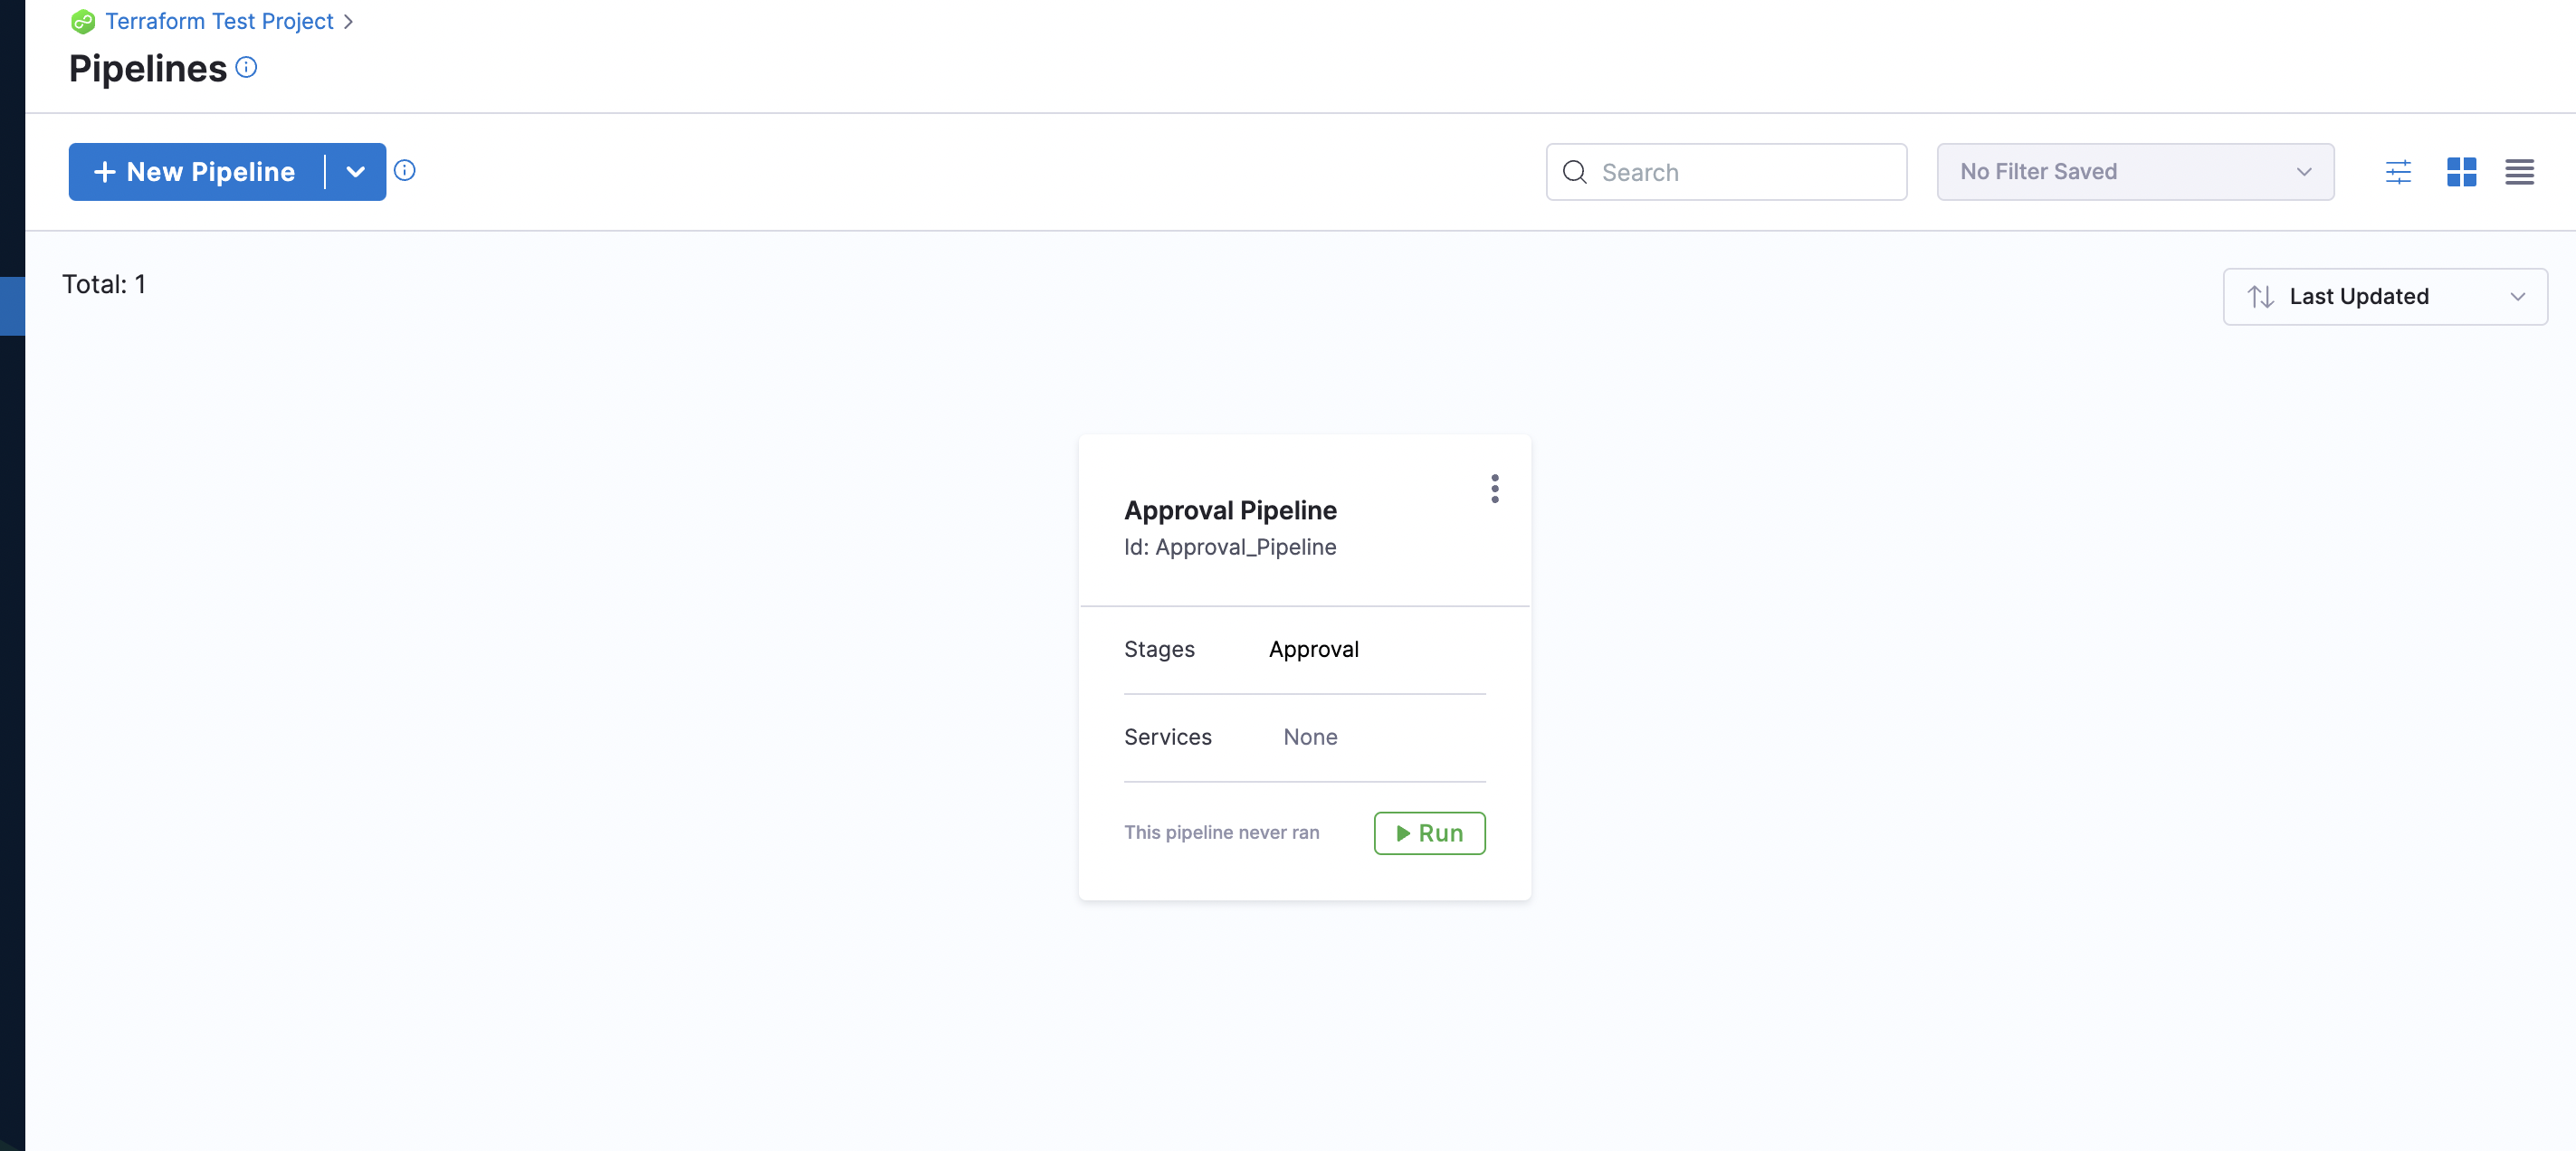
Add Pipeline details
resource "harness_platform_pipeline" "approval_pipeline" {
    identifier  = "approval_pipeline"
    name        = "Approval Pipeline"
    description = "Simple Approval Stage pipeline generated through Terraform"
    project_id  = "terraform_test_project"
    org_id      = "terraform_example_org"

    yaml        = <<PIPETEXT
    pipeline:
        name: "Approval Pipeline"
        identifier: "Approval_Pipeline"
        projectIdentifier: "terraform_test_project"
        orgIdentifier: "terraform_example_org"
        tags: {}
        stages:
             - stage:
                name: Approval
                identifier: Approval
                description: ""
                type: Approval
                spec:
                    execution:
                        steps:
                            - step:
                                name: Approval Step
                                identifier: Approval_Step
                                type: HarnessApproval
                                timeout: 1d
                                spec:
                                    approvalMessage: Please review the following information and approve the pipeline progression

includePipelineExecutionHistory: true
                                    approvers:
                                        minimumCount: 1
disallowPipelineExecutor: false
                                        userGroups:
                                            - account.testmv
                                    approverInputs: []
                    tags: {}
PIPETEXT
}
Your Pipeline now appears in the list of Pipelines within the scope of your Project.
 To try it out, see Harness Pipeline.
Provision Harness infrastructure
You can create the Harness infrastructure by performing the following steps:
- Initialize: run the following command to initialize a working directory and set up the correct version of the Harness Terraform Provider.
terraform init
This command also creates a .terraform directory and downloads specific plugins.
2. Plan: run the following command to add desired resources.
terraform plan
This command creates an execution plan. 3. Apply: run the following command to apply the plan you just created.
terraform apply
This command executes your plan.Once you confirm the execution plan, Terraform generates a state file terraform.tfstate to track the state of all the resources it manages. This file is used to detect differences during the plan and detect configuration drift. For more details, see State.
Terraform import
You can provision existing resources that you have created and bring them under Terraform management.
To do this, use the following command:
terraform import
To learn more about the life cycle of a Terraform resource, see Lifecycle of a Terraform Resource.
To try out Harness Terraform provider, see Harness Provider.