Authentication overview
This topic provides an overview of Authentication in Harness. It describes various ways to authenticate users.
Before you begin
- Make sure you have permissions to Create/Edit, Delete Authentication Settings.
Review: Authentication Settings
Harness Access control includes:
- Authentication — This checks who the user is.
- Authorization — This checks what the user can do.
- Auditing — This logs what the user does.
This topic focuses on Authentication. For more on Authorization, see Access Management (RBAC) Overview.
Users in Administrator groups can use Authentication Settings to restrict access to an organization's Harness account. The options you choose will apply to all your account's users. These options include:
- Enable Public OAuth Providers
- Enable SAML Providers
- Enforce Password Policies
- Enforce Two Factor Authentication
- Restrict Email Domains
Configure Authentication
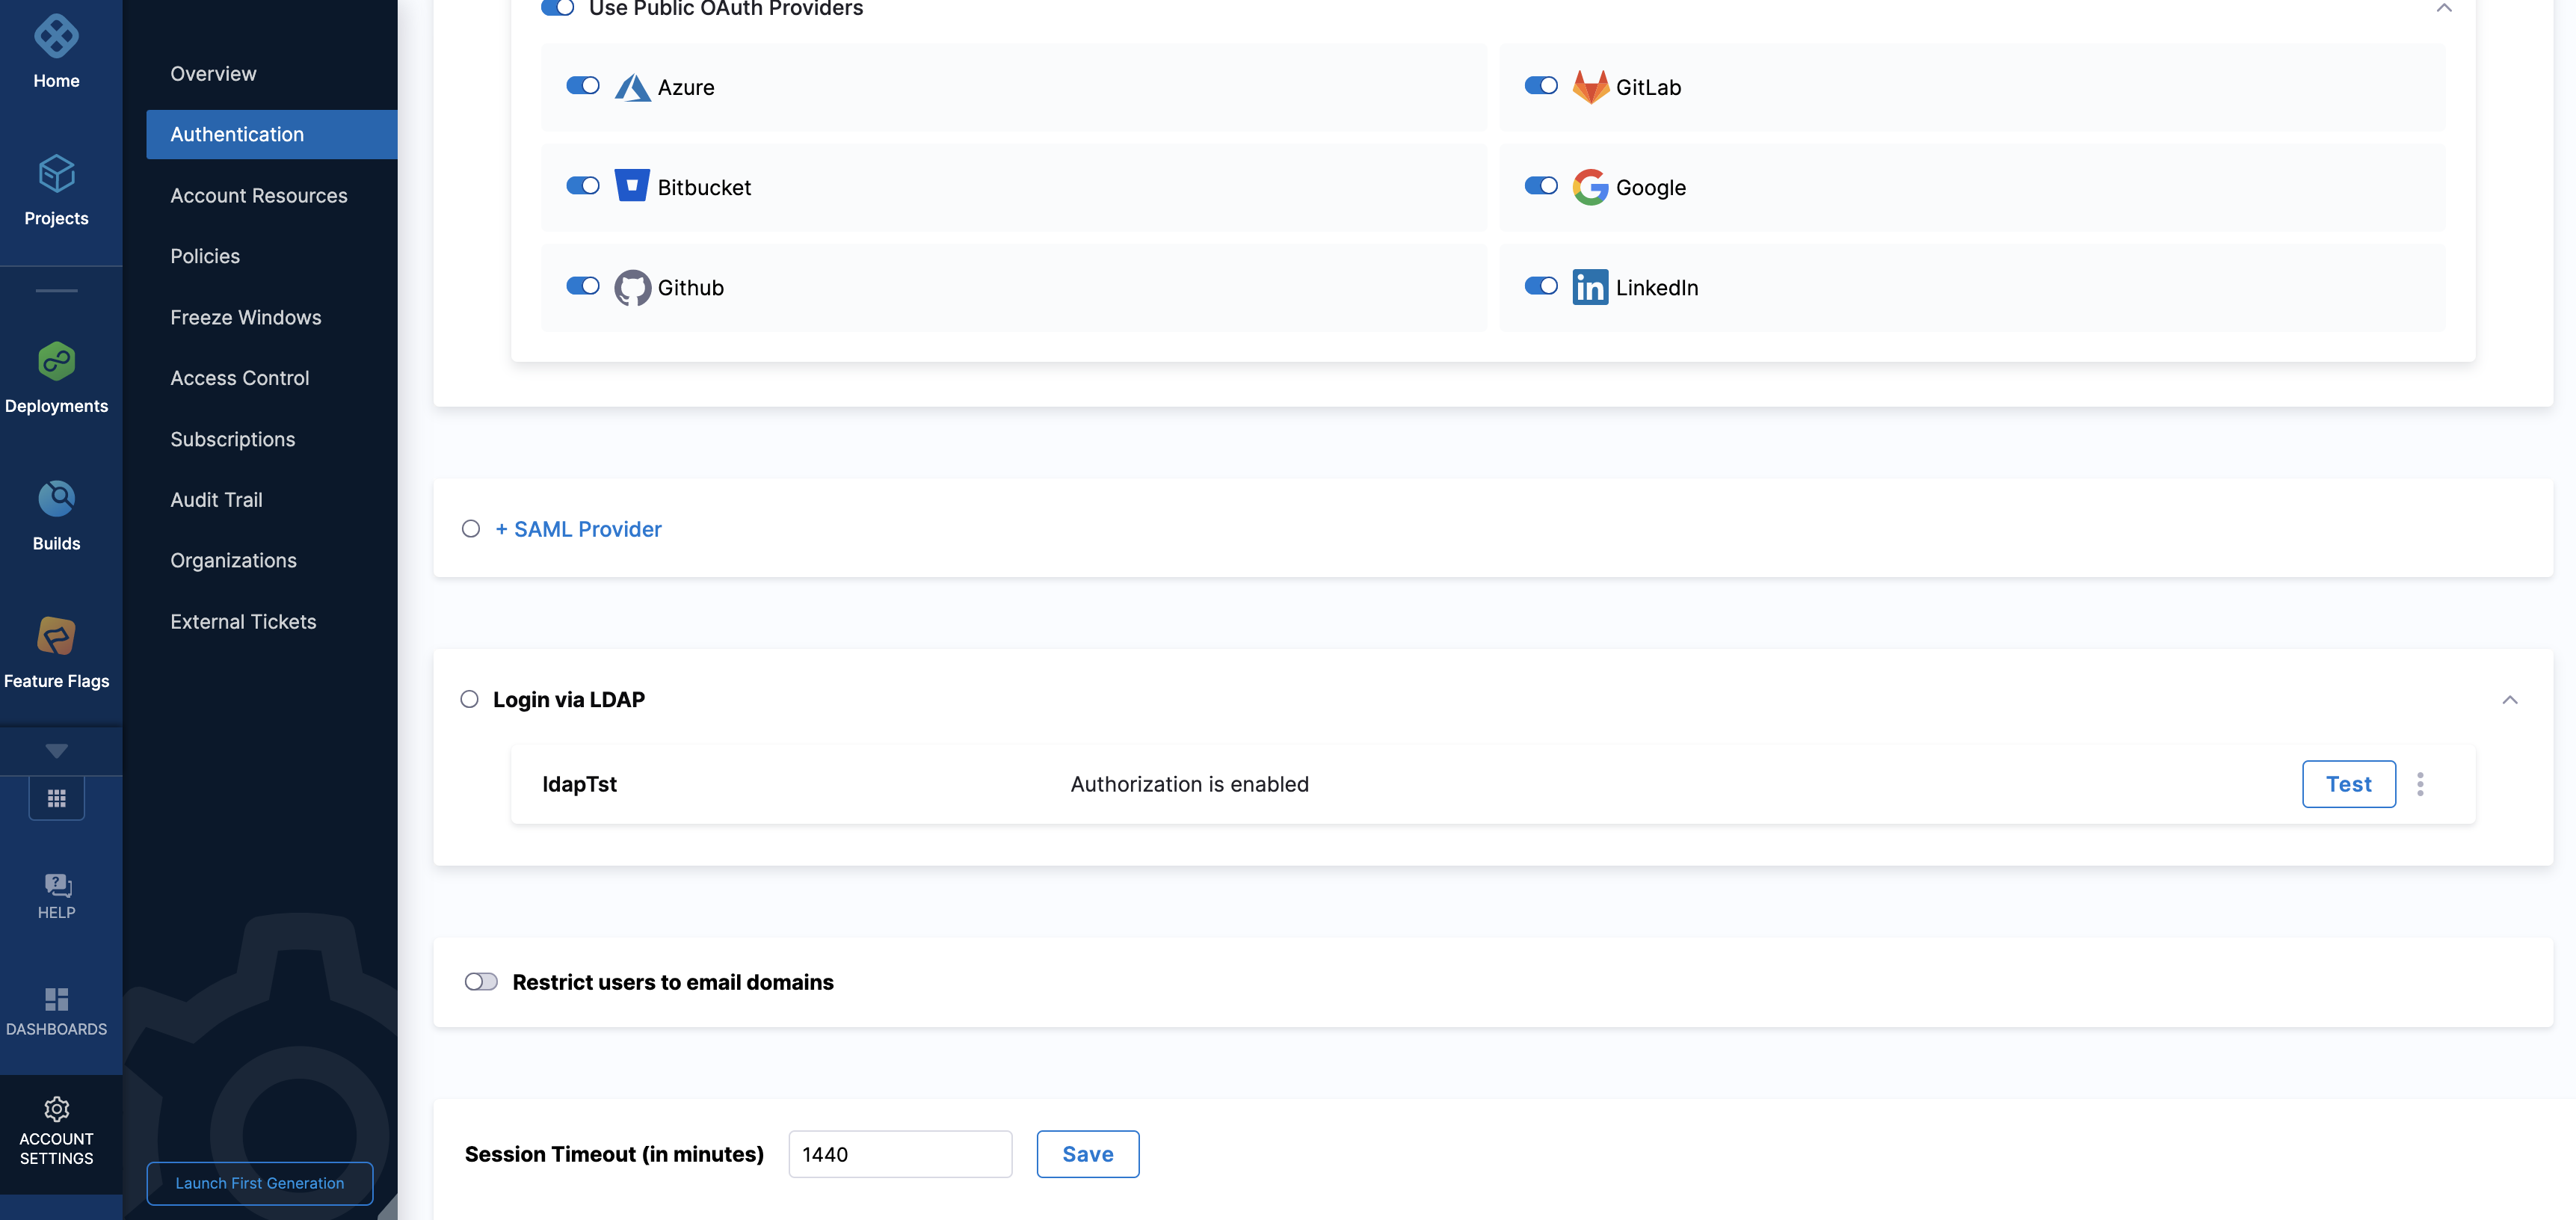
- In Home, Click Authentication under ACCOUNT SETUP.
- The Authentication: Configuration page appears.
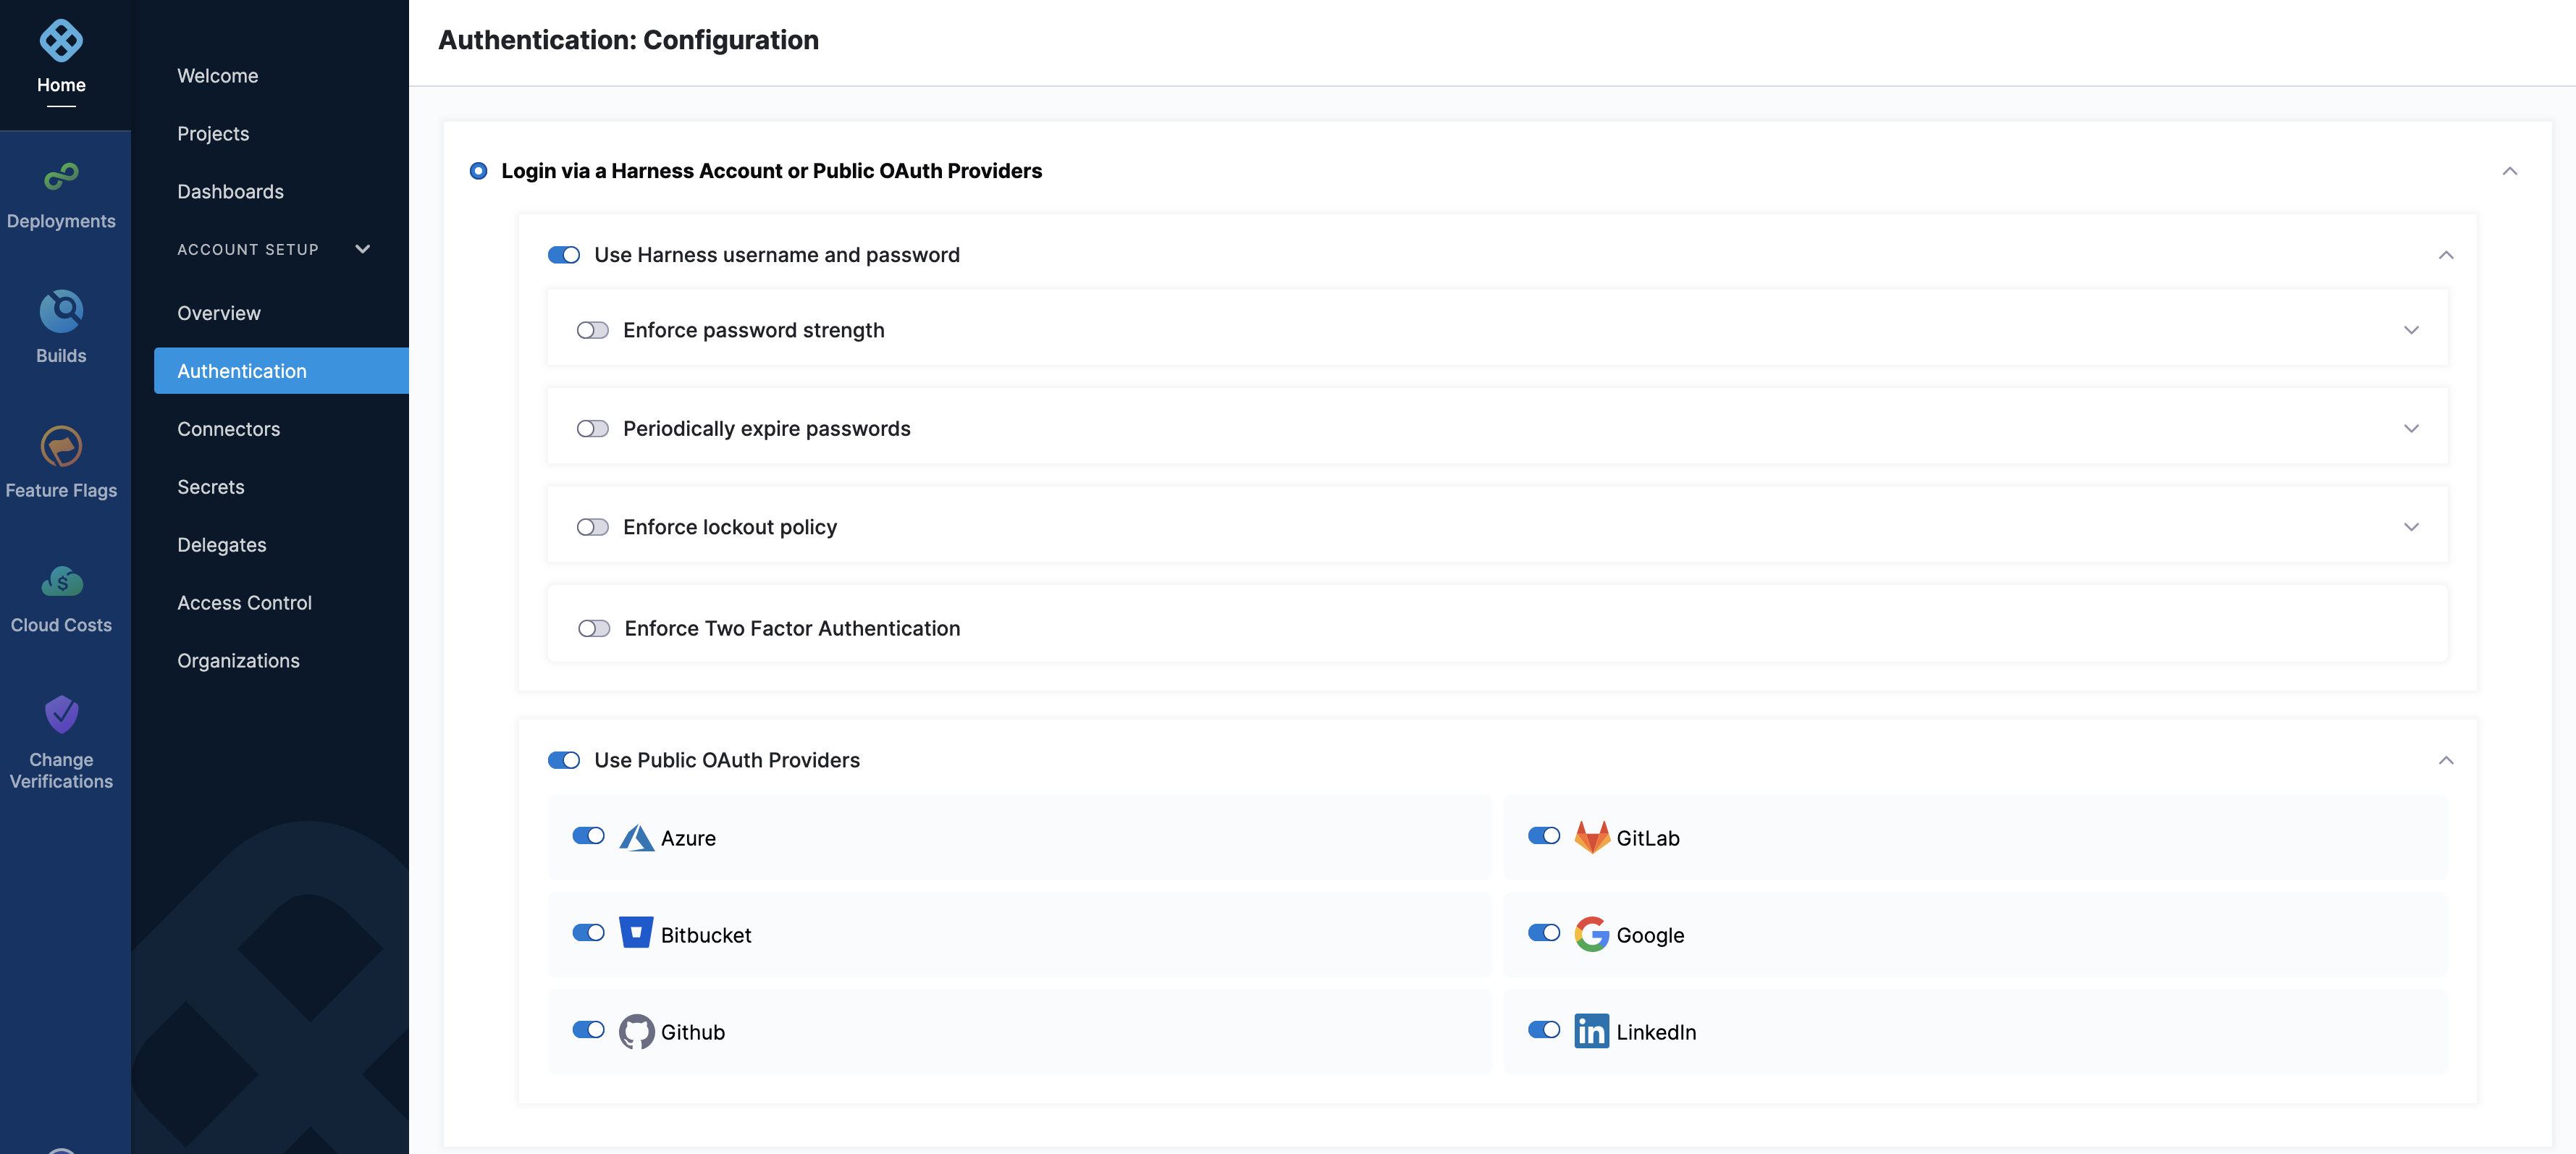
- You can choose one of the below as the default Authentication method:
- Login via a Harness Account or Public OAuth Providers
- SAML Provider
Enable Public OAuth Providers
In the Use Public OAuth Providers section, you can enable Harness logins via a range of single sign-on mechanisms. Enable this slider to expose sliders for enabling individual OAuth partners.
For more on OAuth Providers, see Single Sign-On with OAuth.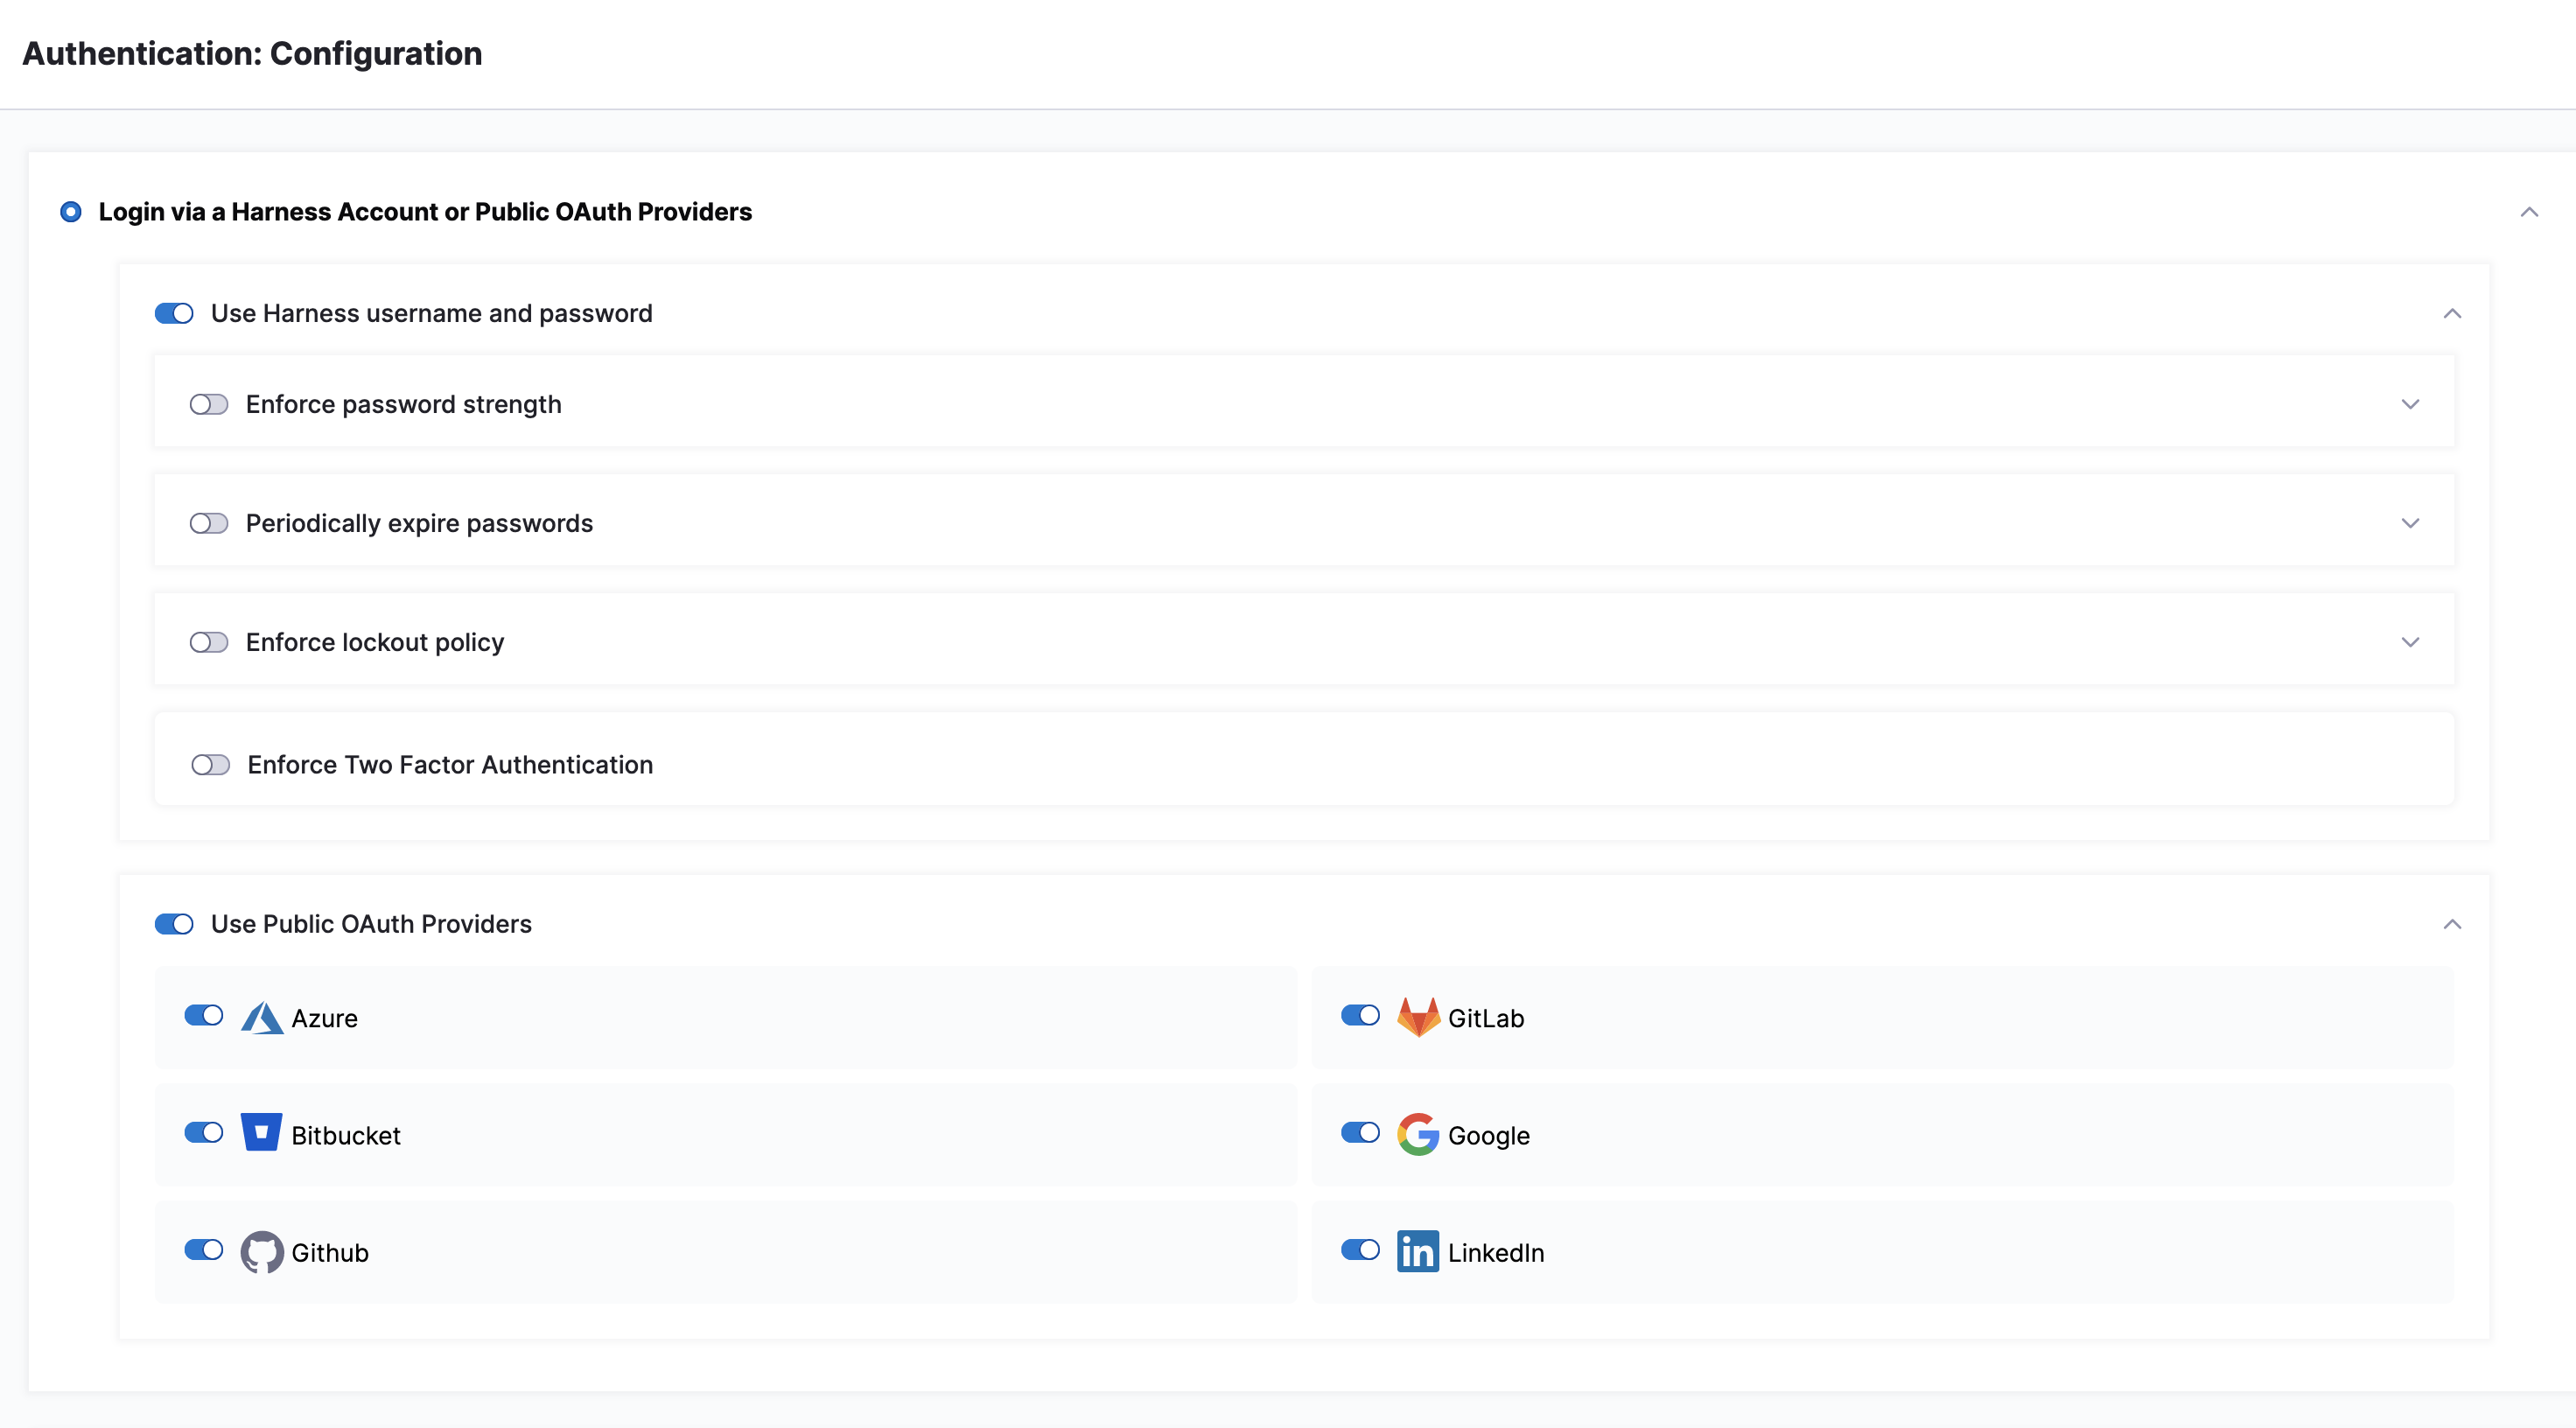
Enable Security Assertion Markup Language (SAML) Providers
Select SAML Provider to enable a SAML Provider. To do this, you should first disable any configured public OAuth providers.
For more on adding a SAML Provider, see Single Sign-On with SAML.
Enforce Password Policies
You'll see specific controls to govern the following password requirements:
+ Enforce password strength
+ Periodically expire passwords
+ Enforce Two Factor Authentication
Enforce Password Strength
Select Enforce password strength to open the dialog shown below.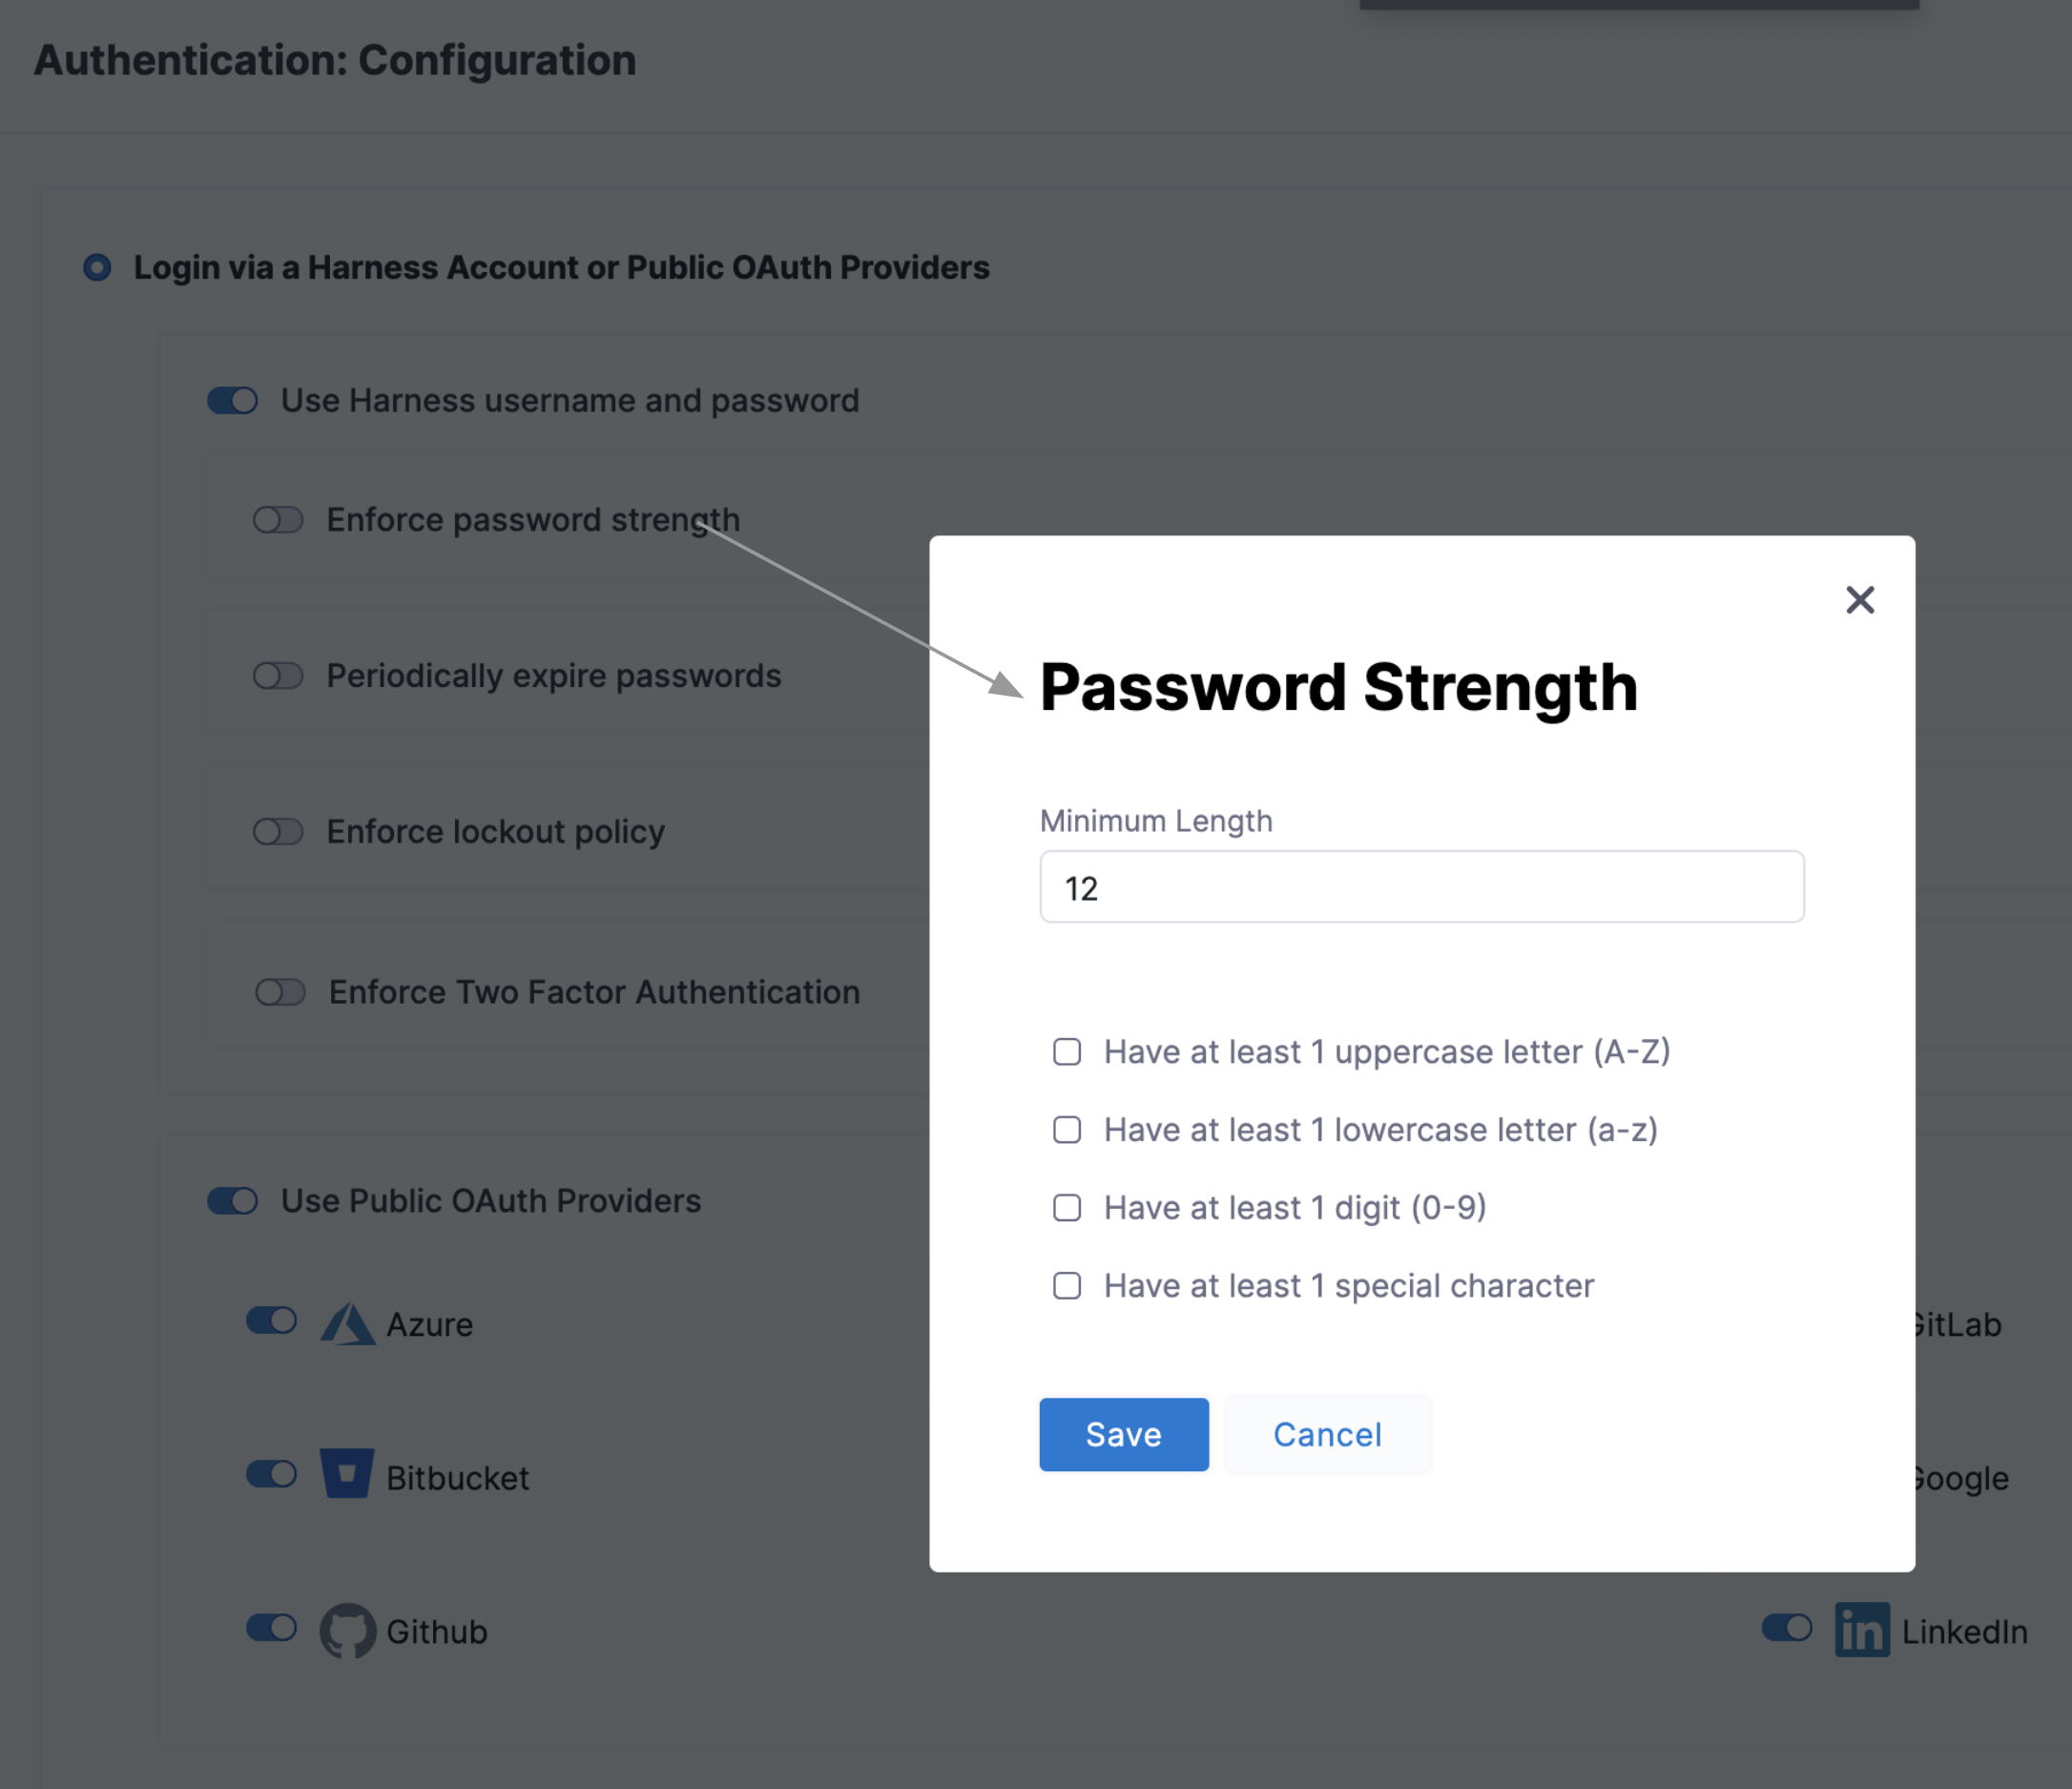
- Here you can specify and enforce any or all of the below options:
- Minimum password length.
- Include at least one uppercase letter.
- Include at least one lowercase letter.
- Include at least one digit.
- Include at least one special character.
If you enforce Have at least one special character, each password must include one (or more) of the following characters: ~!@#$%^&*_-+=|(){}[]:;"'<this-tag>,.?/`
Enforce Password Expiration
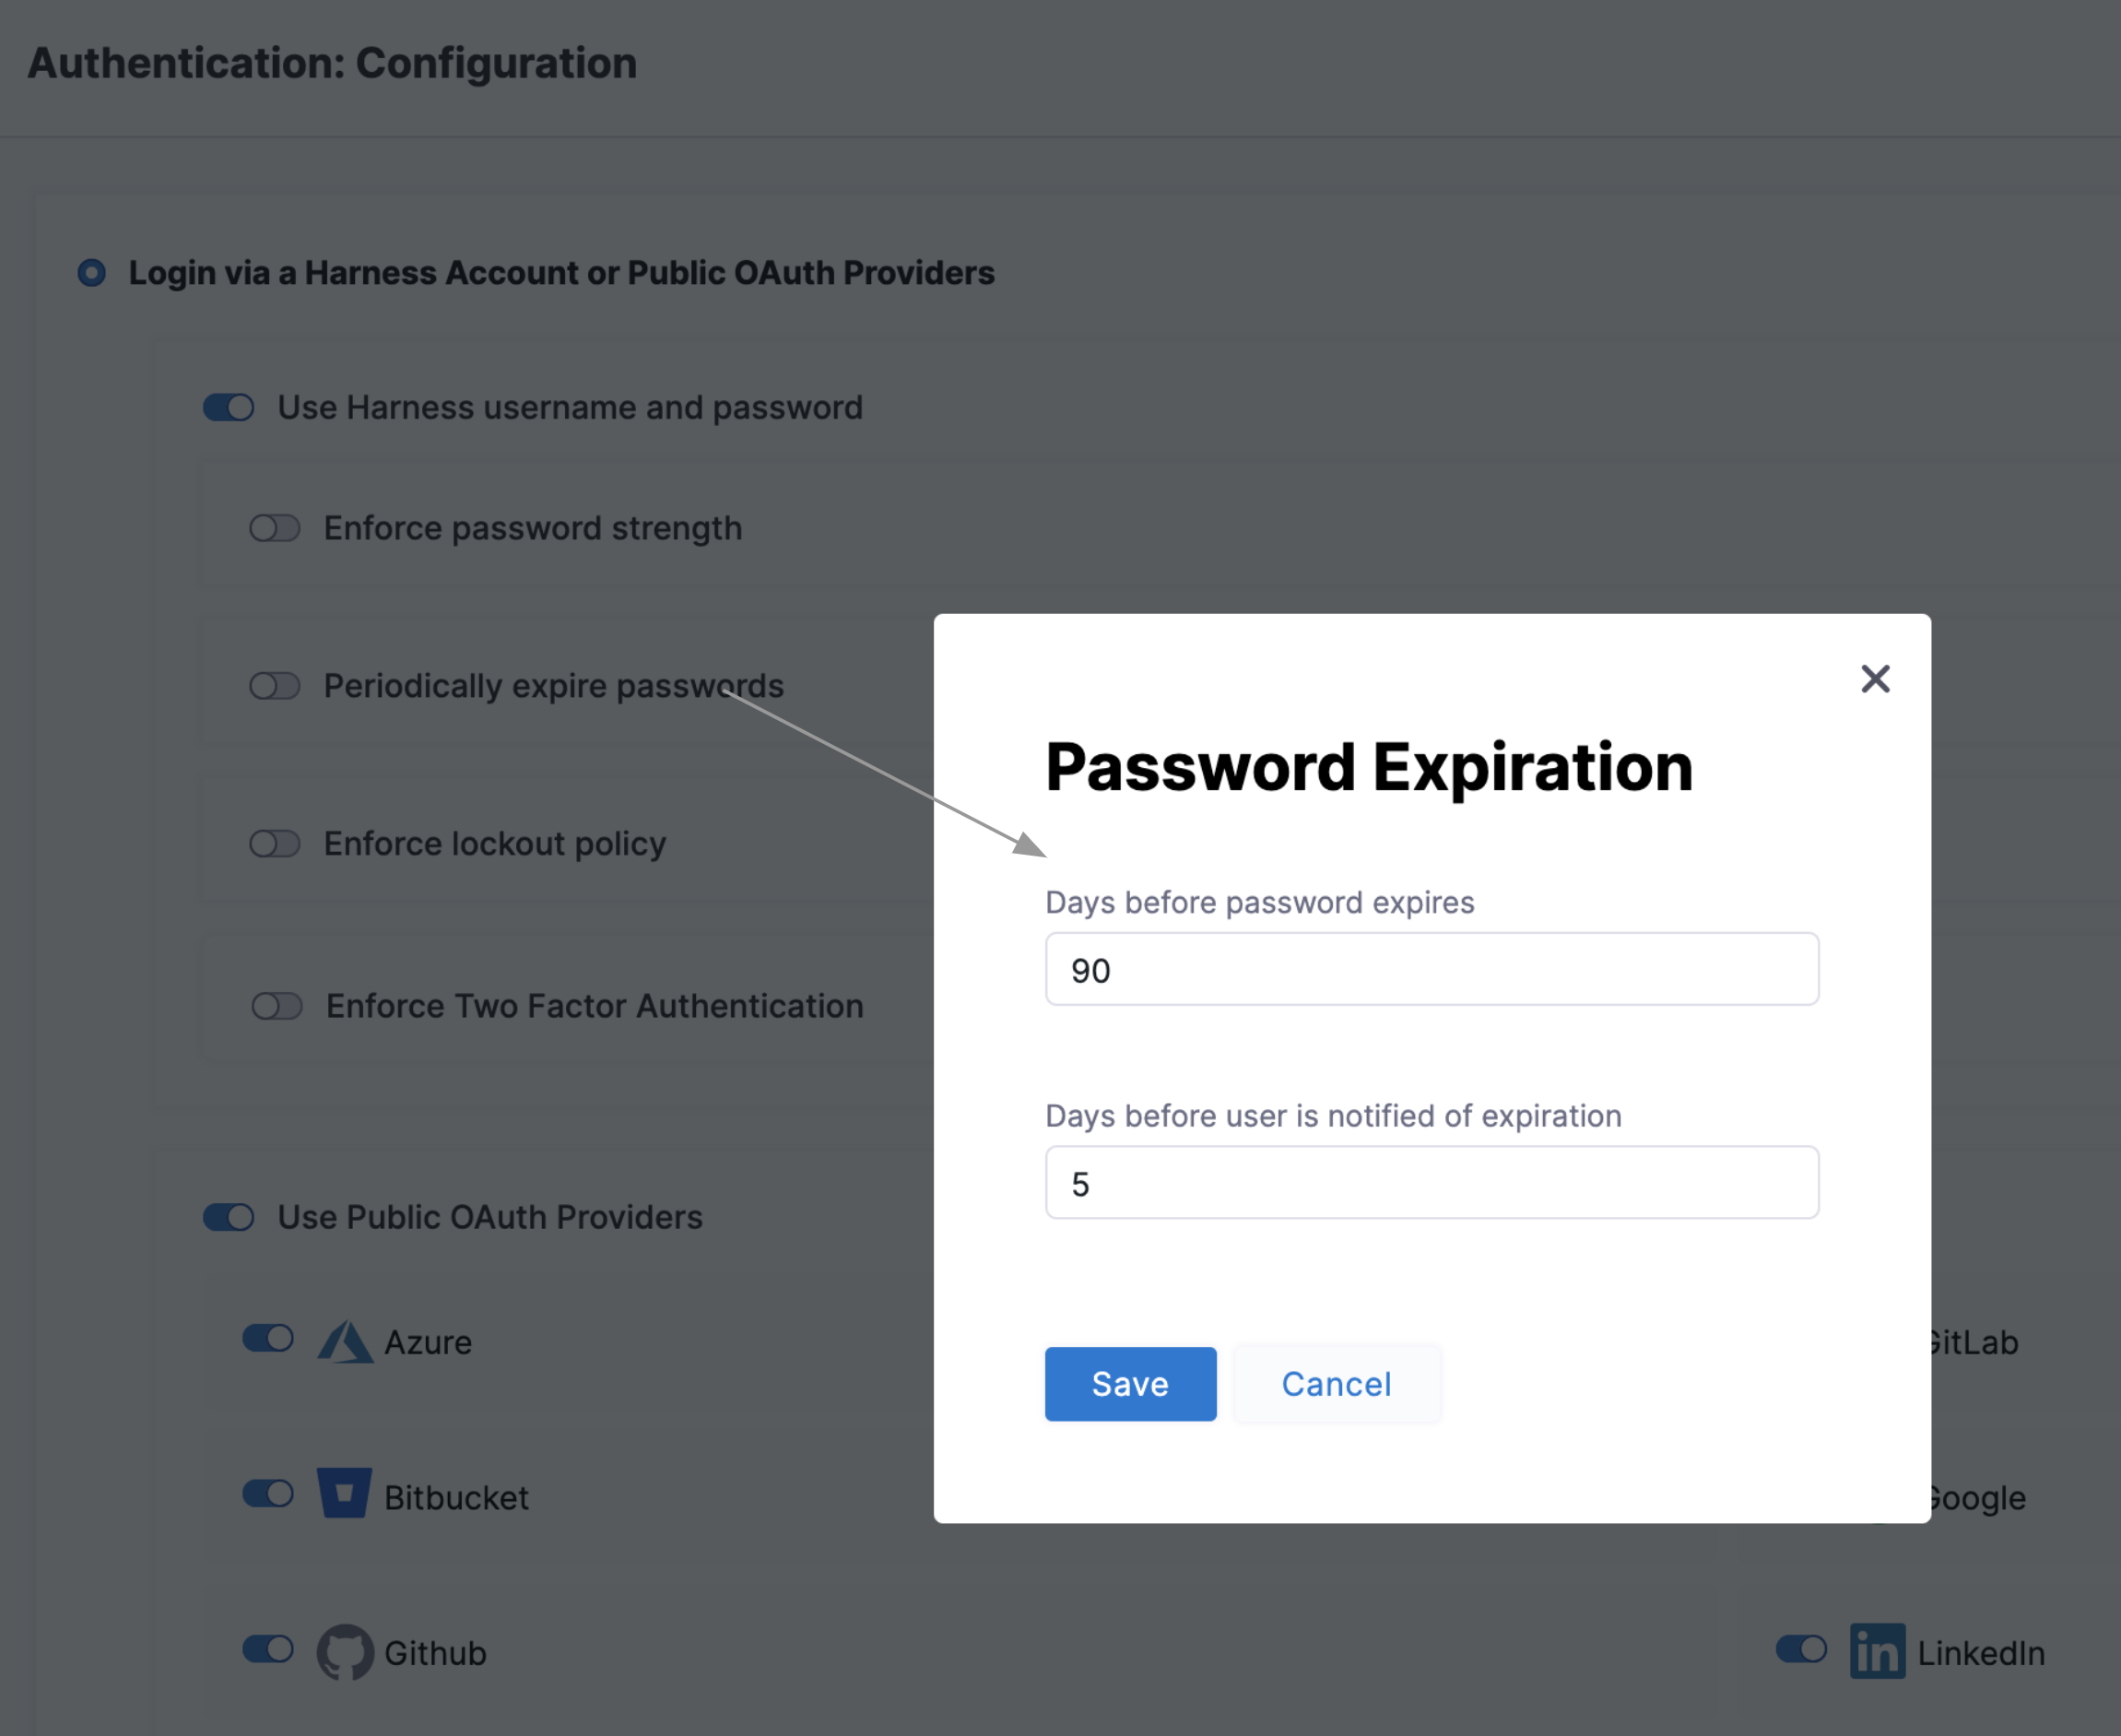
Select Periodically expire passwords to set an interval at which users must refresh their Harness passwords. In the same dialog, you can also set an advance notification interval.
Enforce Lockout After Failed Logins
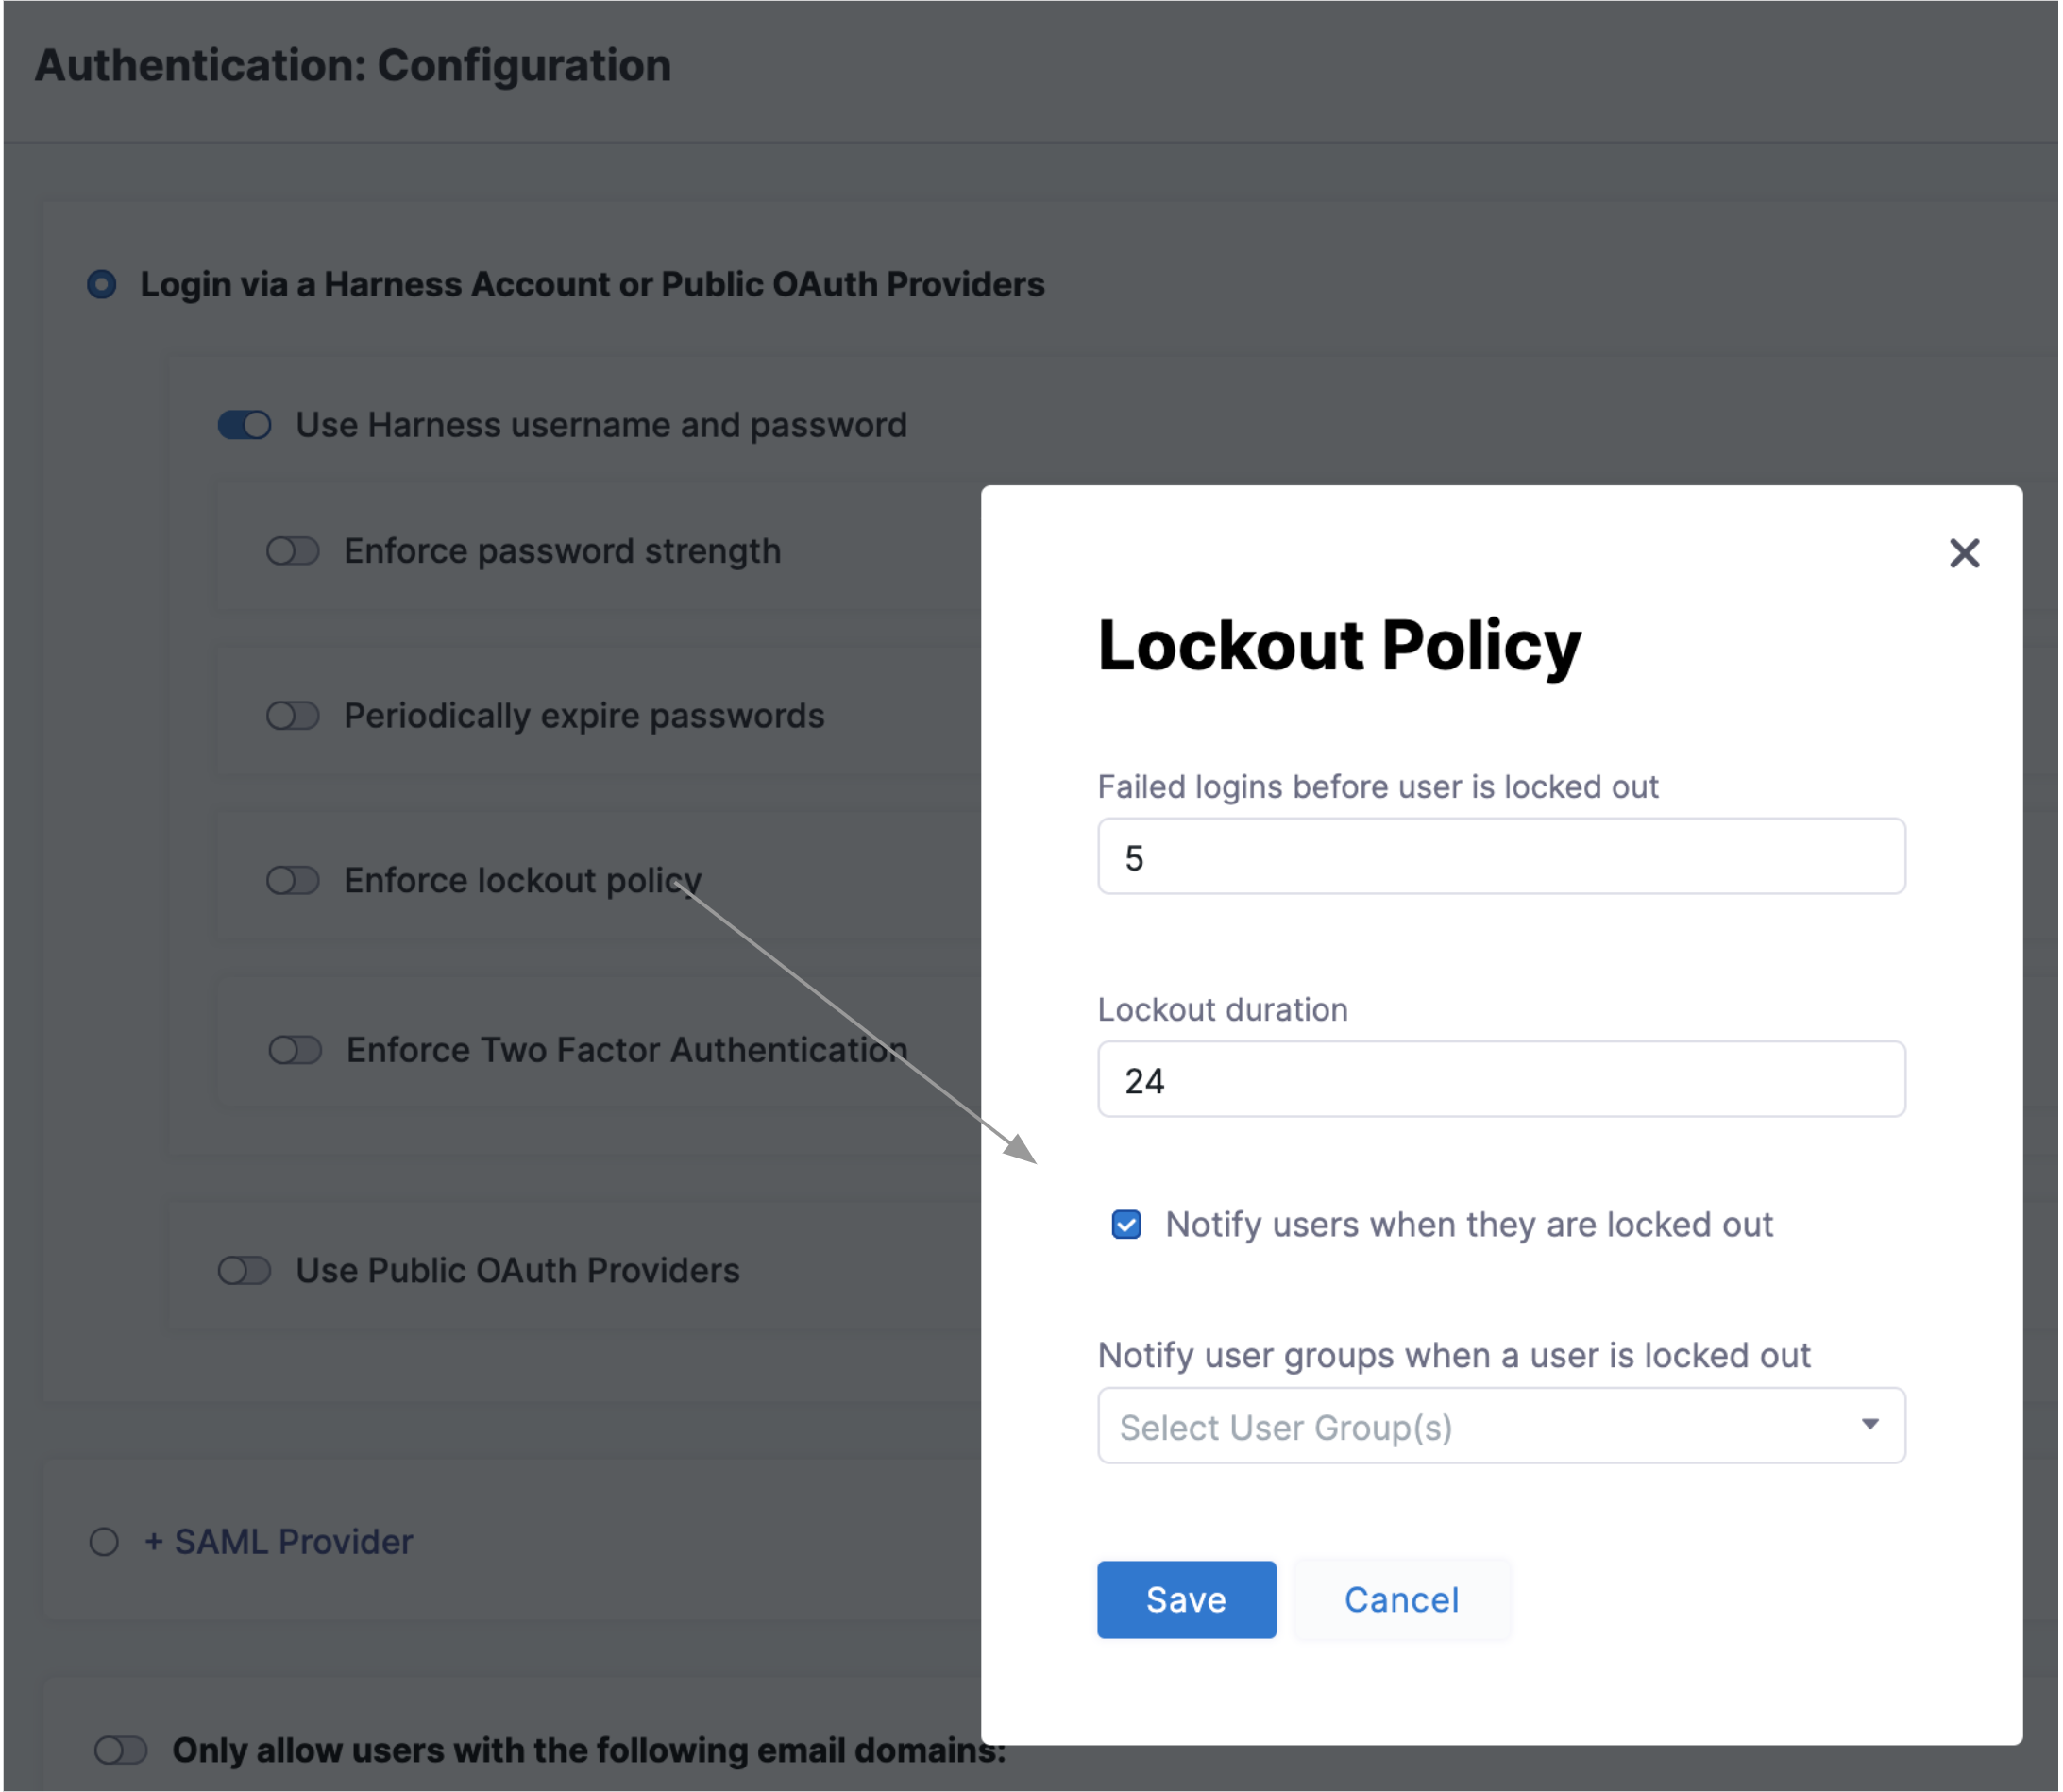
Select Enforce lockout policy to open the dialog shown below. It offers independent controls over the lockout trigger (how many failed logins), lockout time (in days), and notifications to locked-out users and to Harness user groups.
 You can see a summary on the main Authentication page:

Enforce Two Factor Authentication
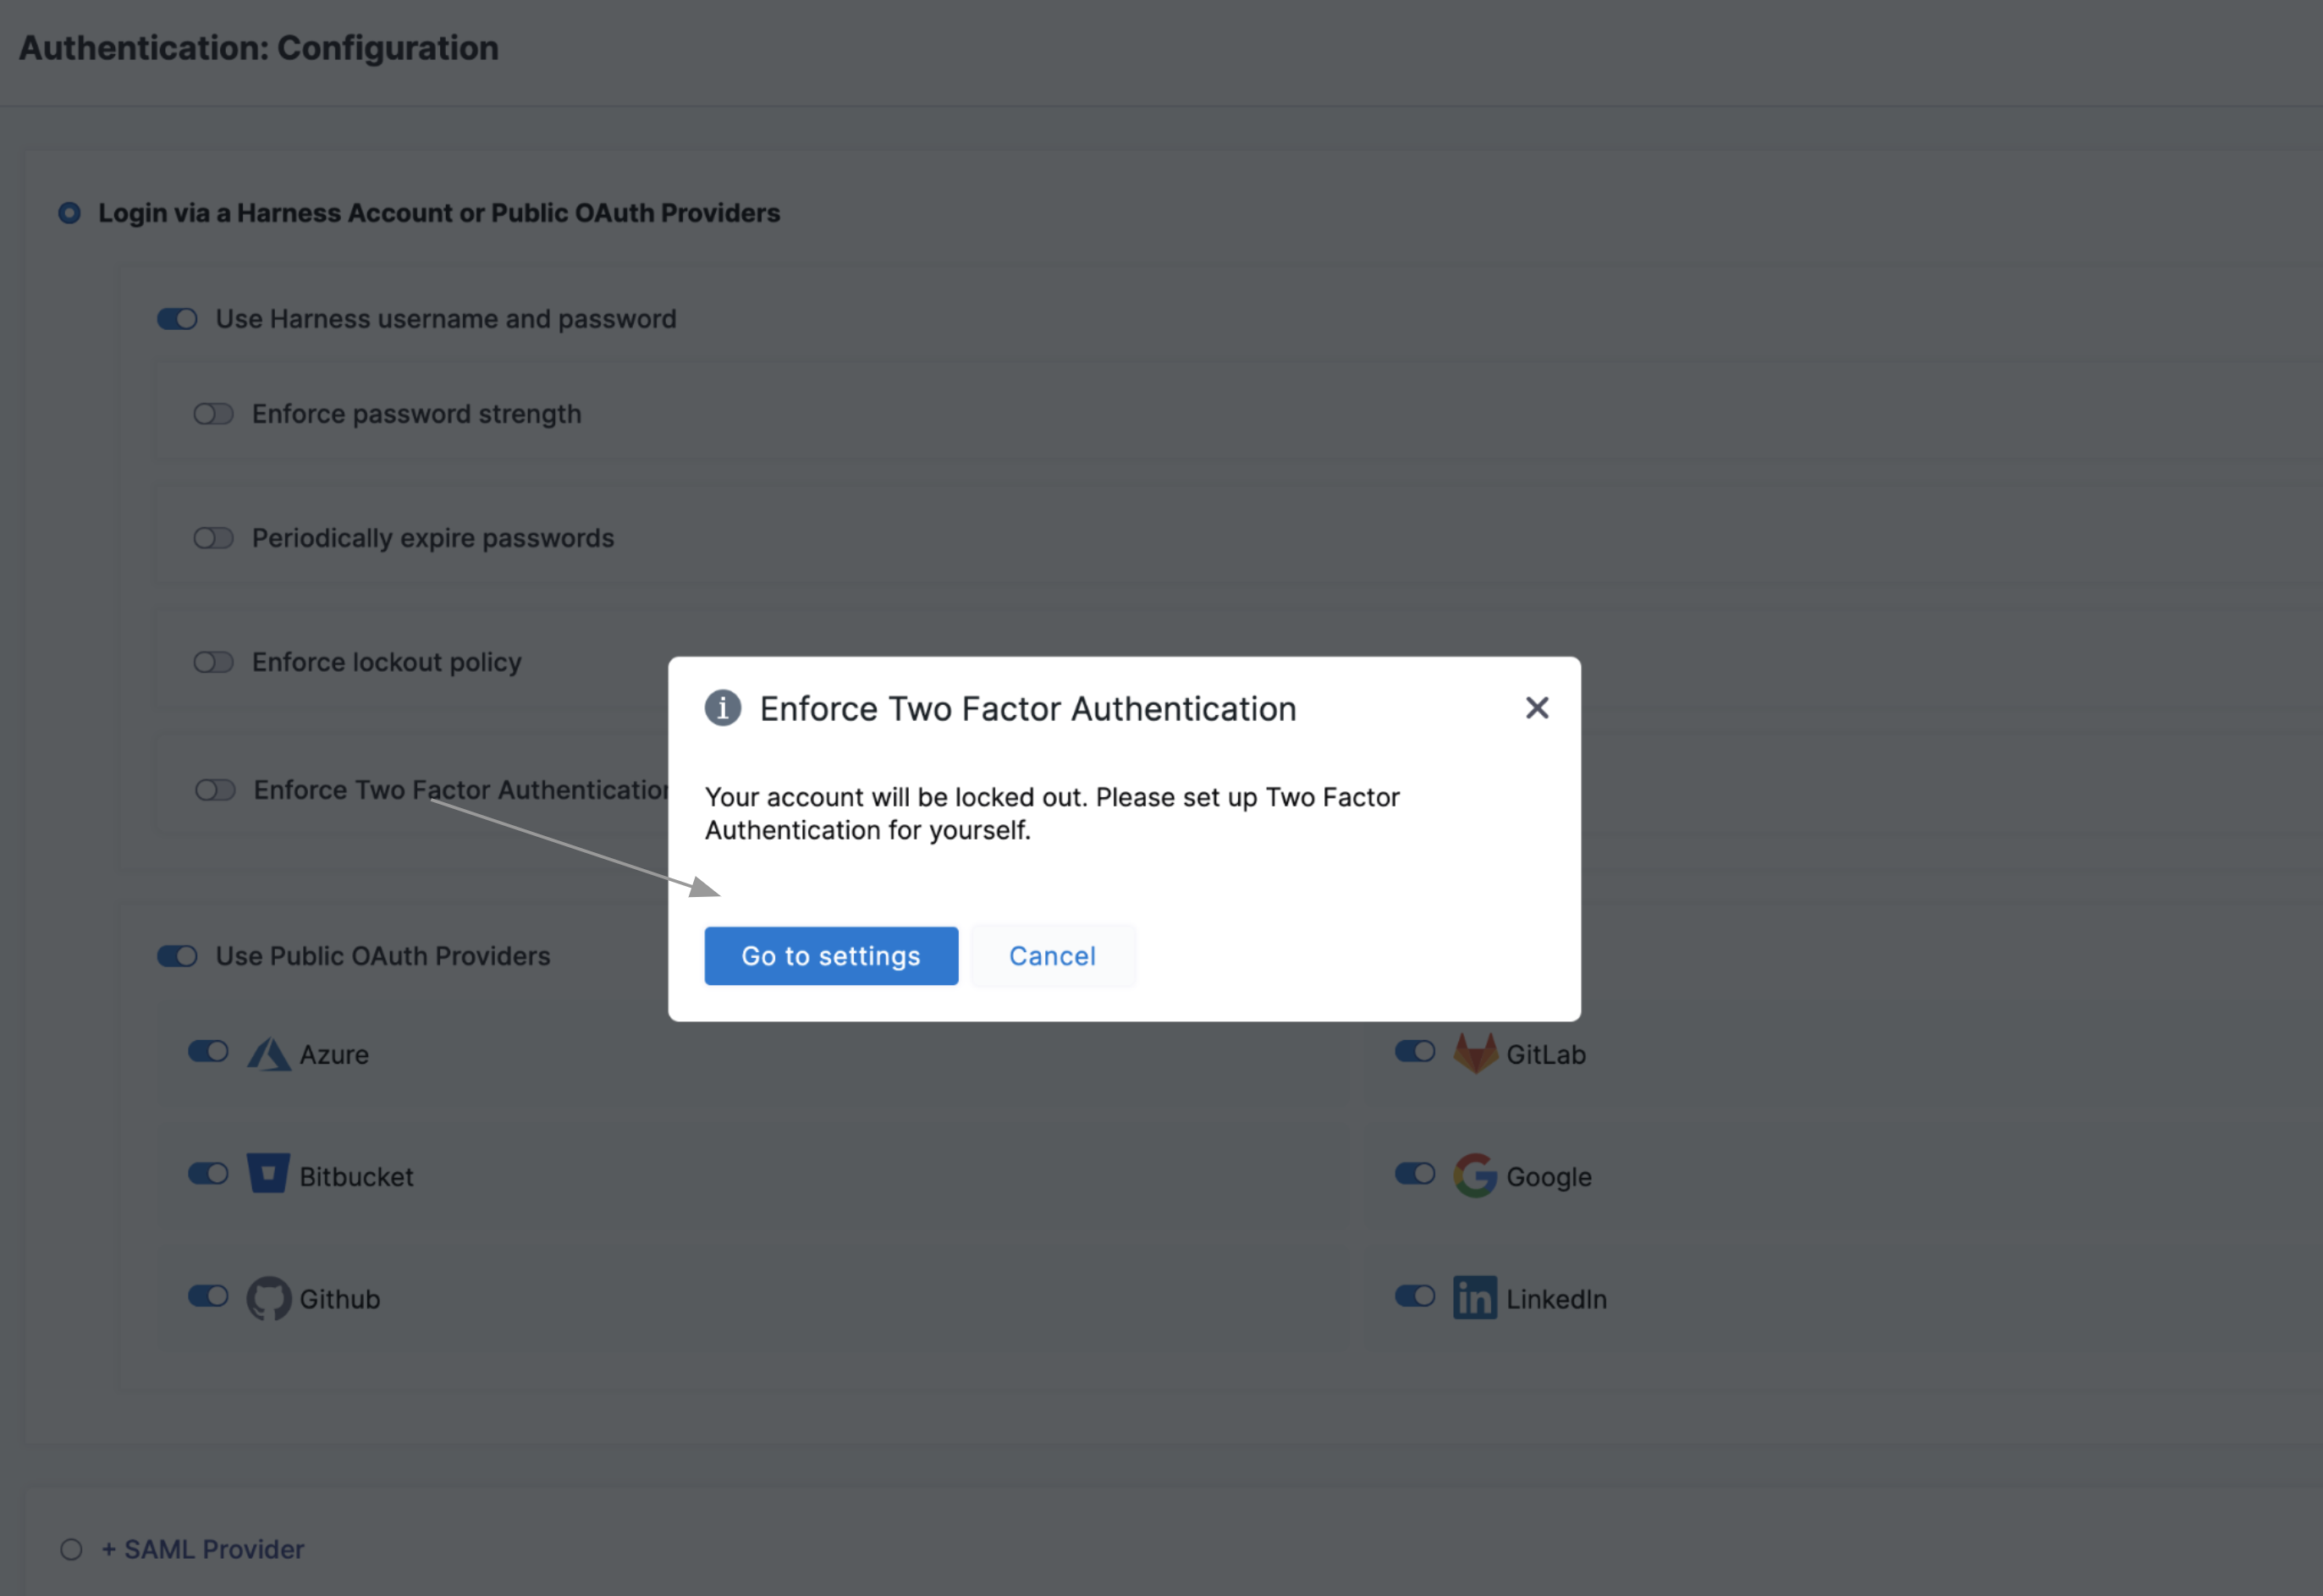
Select Enforce Two Factor Authentication to enforce 2FA for all users in Harness. This option will govern all logins — whether through SSO providers or Harness username/password combinations. For more information on Two-Factor Authentication see Two-Factor Authentication.
Set Up Vanity URL
You can access app.harness.io using your own unique subdomain URL.
The subdomain URL will be in the following format, with {company} being the name of your account:
https://{company}.harness.io
Contact Harness Support to set up your Account's subdomain URL. The subdomain URL cannot be changed later.Harness automatically detects your Account ID from the subdomain URL and redirects you to the Account's login mechanism.
Restrict Email Domains
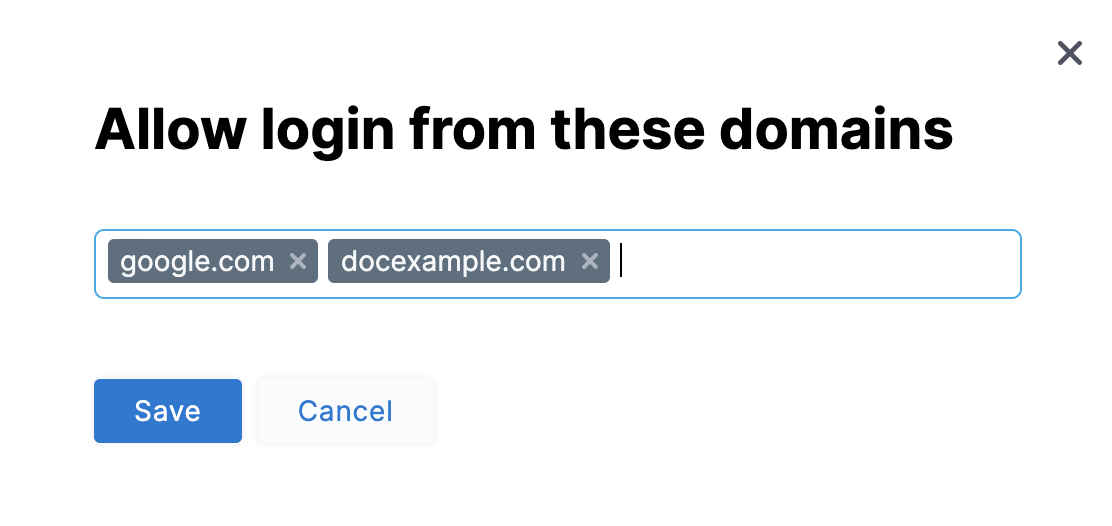
Select Only allow users with the following email domains: to allow (whitelist) only certain domains as usable in login credentials. In the dialog shown below, build your allowlist by simply typing your chosen domains into the Domains multi-select field.
 Click Save. You can see the success message - Domain restrictions have been updated successfully displayed on top of the page and the domains you have whitelisted in the panel.
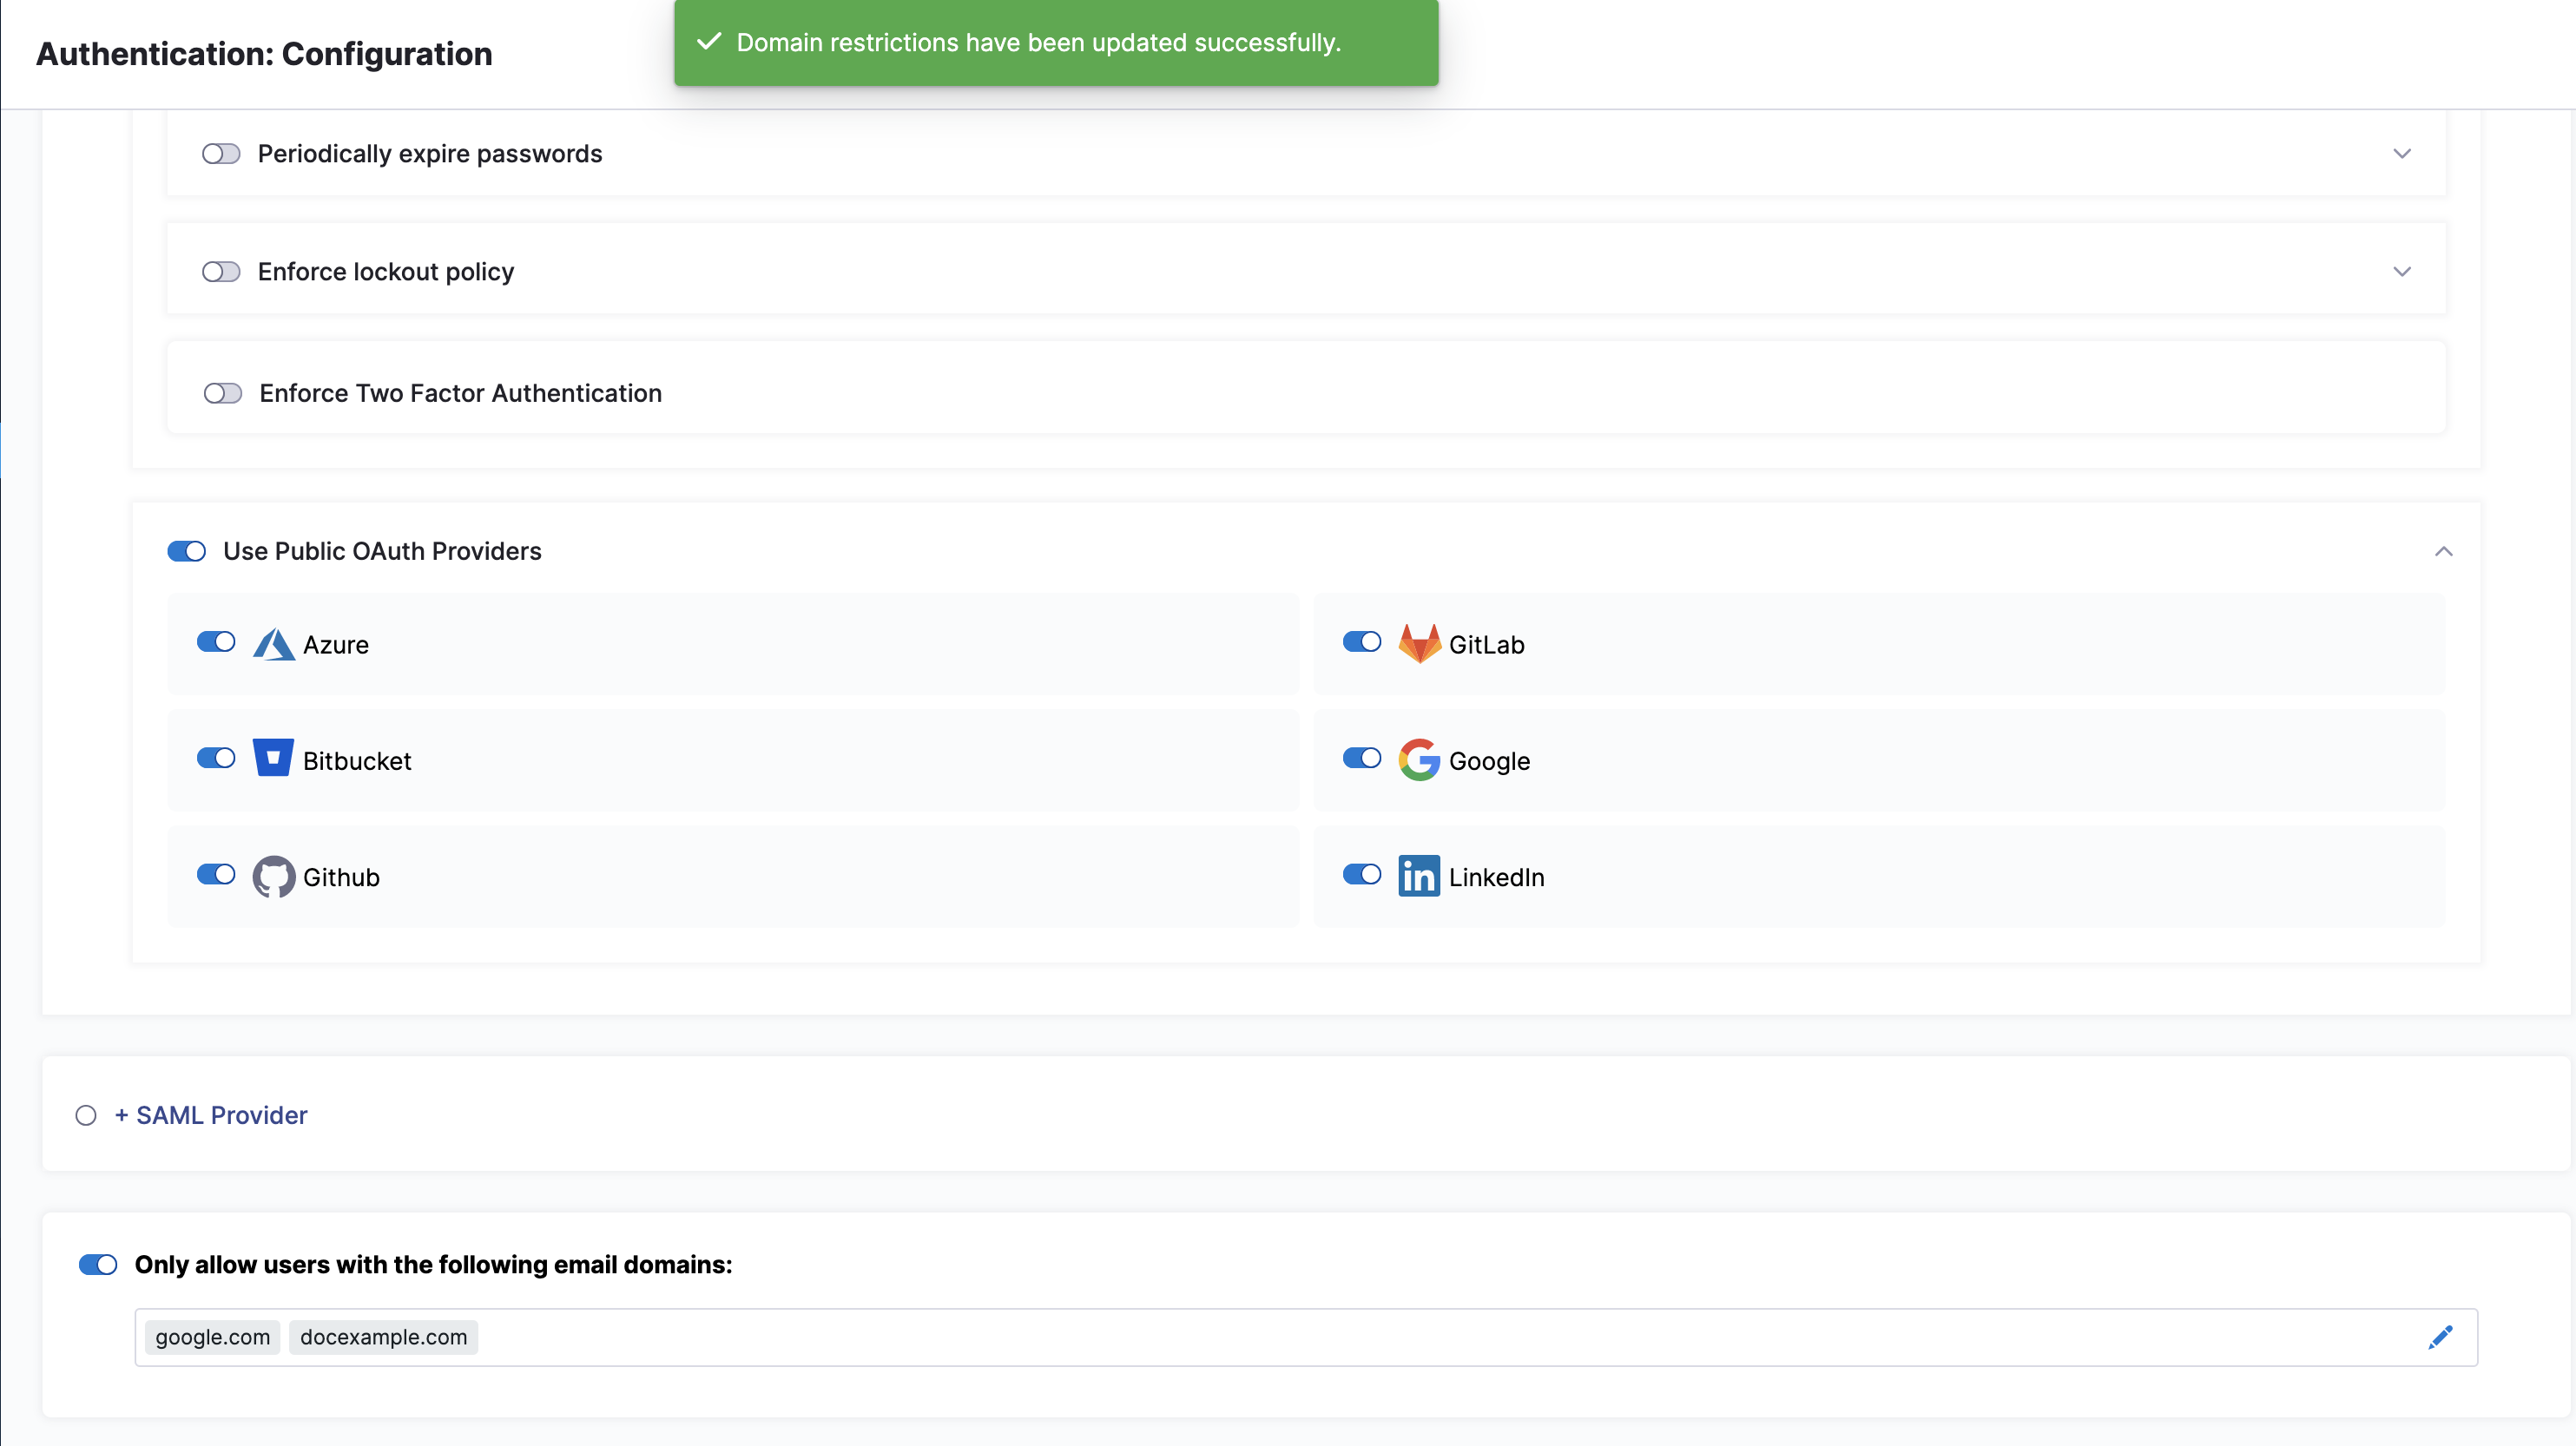 Your resulting allowlist will impose a further filter on logins to Harness via both SSO providers and Harness username/passwords.You can modify your domain selections by clicking the Edit icon.

Set inactive session timeout
Harness logs a user out of their account after a session timeout if there has been no activity.
To configure your account's session timeout:
In your Harness account, select Account Settings.
Select Authentication.
In Session Timeout (in minutes), enter the time in minutes to set the session time out.
The default session timeout value is 1440 minutes.
You can set this to a minimum of 30 minutes and a maximum of 4320 minutes.
