Getting started with Harness Self-Managed Enterprise Edition
This topic provides the basics on how to create a Harness account and your first project. These are the first tasks that come after you install Harness Self-Managed Enterprise Edition.
For links to information about using CI and CD pipelines, as well as the basics on Security Testing Orchestration (STO), go to Next steps.
Create your Harness account
You create your Harness account the first time you use Harness Self-Managed Enterprise Edition. You are automatically assigned the Harness user role, Account Admin.
To create your Harness account, do the following:
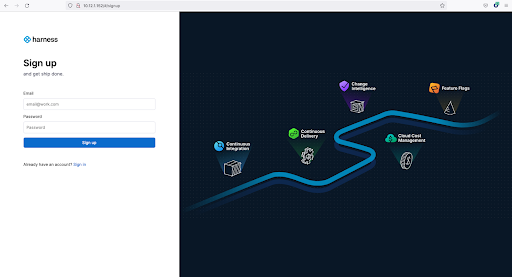
On the Harness Sign up page, enter your email address and a secure password.
Select Sign up.
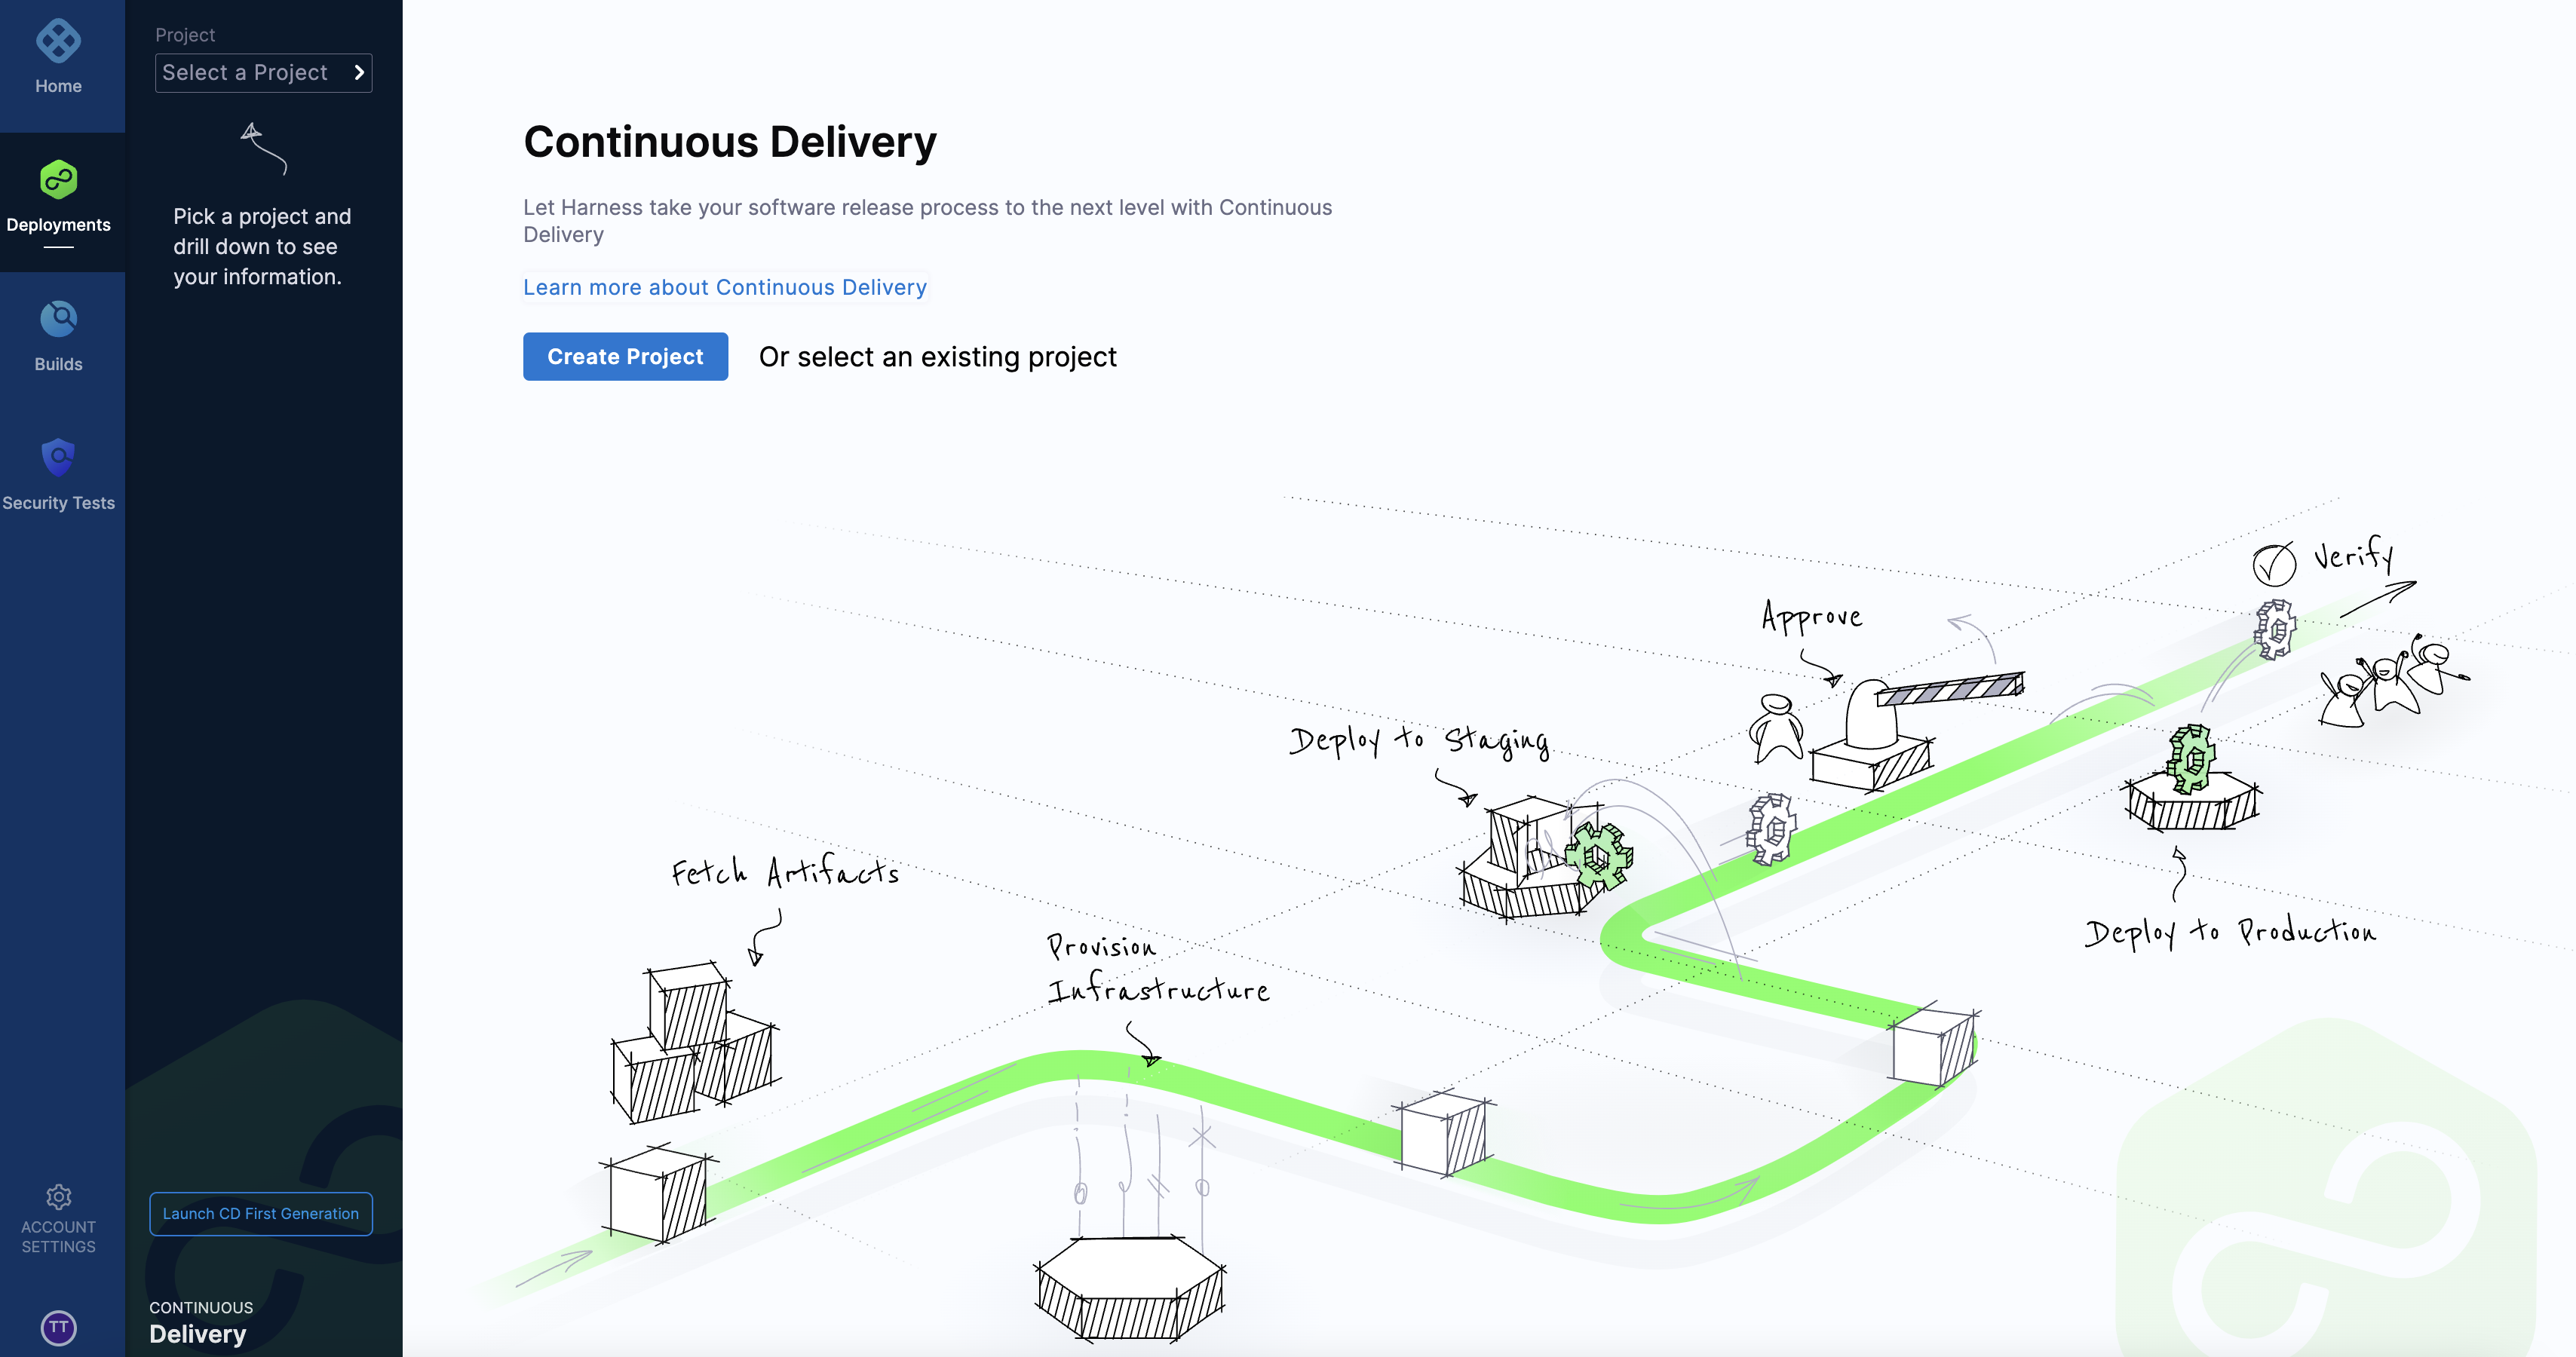
After your account is created, you arrive at the Continuous Delivery start page.
Create your first project
It takes time to learn how to create complex CI/CD pipelines. You can start with opening a project and inviting collaborators.
To create a project, do the following:
From the Continuous Delivery start page, select Create Project.

In Invite Collaborators, type of the names of the collaborators you want to invite.
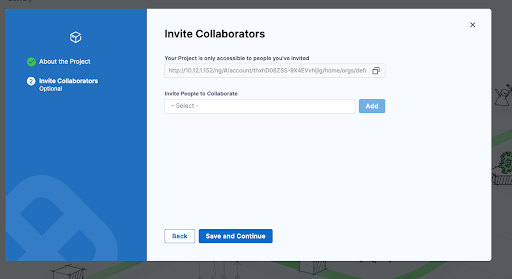
Enter the project name, and optionally enter a description and tags for your project.
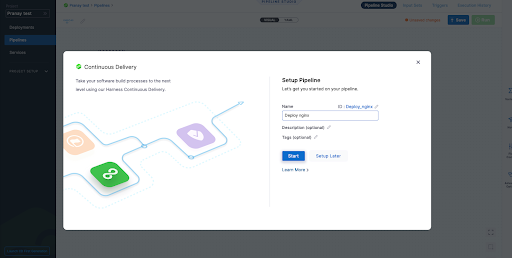
Select Setup Later.
Next steps
To get started with creating pipelines and Helm-based installs in Harness Self-Managed Enterprise Edition, go to Harness Docs:
- For Harness CI, go to CI Pipeline Quickstart.
- For Harness CD, go to CD Pipeline Basics.
- For Harness STO, go to Security Testing Orchestration Basics (Public Preview).
- For Harness Chaos Engineering, go to Get started with Harness Chaos Engineering.