Create and Manage Custom Dashboards
Custom Dashboards provide a toolbox for building your own visual interface around Harness data using flexible filtering and criteria. By creating and fine-tuning visualizations that slice and dice your data, you can identify and optimize:
- Development and deployment velocity
- Bottlenecks
- Rollback durations and other useful metrics
Before You Begin
Review: Permissions
A Harness user's interaction with Custom Dashboards is role-based. Options depend on their membership in a Harness User Group with specific Account Permissions.
To create and manage Custom Dashboards, your Harness User Group must have the following Account Permissions:
- Create Custom Dashboards
- Manage Custom Dashboards
Without these permissions, you can still view and operate on a dashboard that has been shared with you.
For more information, see Manage Groups and Permissions.
Step: Create a Dashboard
To create a Custom Dashboard, perform the following steps:
In Harness click Custom Dashboards and then click Create Custom Dashboard.
Enter a Dashboard Name. This should be unique within your Harness account.
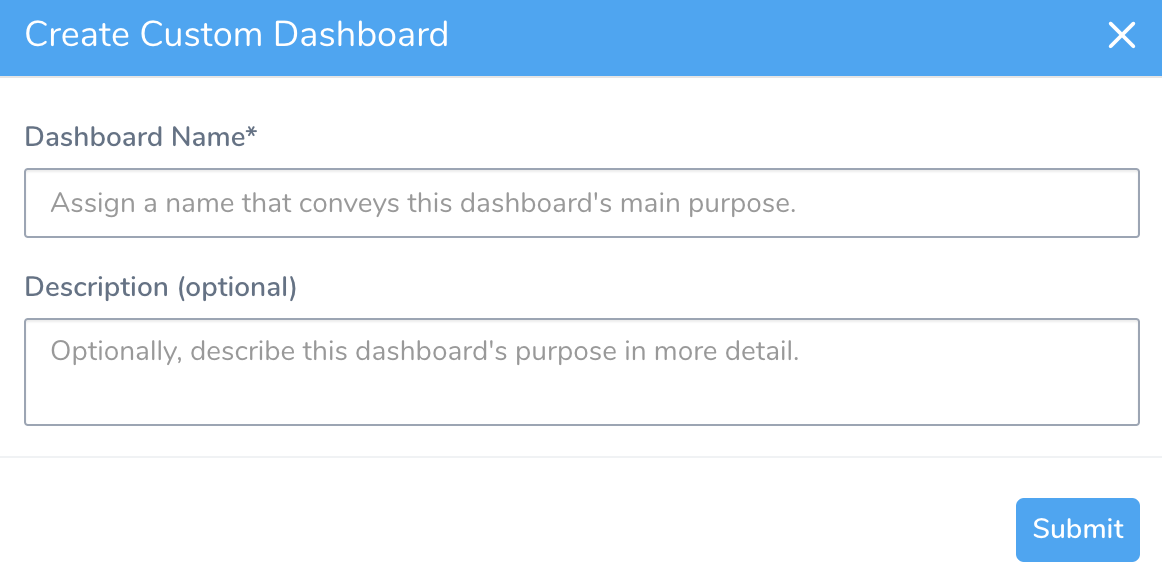
Optionally, enter a Description. This can be used to communicate the dashboard's purpose to other users.
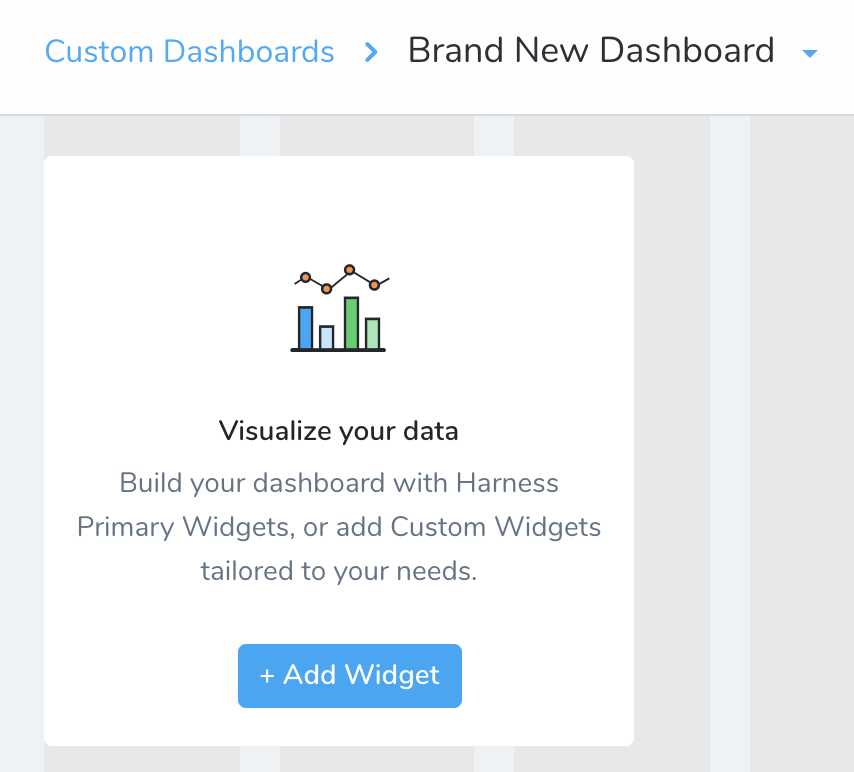
Click Submit. Your new Custom Dashboard will open in the initial state as shown below.
Step: Edit or Clone a Dashboard
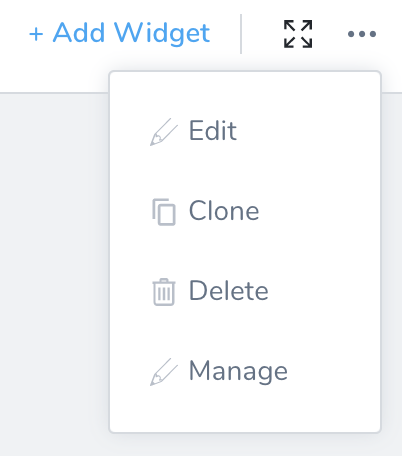
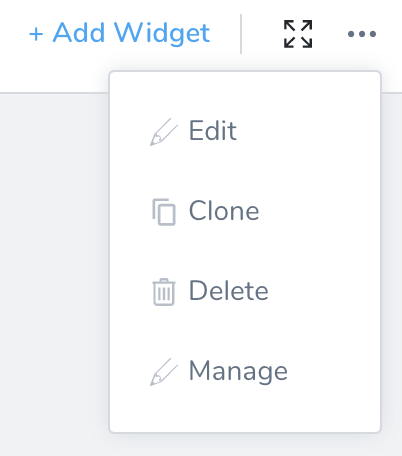
At a Custom Dashboard's upper-right corner, Account Administrators see these additional controls for modifying the dashboard as a whole. The following options are available:
Add a Widget
Click Add Widget to populate your Custom Dashboard with Widgets. For more information, see Add and Configure Dashboard Widgets.
Expand or Collapse a Custom Dashboard
To enter/exit Full Screen display of your dashboard, click the Expand/Collapse toggle.
Edit a Custom Dashboard
Click the More Options ••• and select Edit.
In Update Custom Dashboard, enter the Dashboard Name and Description (optional).
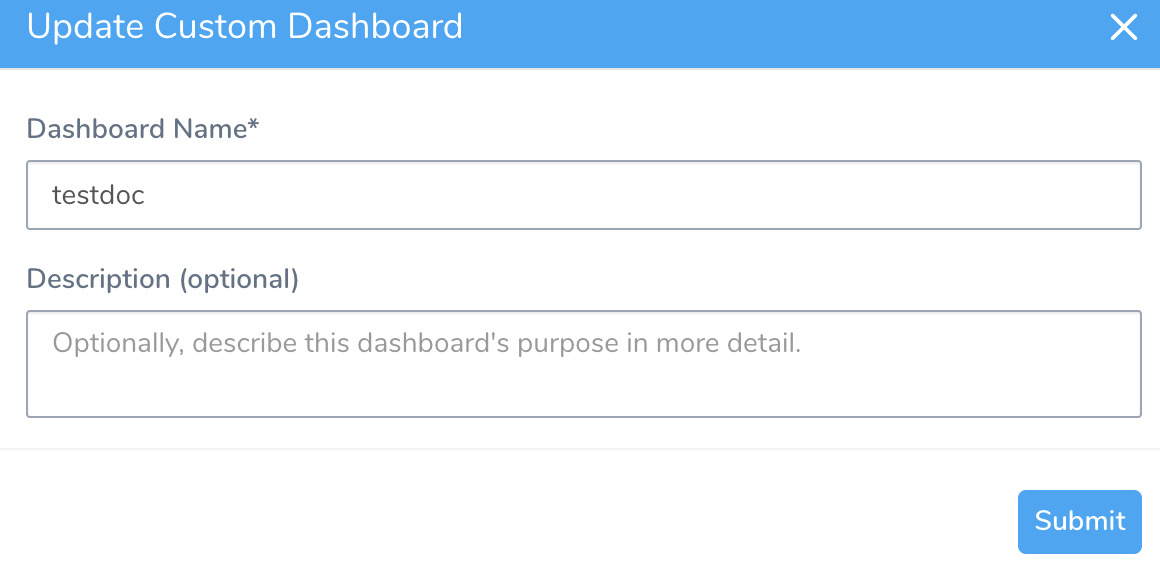
Click Submit.
Clone a Custom Dashboard
Click the More Options ••• and select Clone.
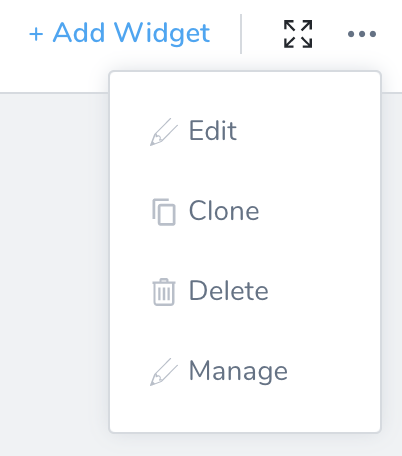
In Clone Custom Dashboard, enter the Dashboard Name and Description (optional).
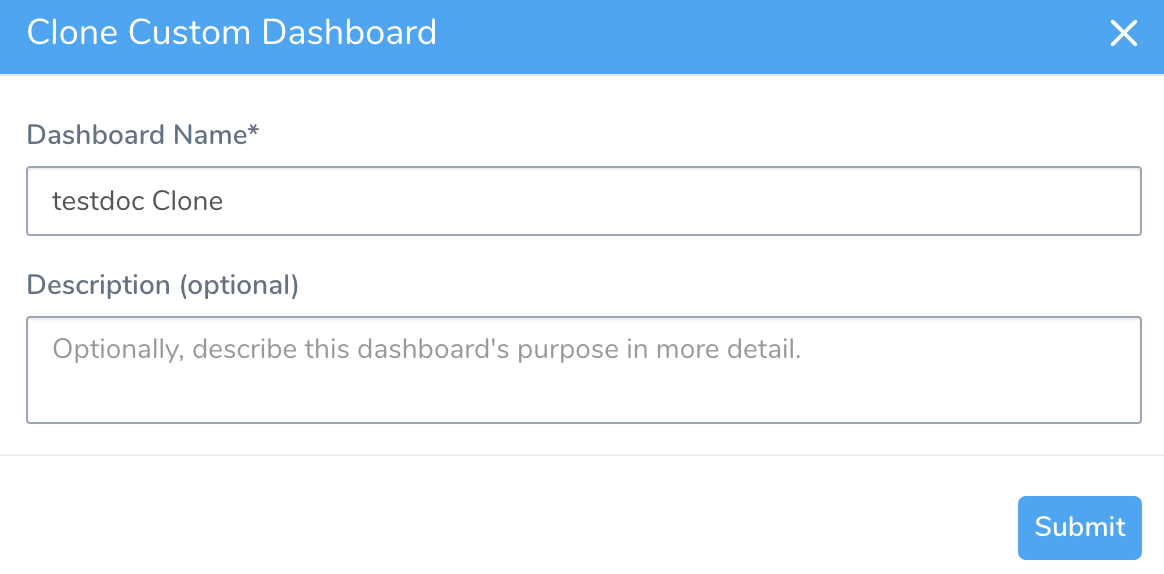
Click Submit.
Delete a Custom Dashboard
Click the More Options ••• and select Delete.
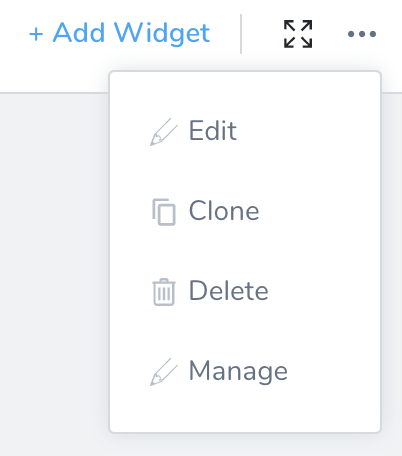
Click Delete.
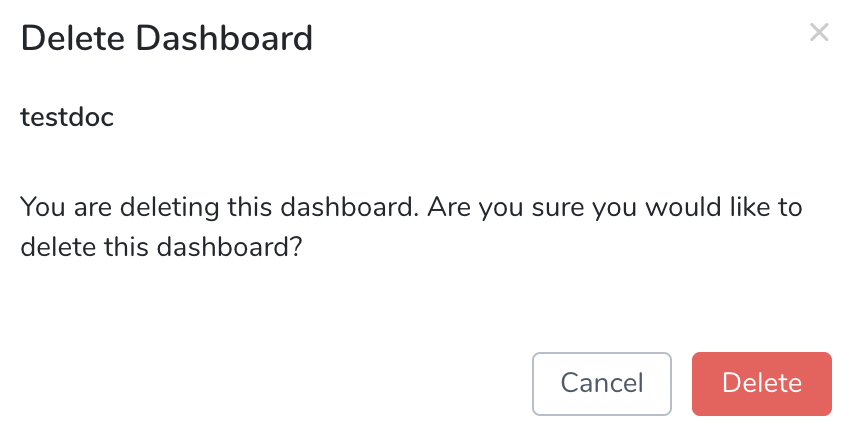
Deleting a Custom Dashboard also permanently deletes any configurations you've applied to its Widgets. This action cannot be undone.
Manage a Custom Dashboard
Click the More Options ••• and select Manage. This option allows you to Share a Custom Dashboard.
