Add and manage users
A Harness User is any individual registered with Harness with a unique email address. A User can be a part of multiple Accounts.
This topic will explain the steps to create and manage Users within Harness.
Before you begin
- Make sure you have Manage Permissions for Users.
Step: Add New User
You must first invite Users to your Account/Org/Project to add them to User Groups and assign Role Bindings accordingly. For more information on User Groups and Role Bindings, see Add and Manage User Groups and Role Assignment.
Click Account Settings, and click Access Control.
Click New User in Users. The New User settings appear.
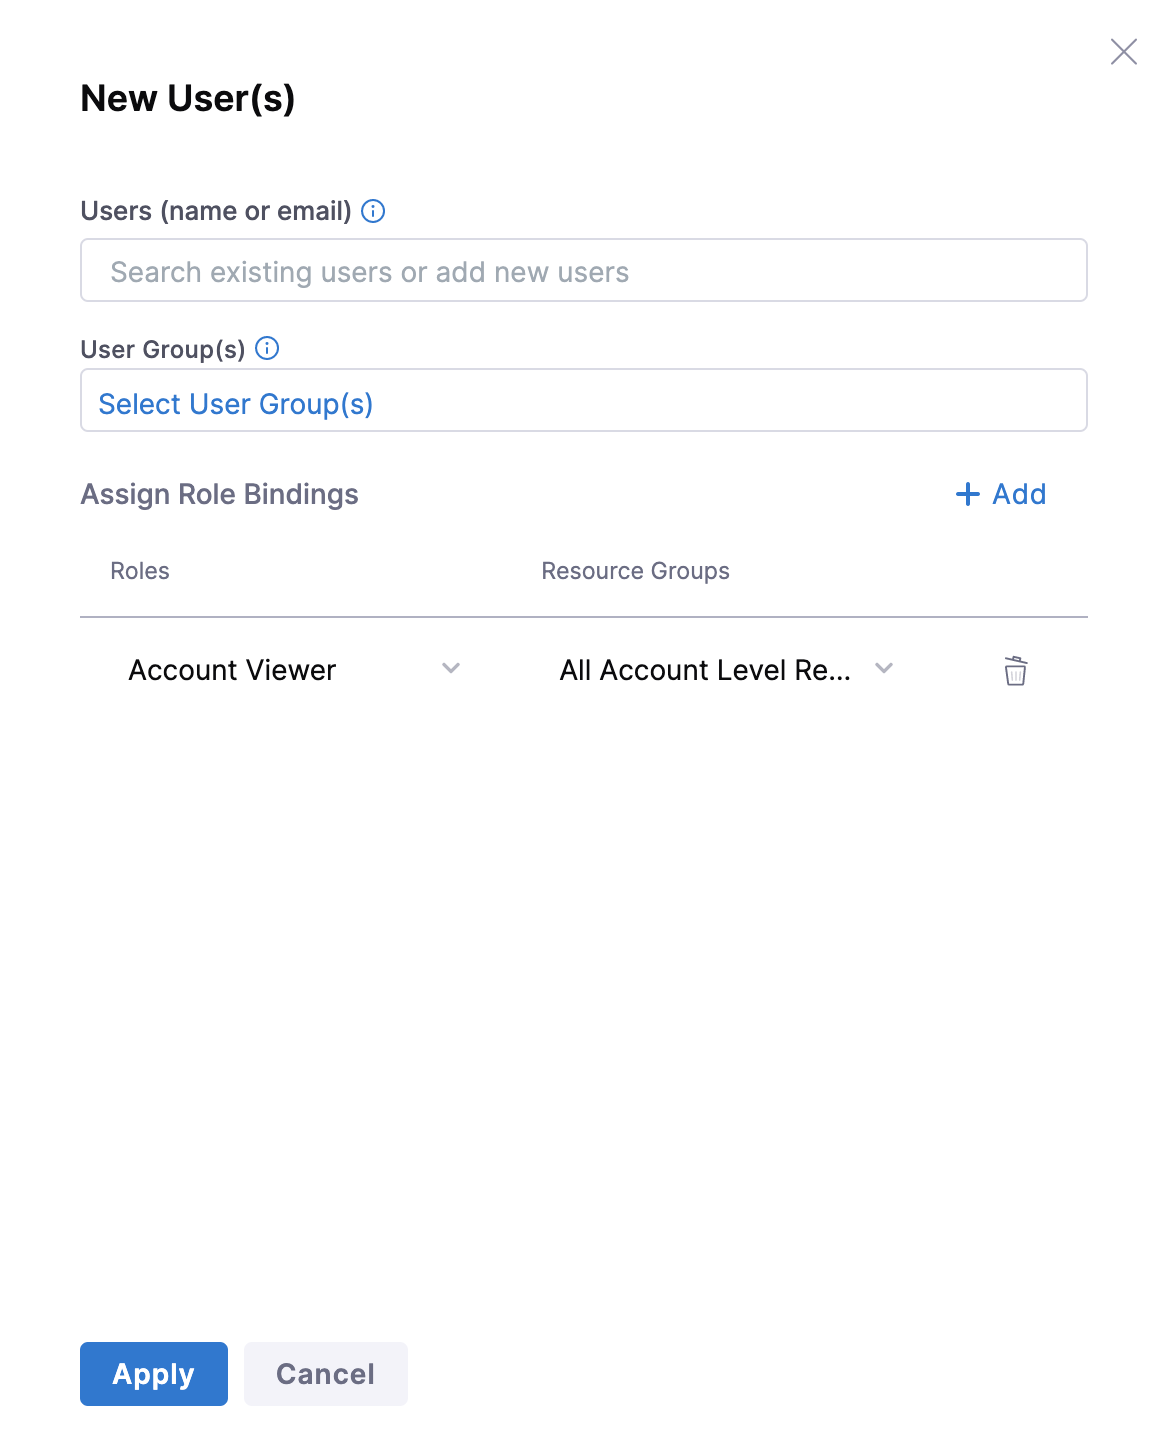 Enter the email address(es) that the User will use to log into the Harness platform.
If you have Roles and Resource Groups defined, select the Roles and Resource Groups for this user. To add Roles and Resource Groups, see Add Roles and Add Resource Groups.
Click Save. The user will receive a verification email at the address(es) you provided. When the user logs into Harness, the user creates a password, the email address is verified, and the user name is updated.
You can add up to 50000 users in Harness Non-Community Edition.
User invites
For any new user that you add to your Harness Account, Org, or Project, Harness checks the following and sends invites accordingly:
- If your authentication mechanism is set to Login via a Harness Account or Public OAuth Providers, the invited user gets an email invitation. The user is added to the Pending Users list until the user accepts the invitation.
- If your authentication mechanism is set to SAML, LDAP, or OAuth, and the feature flag
PL_NO_EMAIL_FOR_SAML_ACCOUNT_INVITESis enabled, Harness adds the invited user to the Active Users list.
Harness does not send any emails to the user when this feature flag is enabled. - If your authentication mechanism is set to SAML, LDAP, or OAuth, and the feature flag
AUTO_ACCEPT_SAML_ACCOUNT_INVITESis enabled, Harness sends a notification email to the user and adds the user to the Active Users list.
If you enable both feature flags, the feature flagPL_NO_EMAIL_FOR_SAML_ACCOUNT_INVITES takes precedence over the feature flagAUTO_ACCEPT_SAML_ACCOUNT_INVITES. Harness does not send any emails to users.
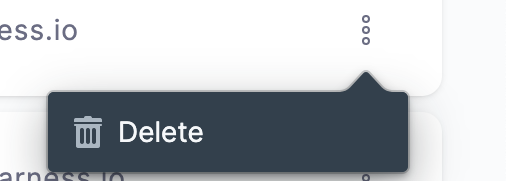
Step: Delete User
Click Users under Access Control.
Click Delete on the top right corner to delete a specific user.
Step: Manage User
To edit Role Bindings for a User, do the following:
In Access Control, click Users.
Click on the user you want to edit. The user details appear.
 Click Delete on the right to remove a User Group.
Click Role to change Role Bindings for this User.
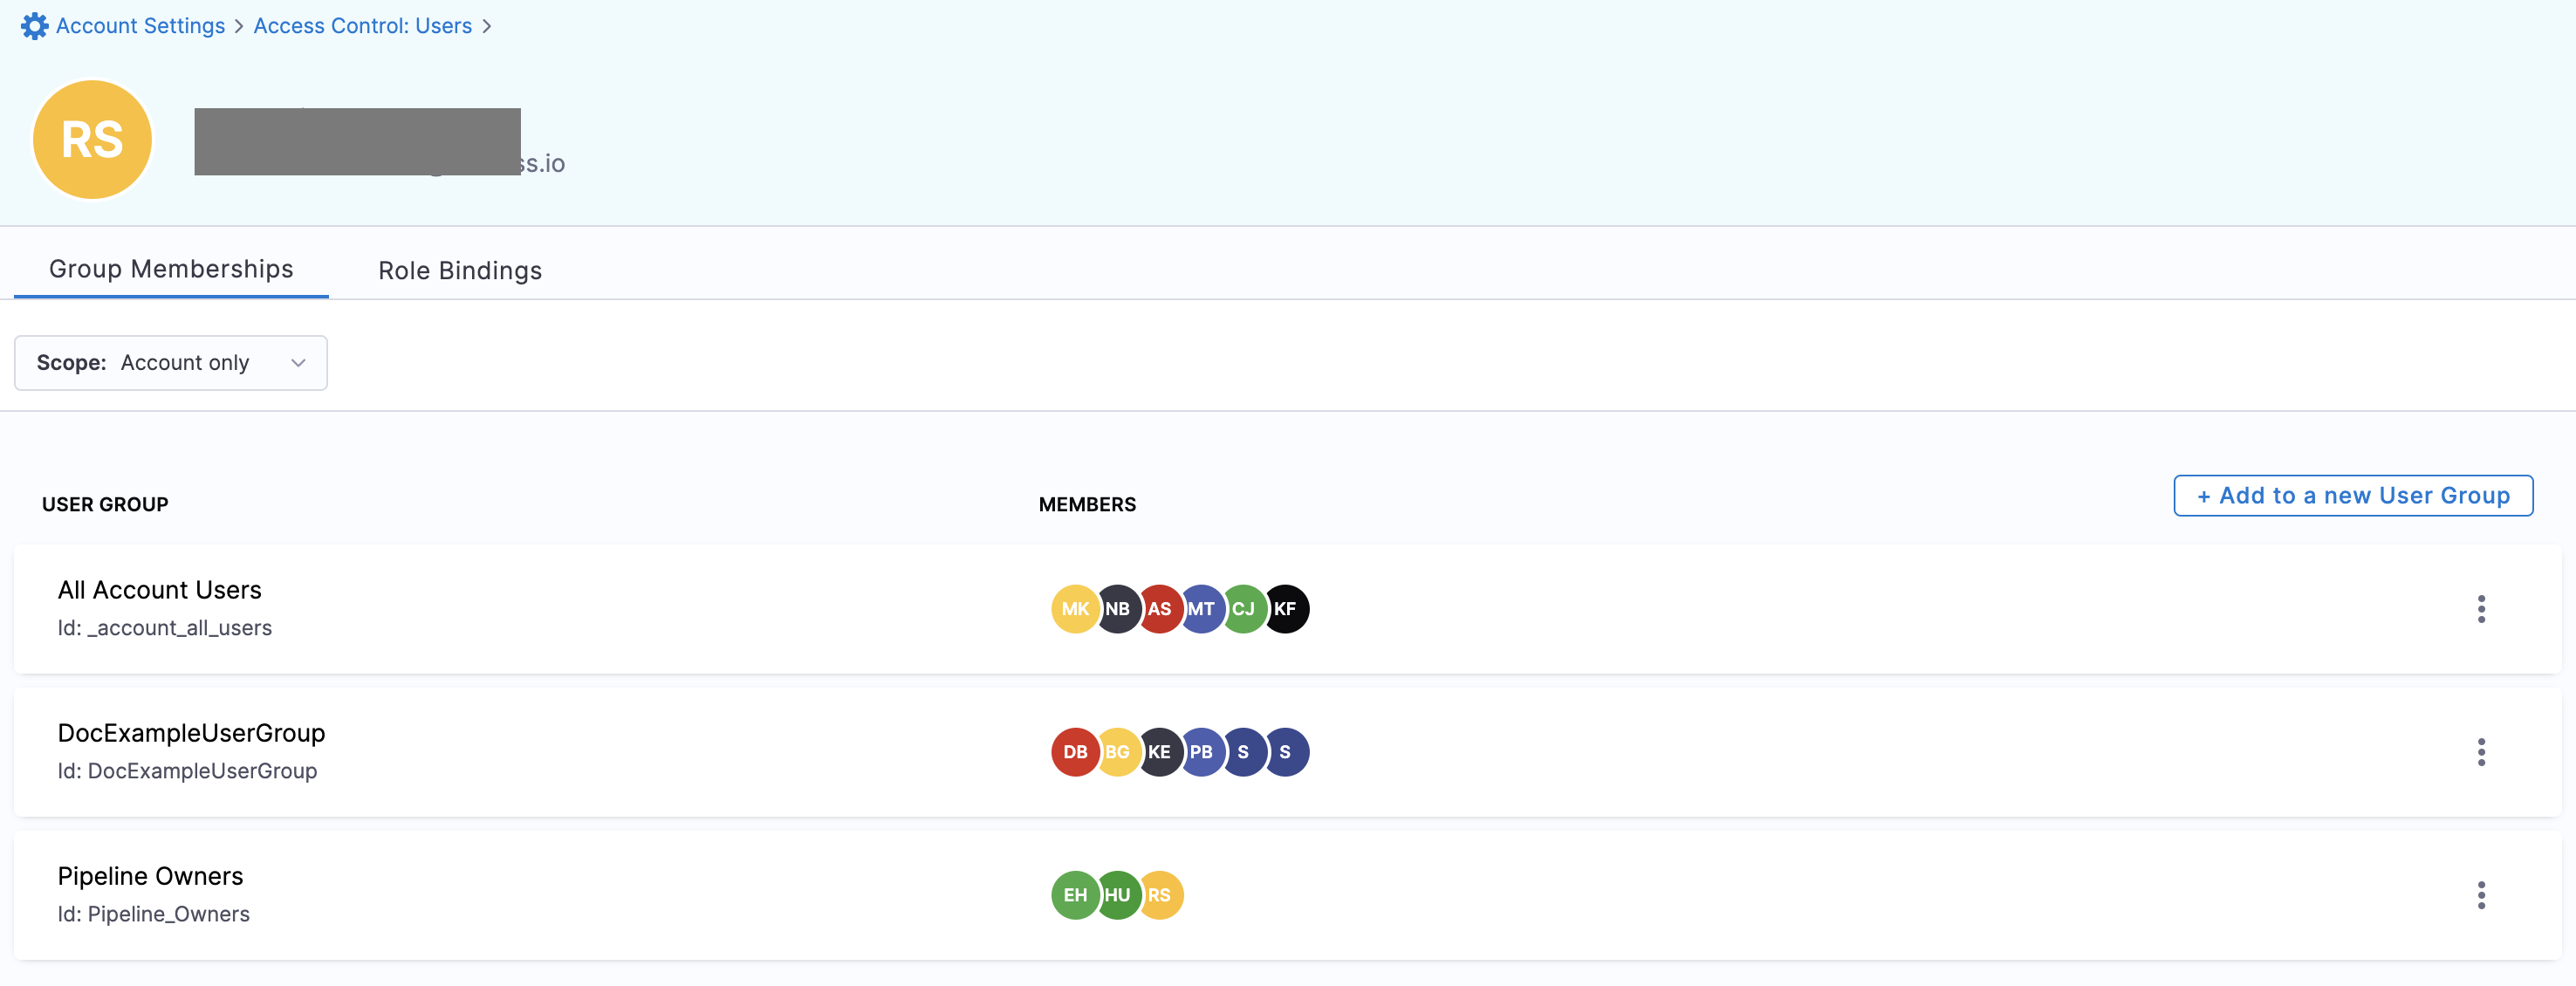
Group Memberships
You can view the group membership of a specific user on the user details page by clicking Group Memberships.
 Harness lets you select one of the following scopes to view the user's group membership:
- All: lists the user's group membership across all the scopes.
- Account only: lists the user's group membership only in the Account scope.
- Organization only: lists the user's group membership in the scope of the selected Organization.
- Organization and Projects: lists the user's group membership in the scope of the selected Organization and Project.
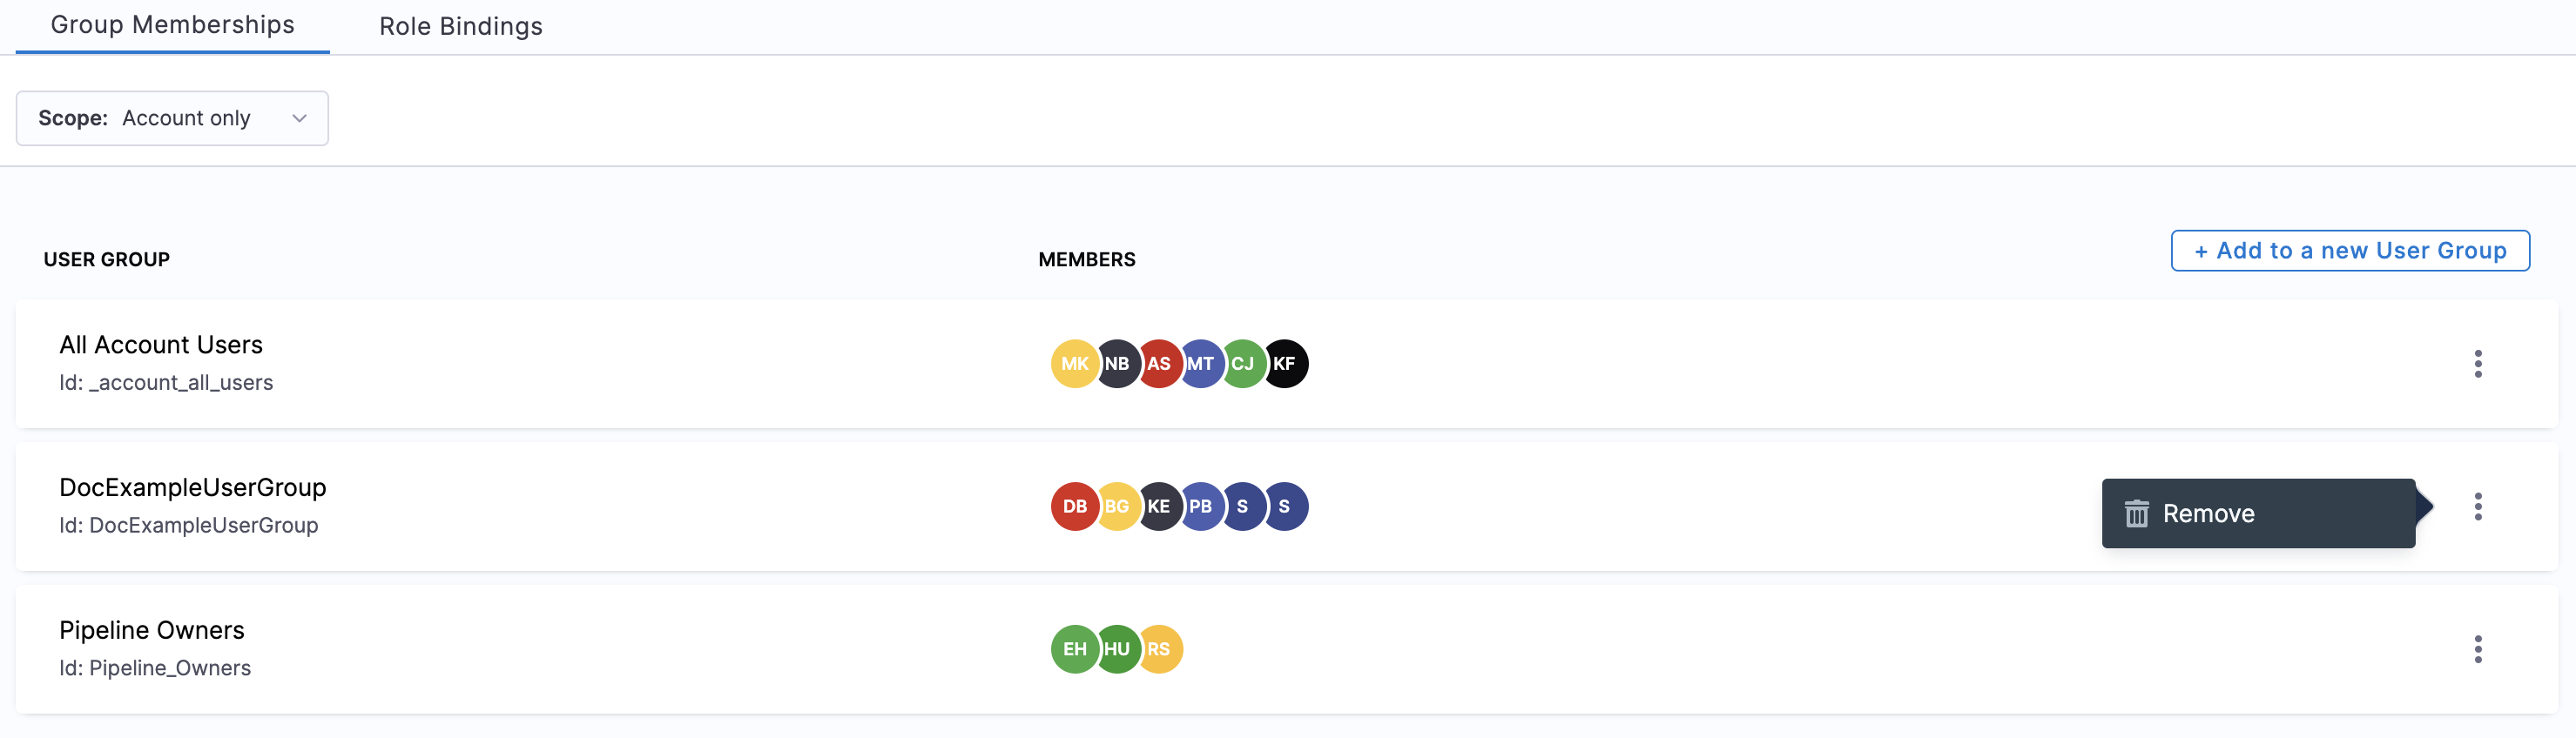
To add the user to a new user group, click Add to a new User Group.
Click Remove to remove the user as a member from a specific user group.
Role Bindings
You can view the role bindings for a specific user on the user details page by clicking Role Bindings.
Here, you can view a given user's role bindings across all scopes and user groups.
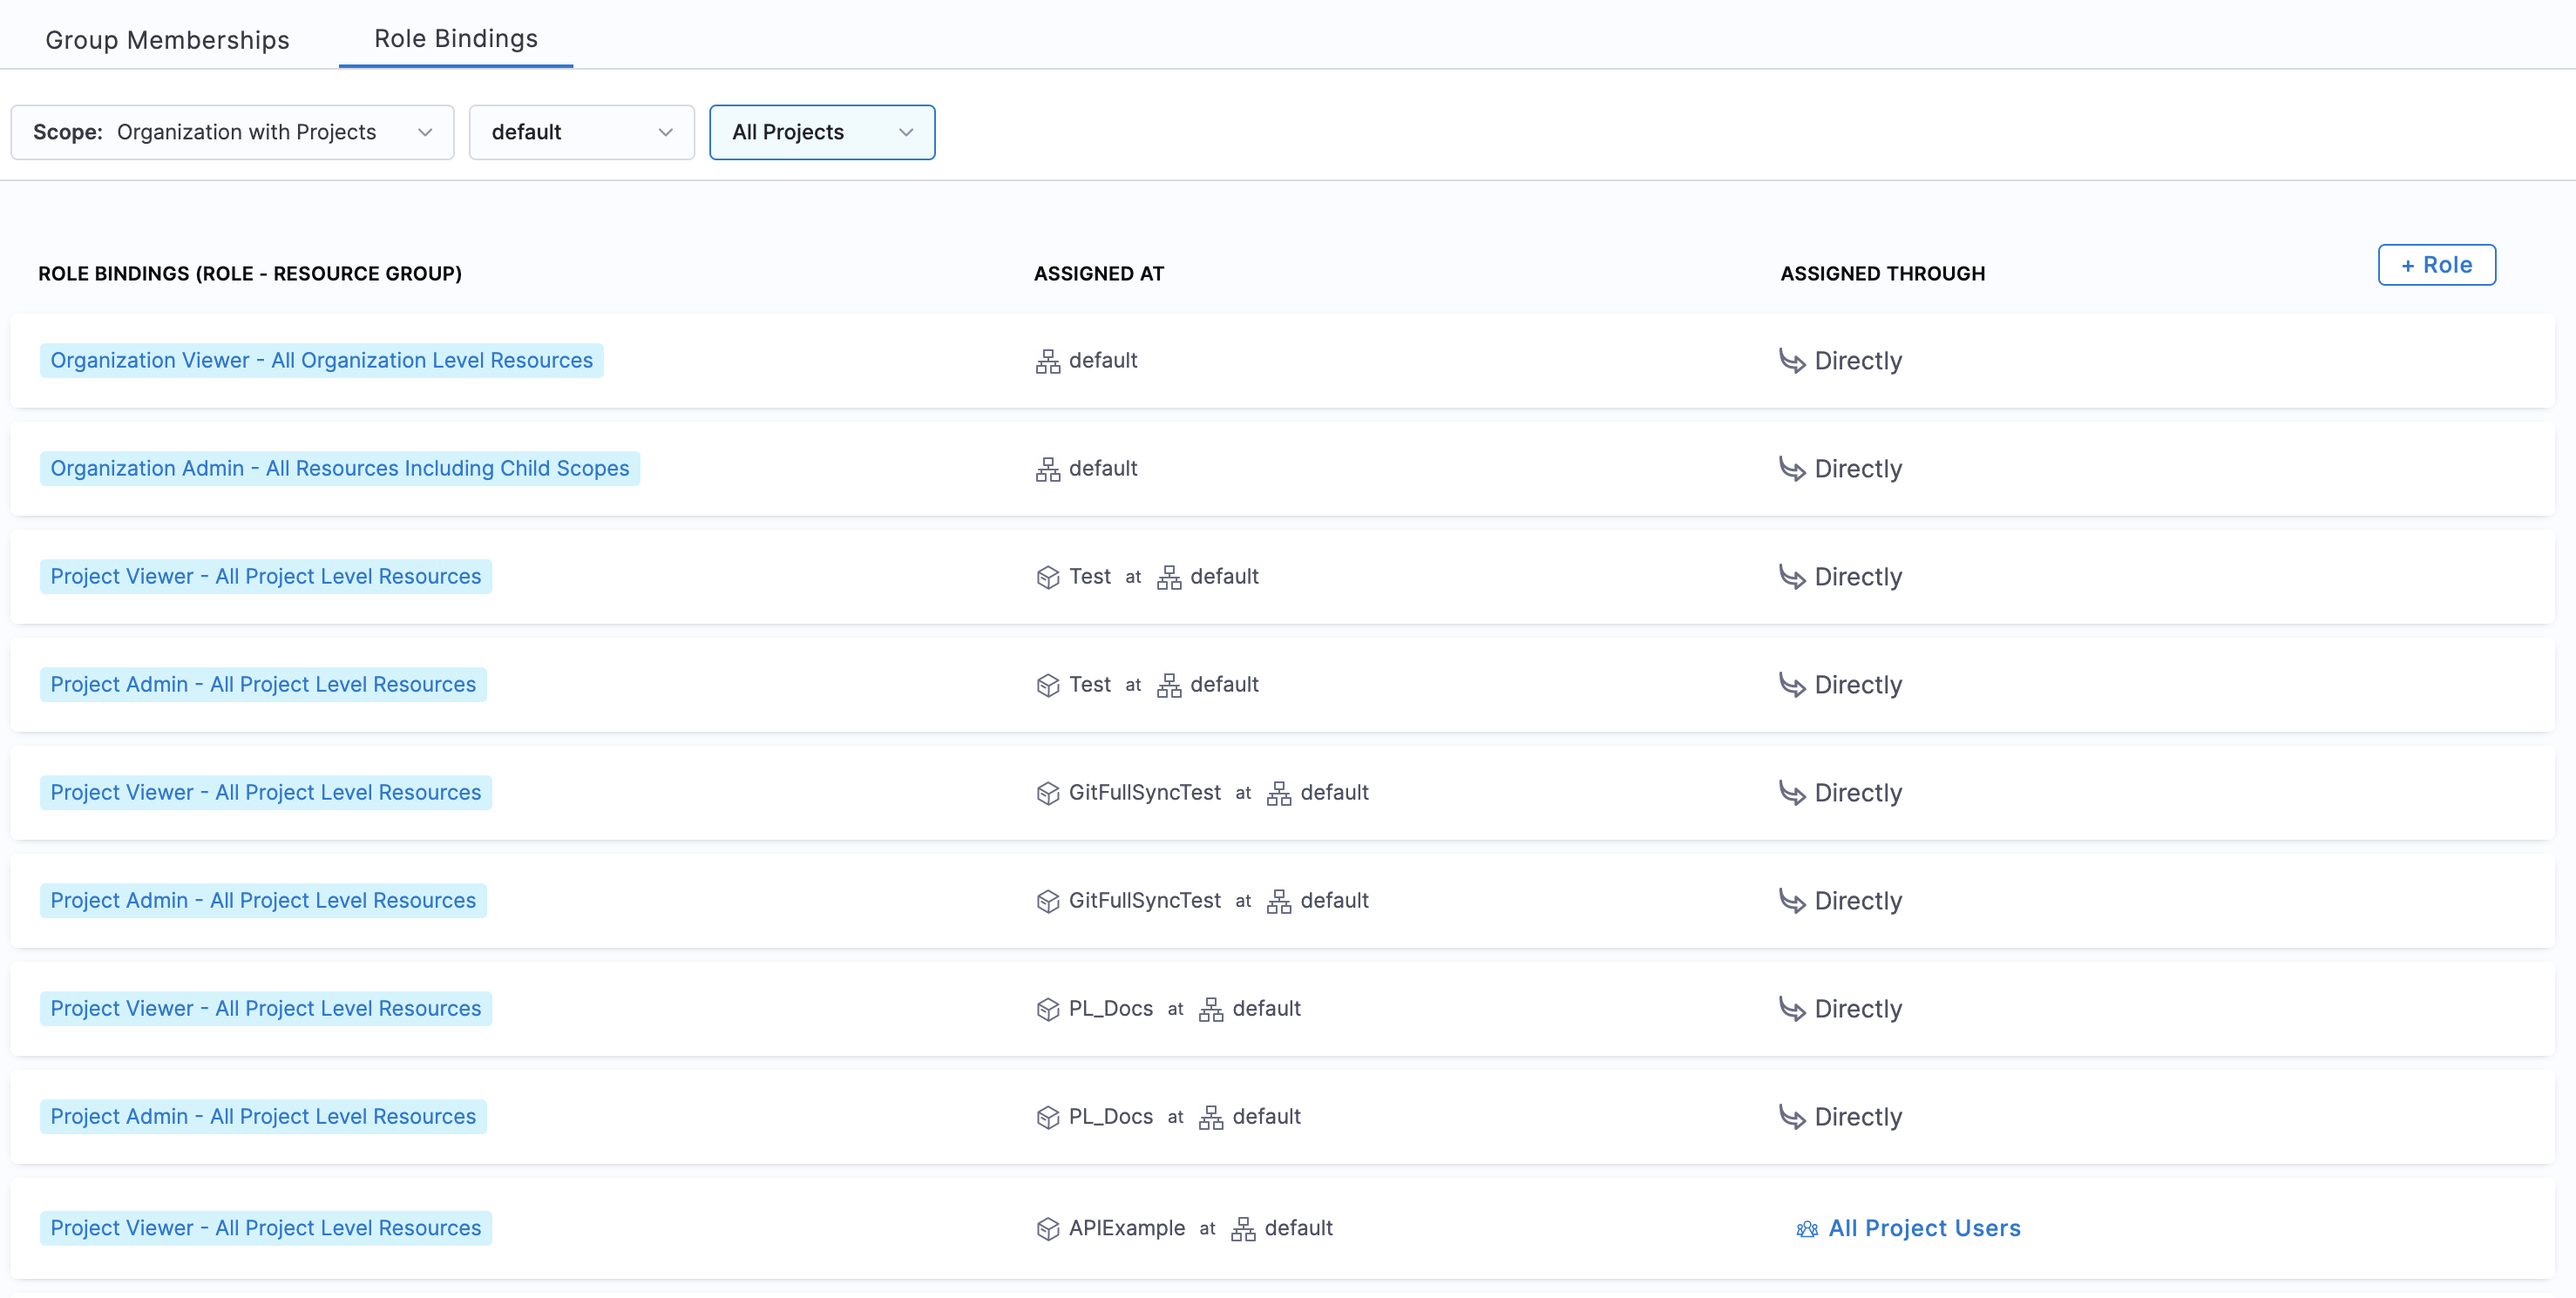 Harness lets you select one of the following scopes to view the user's role bindings:
- All: lists the user's role bindings across all the scopes.
- Account only: lists the user's role bindings only in the Account scope.
- Organization only: lists the user's role bindings in the scope of the selected Organization.
- Organization and Projects: lists the user's role bindings in the scope of the selected Organization and Project.
To add a new role binding for a user, click Role.