Add and manage roles
Roles are a group of permissions you can assign to a Harness User Group. These permissions determine what operations a User Group can perform on a specific Harness Resource.
This topic will explain the steps to create and manage Roles within Harness.
Before you begin
- Learn Harness' Key Concepts
- Make sure you have Create/Edit/Delete Permissions for Roles.
The Account Admin Role has permissions for all the resources within the Account scope as well as its child scope (Organizations and Projects within this Account).
Step: Add a New Role
This topic assumes you have a Harness Project set up. If not, see Create Organizations and Projects.
You can add a Role in Project/Organization/Account scope. To do this, go to Project SETUP, Organization, or Account Settings. This topic explains how to create a role in the Account scope.
Select your Project/Org/Account, and click Access Control.
Click Roles.
Click New Role. The New Role settings appear.
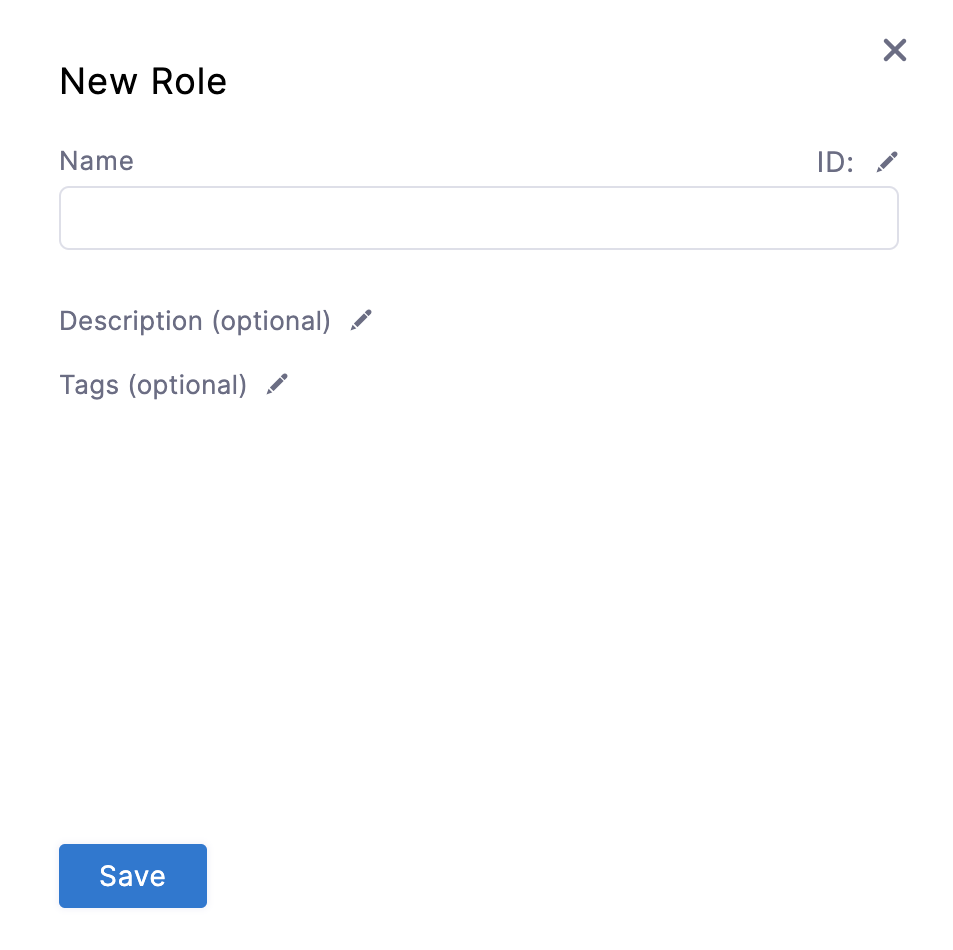 Enter a Name for your Role.
Enter optional Description and Tags for your Role.
Click Save.
Step: Delete Role
Click the Roles tab under Access Control.
Click Delete in the top right corner to delete a specific role.
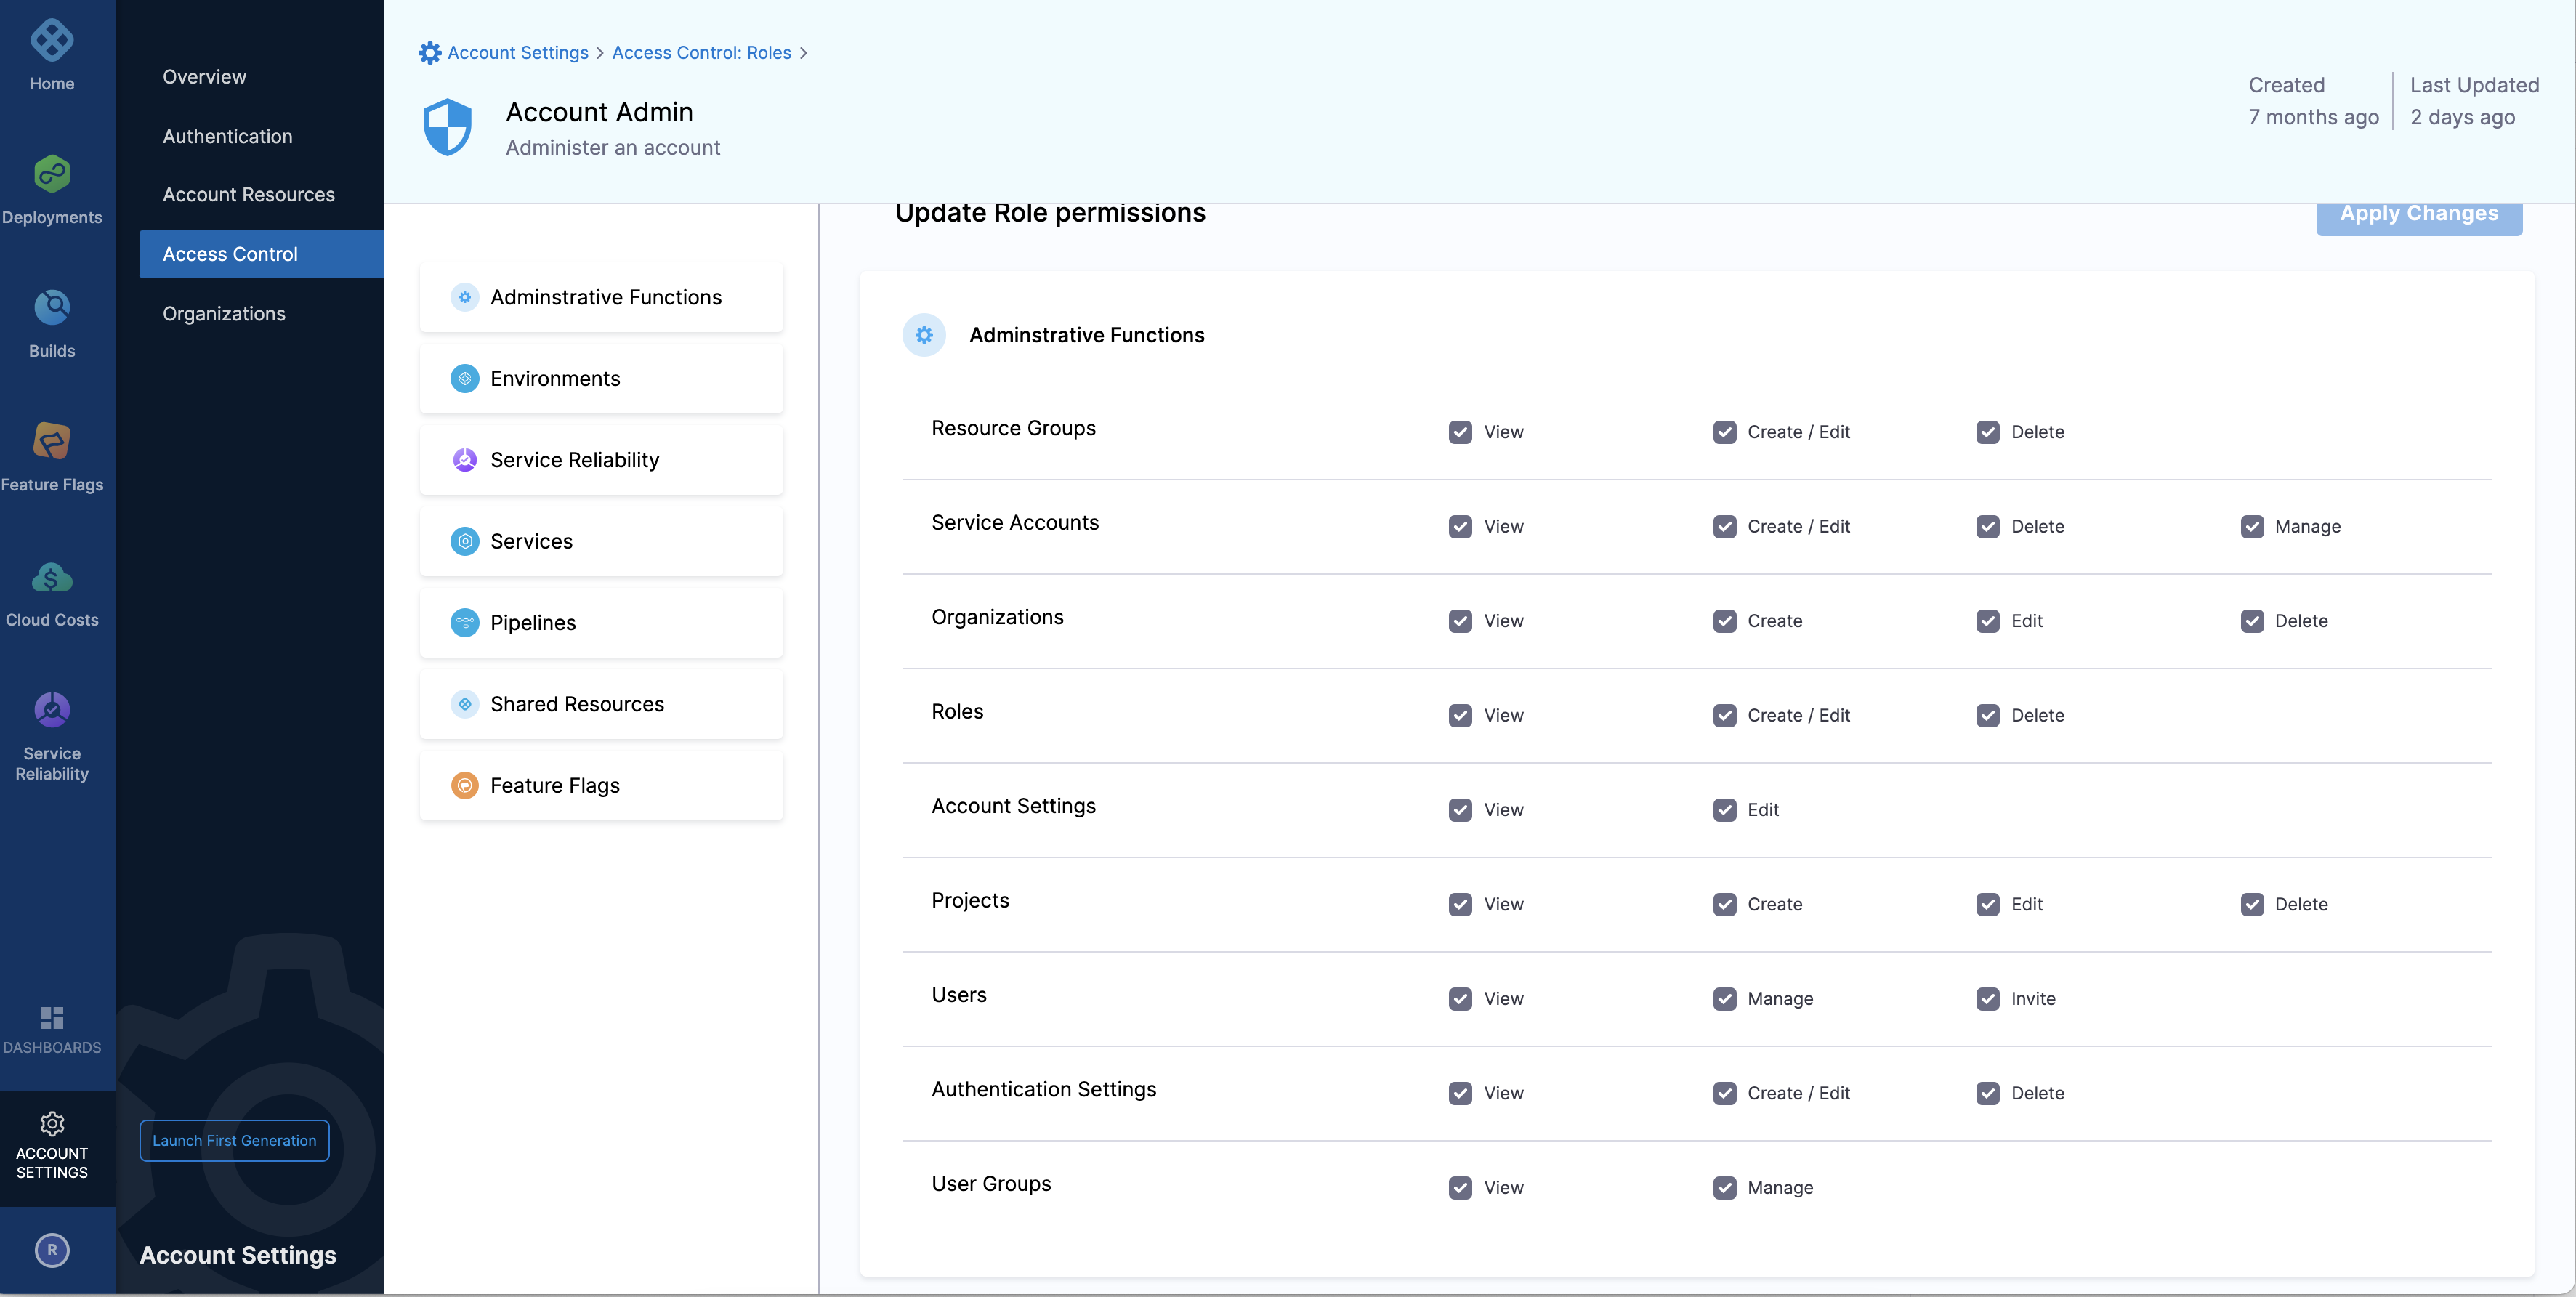
Step: Manage Role
Click the Roles tab under Access Control.
Click on the role you want to edit. The Update Role Permissions page appears.
 Add/Remove Resource-specific permissions from this page. Click Apply Changes.
Harness Built-in Roles
Harness provides the following default roles at the Account, Org, and Project scope:
| Scope | Role |
| Account | Account Admin |
| Account | Account Viewer |
| Account | Feature Flag Manage Role |
| Org | Organization Admin |
| Org | Organization Viewer |
| Org | Feature Flag Manage Role |
| Project | Project Admin |
| Project | Project Viewer |
| Project | Pipeline Executor |
| Project | Feature Flag Manage Role |