Send Notifications to Microsoft Teams
Harness notifies your User Groups of events in Workflows, Pipelines, Delegates, Service Guard 24/7, and general alerts.
You can integrate your Harness User Group with Microsoft Teams and receive notifications in Teams channels.
Setup is a simple process of generating a Webhook in Microsoft Teams and adding it to a Harness User Group. Let's get started.
Before You Begin
Review the following topics to understand Harness notification and alert options:
We assume that you have a Microsoft Teams administrator account.
Visual Summary
As stated earlier, setup is a simple process of generating a Webhook in Microsoft Teams and adding it to a Harness User Group.
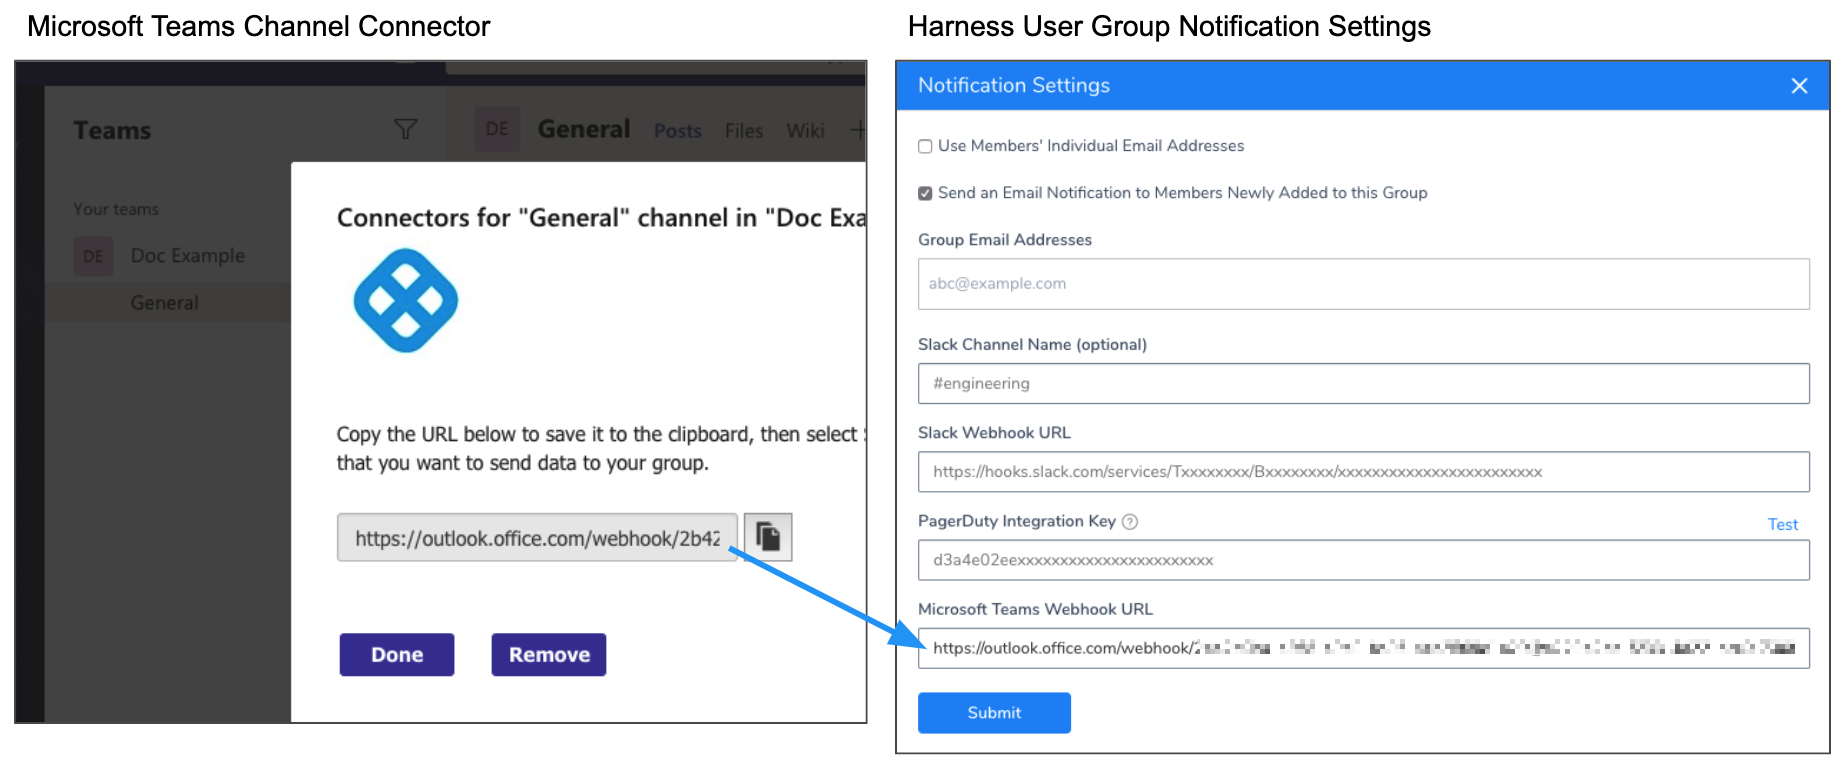
The following steps walk you through this process.
Here's a video summary:
Step 1: Create Connector for Microsoft Teams Channel
You create a channel connector in Microsoft Teams to generate the Webhook Harness needs for notification.
- In Microsoft Teams, right-click the channel where you want to send notifications, and select Connectors.
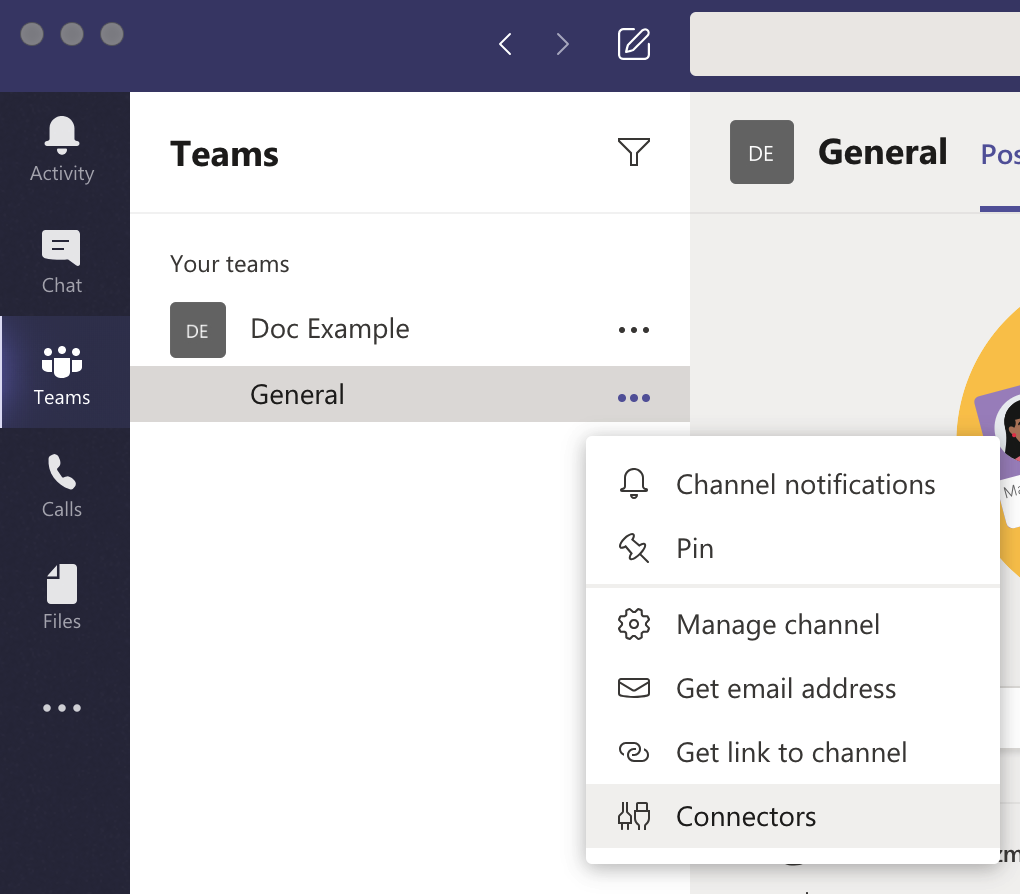
- In Connectors, locate Incoming Webhook, and click Configure.
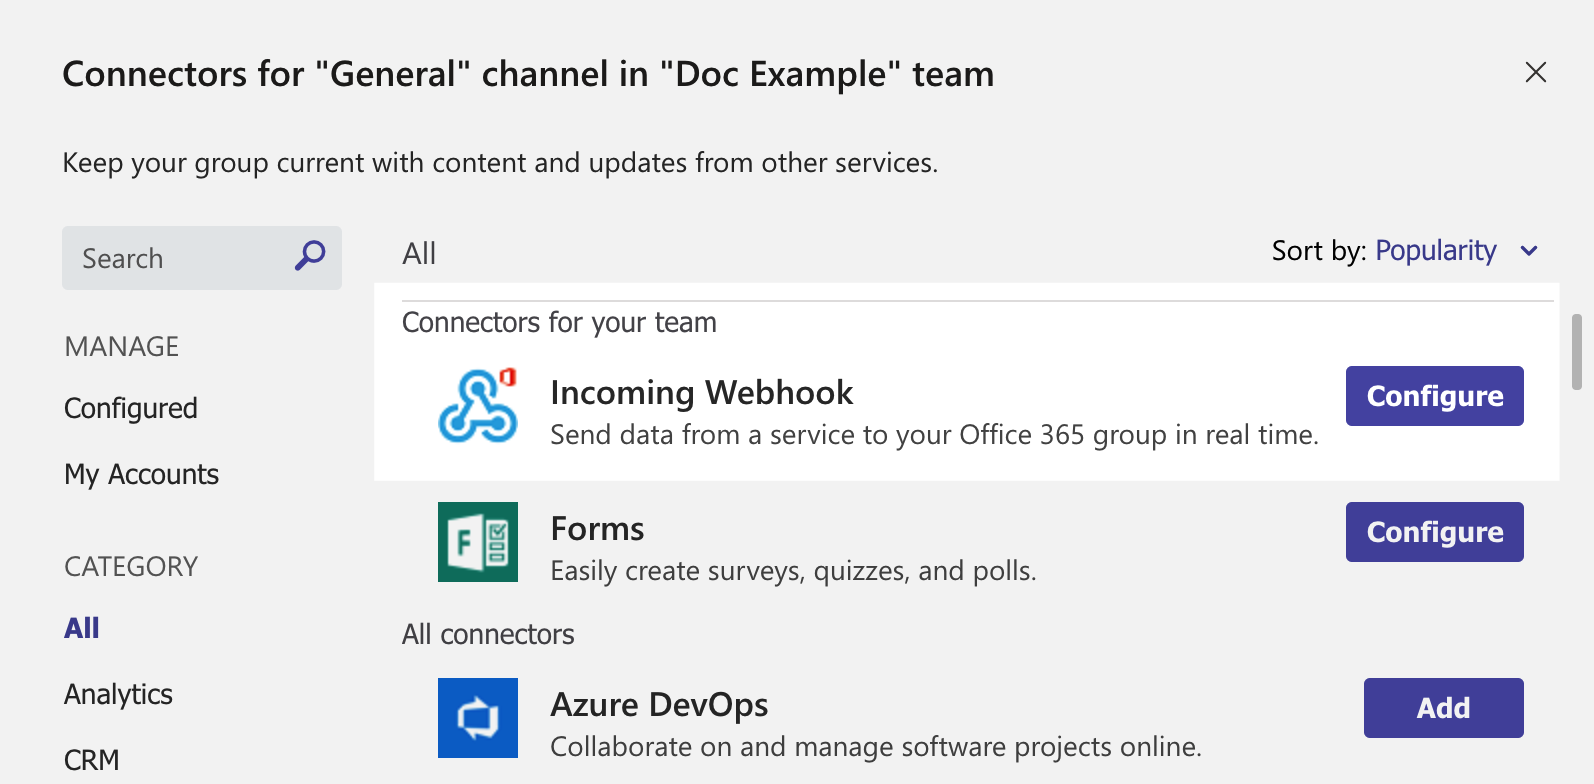
In Incoming Webhook, enter a name, such as Harness.
Right-click here and click Save Link As to download the Harness icon, or right-click and save the image from here:
Click Upload Image and add the Harness icon you downloaded.
Next, you'll create the Webhook URL needed by Harness.
Step 2: Generate Channel Webhook
- In your Microsoft Teams Connector, click Create. The Webhook URL is generated.
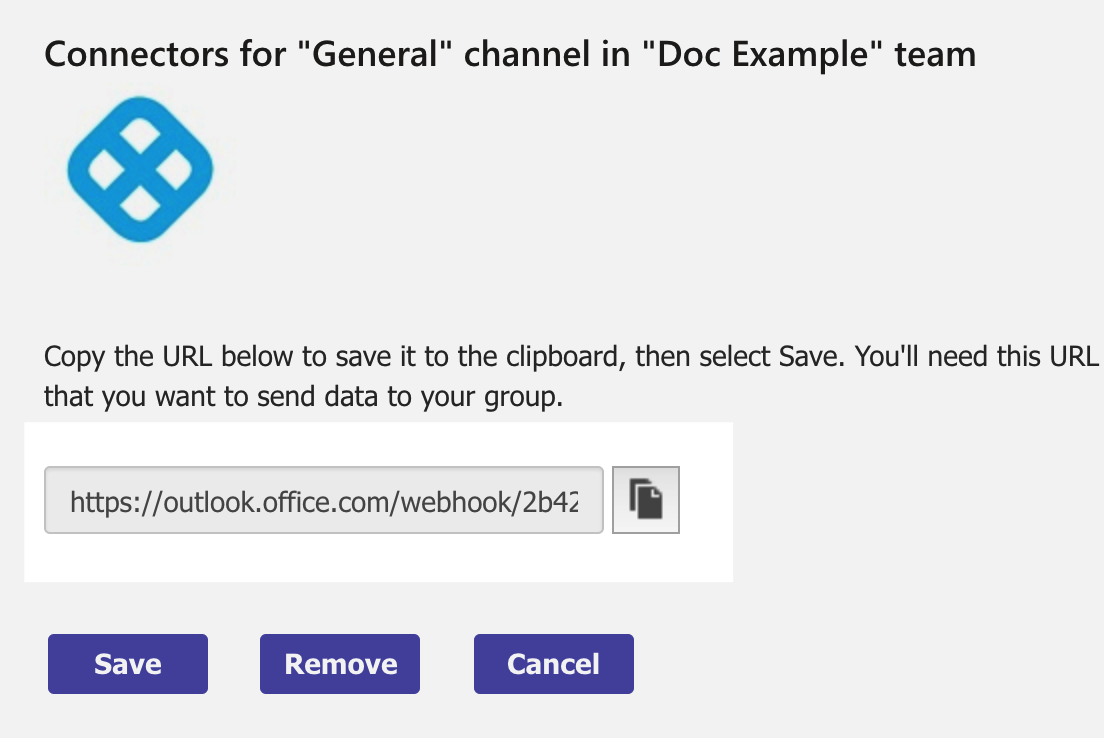
- Click the copy button to copy the Webhook URL, and then click Done.
The channel indicates that the Connector was set up.

Next, you will add the Webhook URL to the Harness User Group you want to notify using Microsoft Teams.
Step 3: Add Webhook to Harness User Group Notifications Settings
- In Harness, click Continuous Security, and then click Access Management.
- Click User Groups.
- In User Groups, select the User Group you want to receive Microsoft Teams notifications.
- In Notification Settings, click Edit.

In Microsoft Teams Webhook URL, enter the Webhook URL you copied from your Microsoft Teams connector.
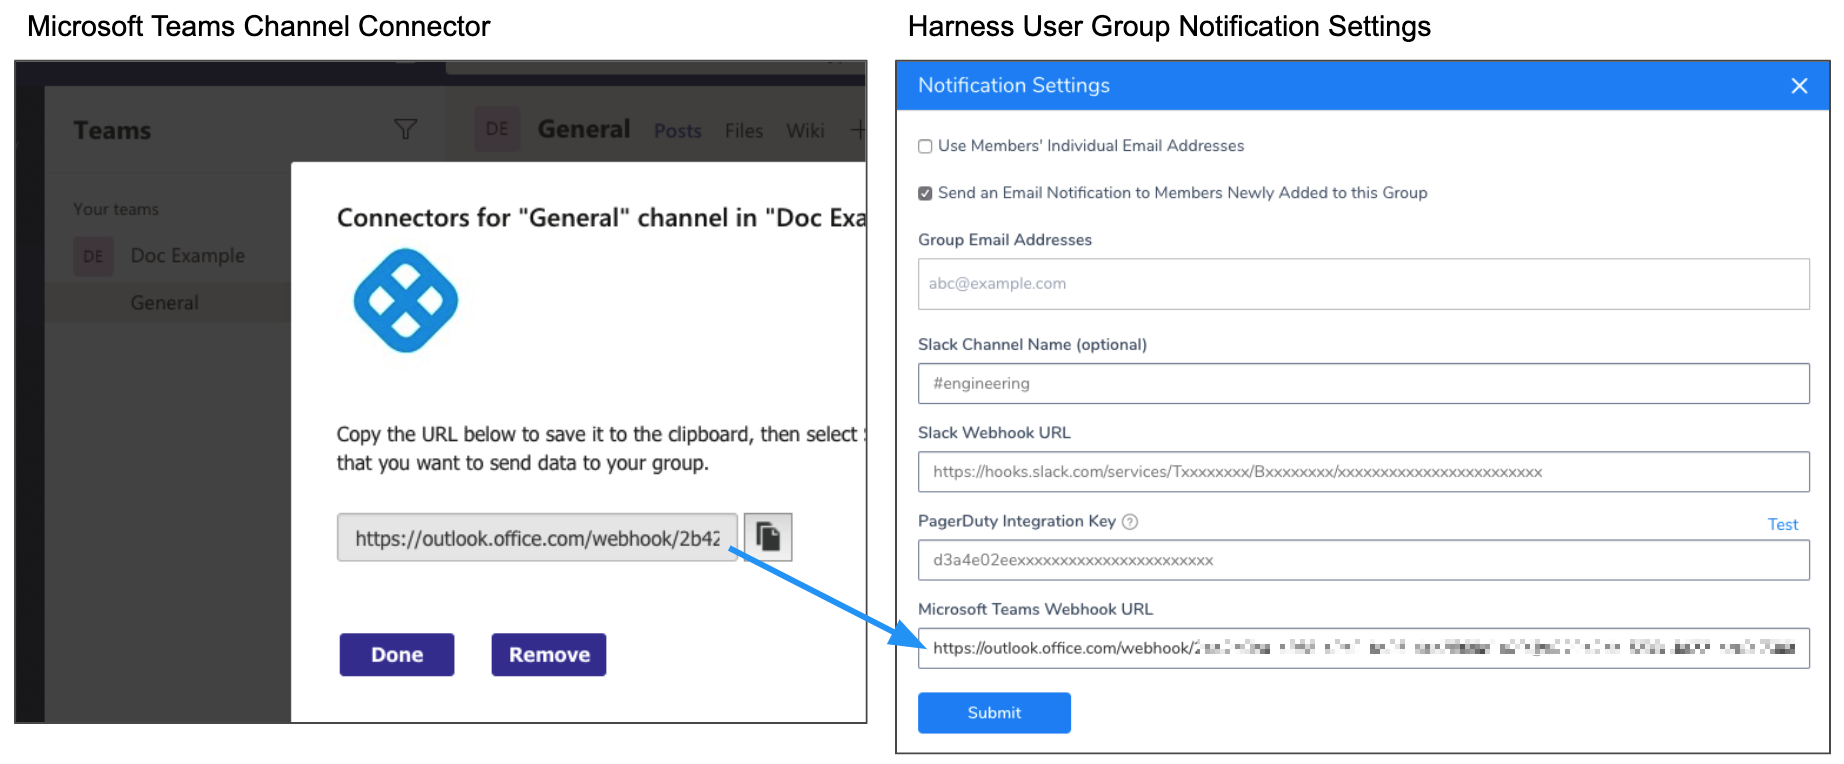
Click Submit.
That's it. Your Microsoft Teams channel will now receive notifications for events in Workflows, Pipelines, Delegates, Service Guard 24/7, and general alerts.
Click back in User Groups to see that the User Group now indicates that it is integrated with Microsoft Teams:

Example: Workflow Notification Strategy
The most common example of notifications is a Workflow Notification Strategy.
When you add the User Group to the Notification Strategy of a Workflow, you will see the Microsoft Teams icon next to its name:
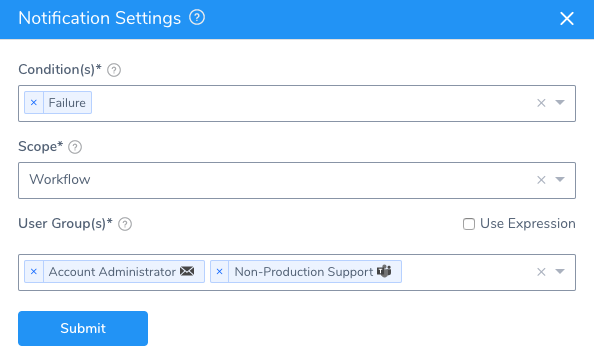 Let's look at an example message sent to the integrated Microsoft Teams channel when a Workflow is aborted:
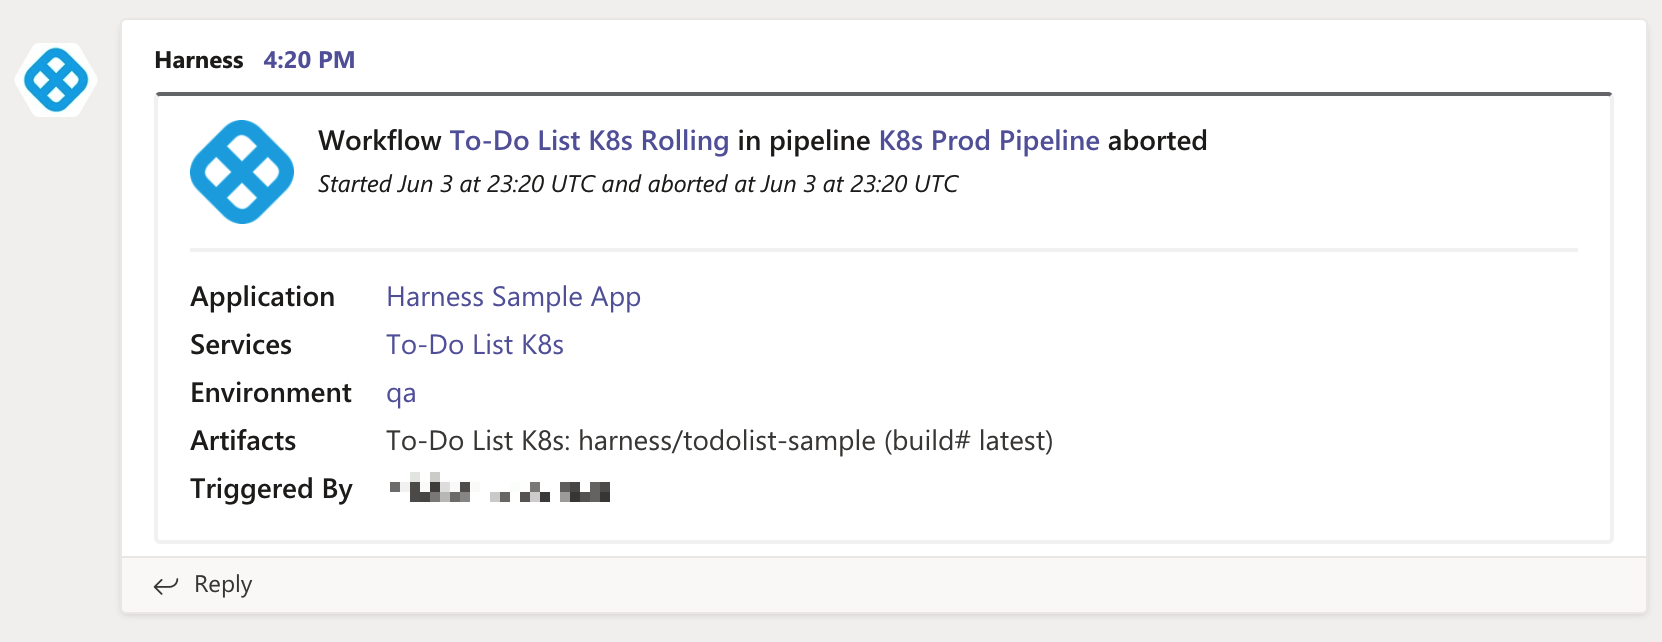 You can click any links in the message to open the corresponding Harness components.
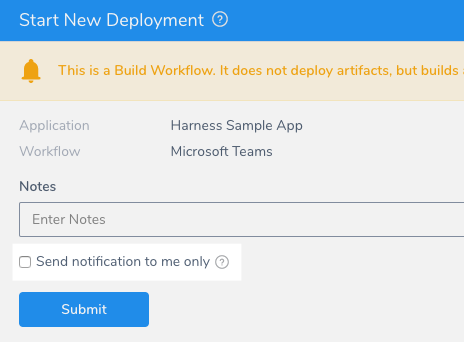
For Workflow notifications to Microsoft Teams, ensure that the Send notification to me only option in the Start New Deployment setting is not selected:
Option: Send a Message to Microsoft Teams using cURL
You can send a message to any Microsoft Teams channel that has a Webhook enabled using cURL.
Here is an example of a Harness Shell Script step in a Workflow executing the cURL command:
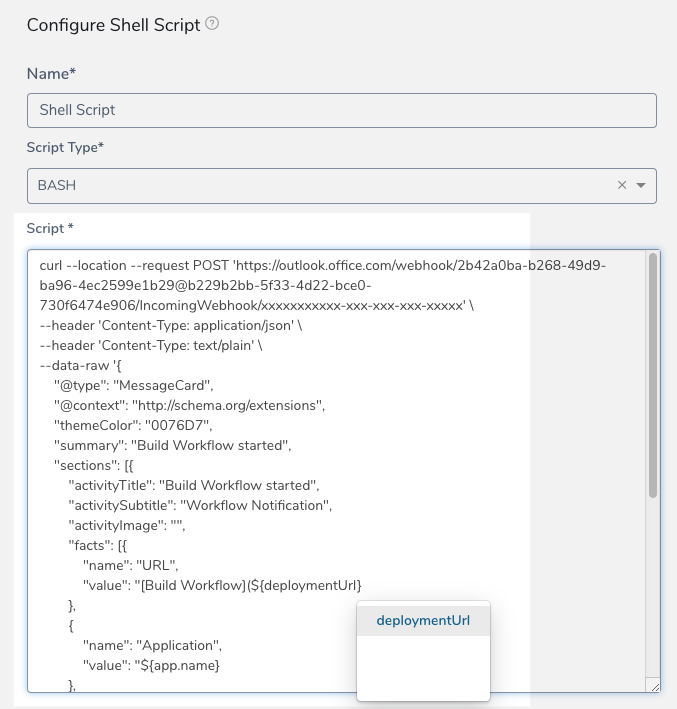
You will notice that Harness built-in and custom Workflow variable expressions can be used in the message. See Variables and Expressions in Harness and Set Workflow Variables.
Here is an example of the cURL command in the Shell Script step:
curl --location --request POST 'https://outlook.office.com/webhook/xxxxx-xxx-xxx-xxx-xxxx@xxxx-xxx-xxx-bce0-xxx/IncomingWebhook/xxxxxxxxxxx-xxx-xxx-xxx-xxxxx' \
--header 'Content-Type: application/json' \
--data-raw '{
    "@type": "MessageCard",
    "@context": "http://schema.org/extensions",
    "themeColor": "0076D7",
    "summary": "Rolling Workflow started",
    "sections": [{
        "activityTitle": "Rolling Workflow started",
        "activitySubtitle": "Workflow Notification",
        "activityImage": "",
        "facts": [{
            "name": "URL",
            "value": "[Rolling Workflow](${deploymentUrl}"
        },
        {
            "name": "Application",
            "value": "${app.name}"
        },
        {
            "name": "Services",
            "value": "${service.name}"
        },
        {
            "name": "Artifacts",
            "value": "${artifact.buildFullDisplayName}"
        },
        {
            "name": "Triggered By",
            "value": "${deploymentTriggeredBy}"
        }],
        "markdown": true
    }]
}'