Authentication Settings
This content is for Harness FirstGen. Switch to NextGen.Administrators can use Authentication Settings to restrict access to an organization's Harness account. The options you choose will apply to all your account's users. These options include:
- Enabling specific SSO (single sign-on) mechanisms and providers.
- Enforcing password policies (strength, expiration, and lockout).
- Enforcing 2FA (two factor authentication).
- Restricting logins by specified email domains.
This topic covers these options in the following sections:
- Accessing Authentication Settings
- Enabling SSO Providers
- Enforcing Password Policies
- Enforcing Two Factor Authentication
- Restricting Email Domains
To modify Authentication Settings, you must be logged into Harness as a member of the Administrators User Group. For details about Harness' role-based access control, see Managing Users and Groups (RBAC).
Accessing Authentication Settings
To open Authentication Settings, select Continuous Security > Access Management, then click the Authentication Settings panel.
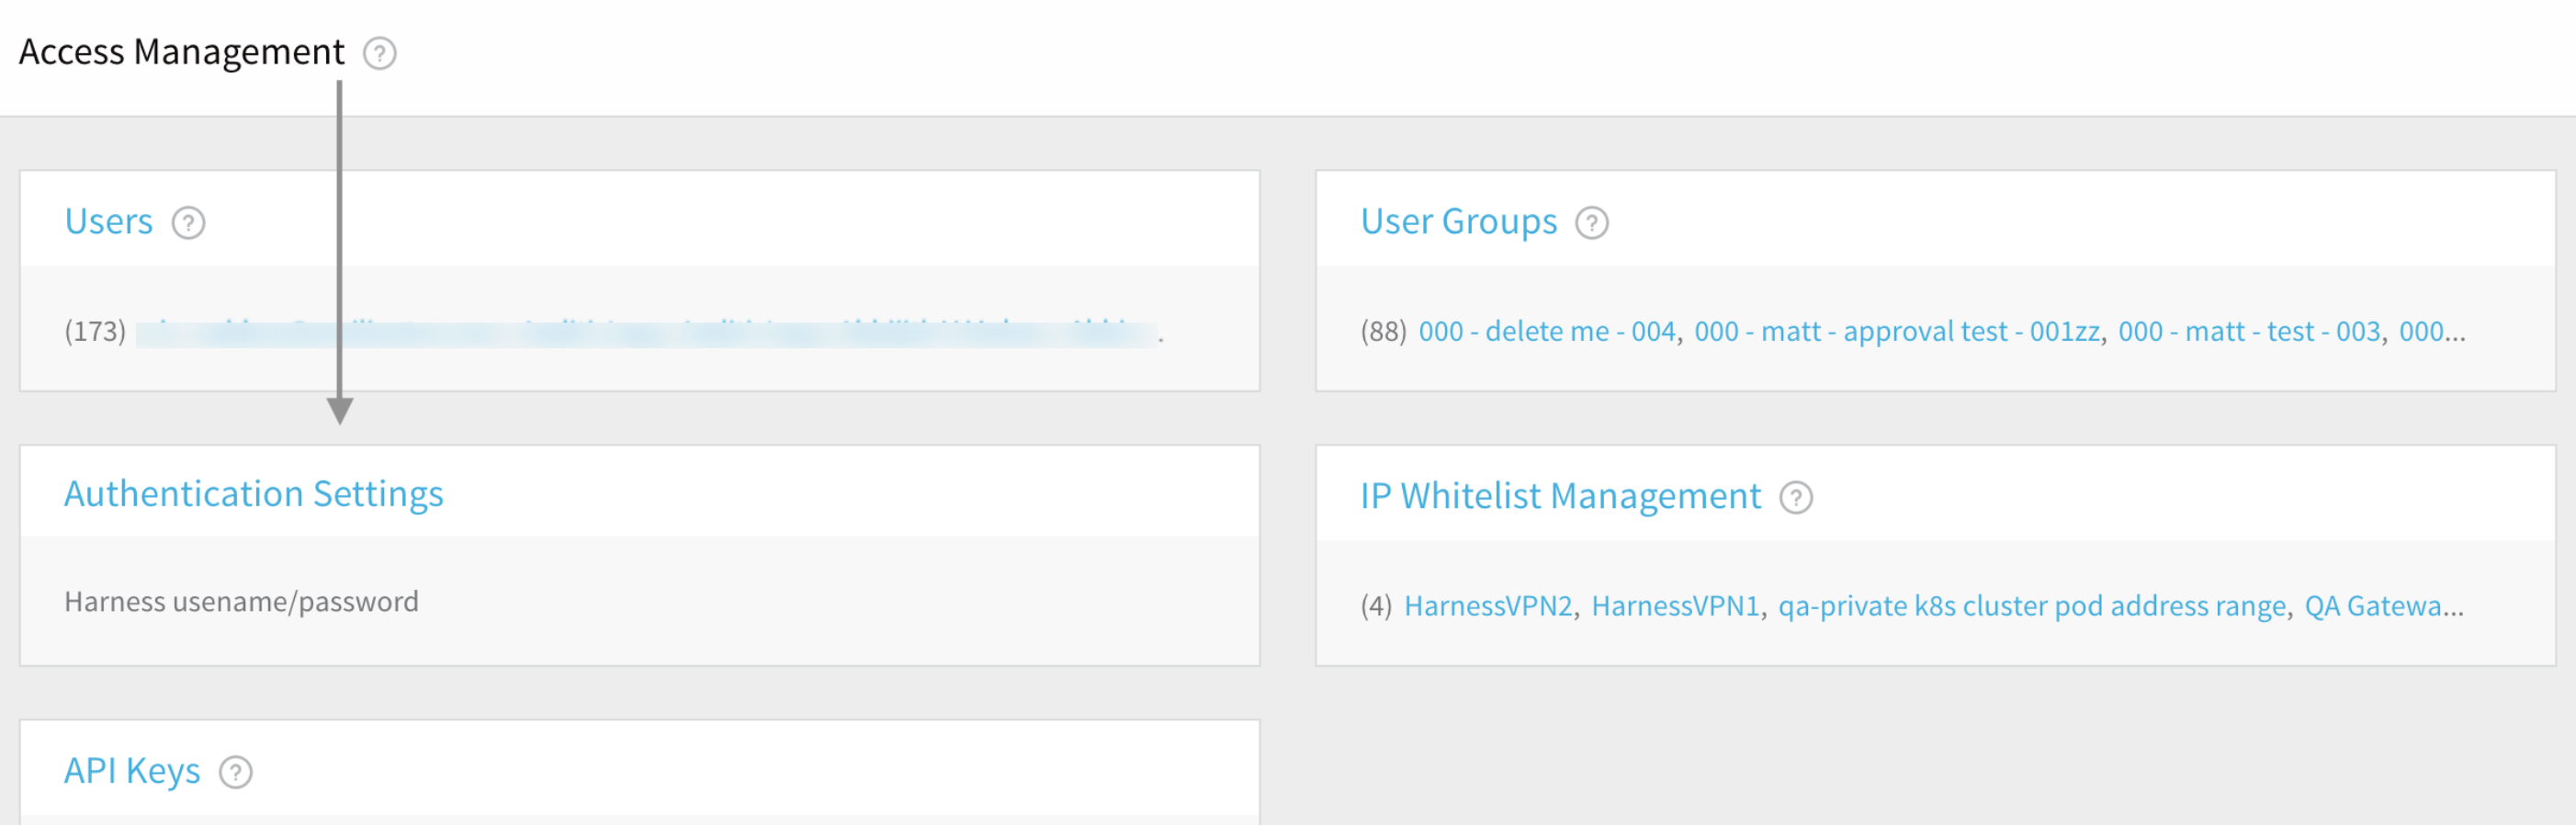 The resulting Authentication Settings page will display options like those shown here (and described below):
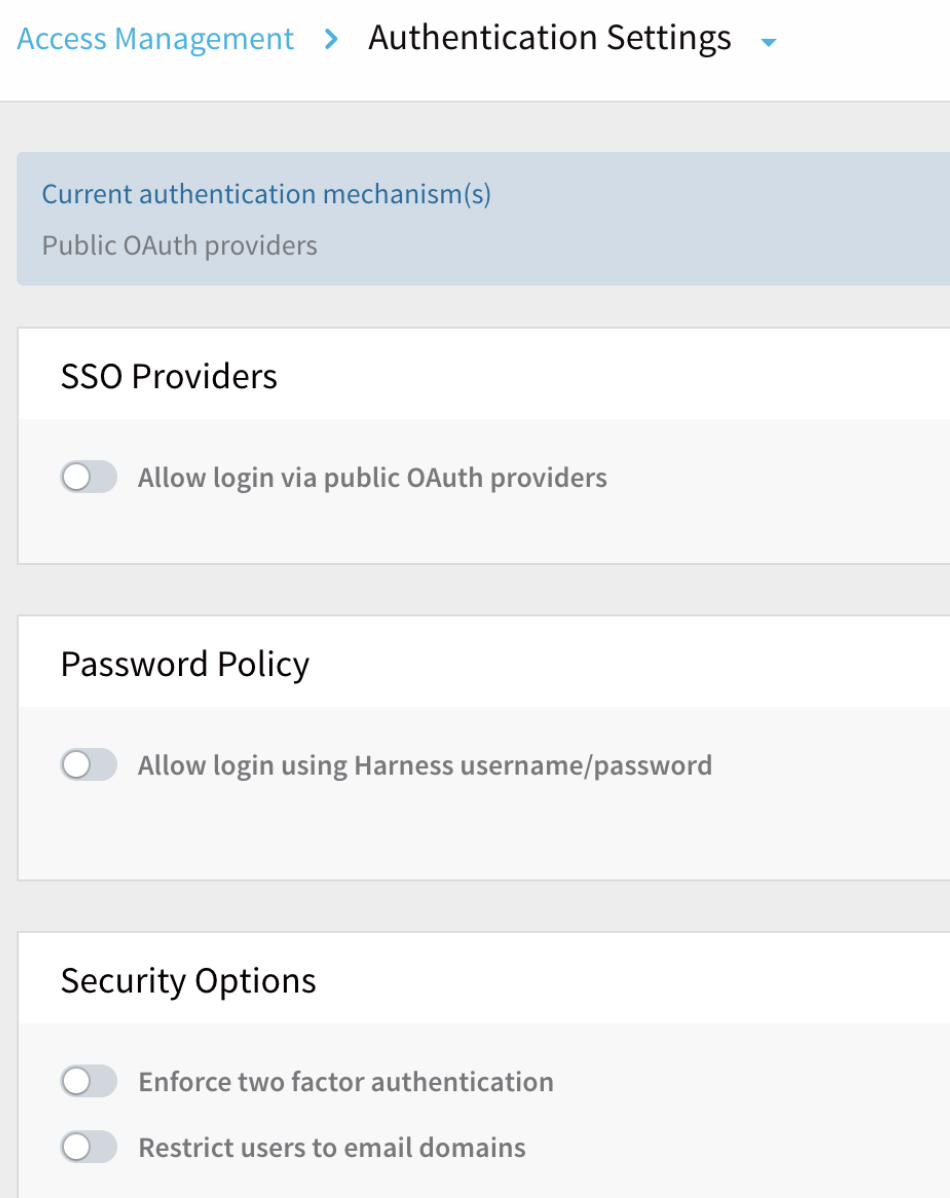 The Authentication Settings page consolidates several options from separate locations in earlier Harness versions.
Enabling SSO Providers
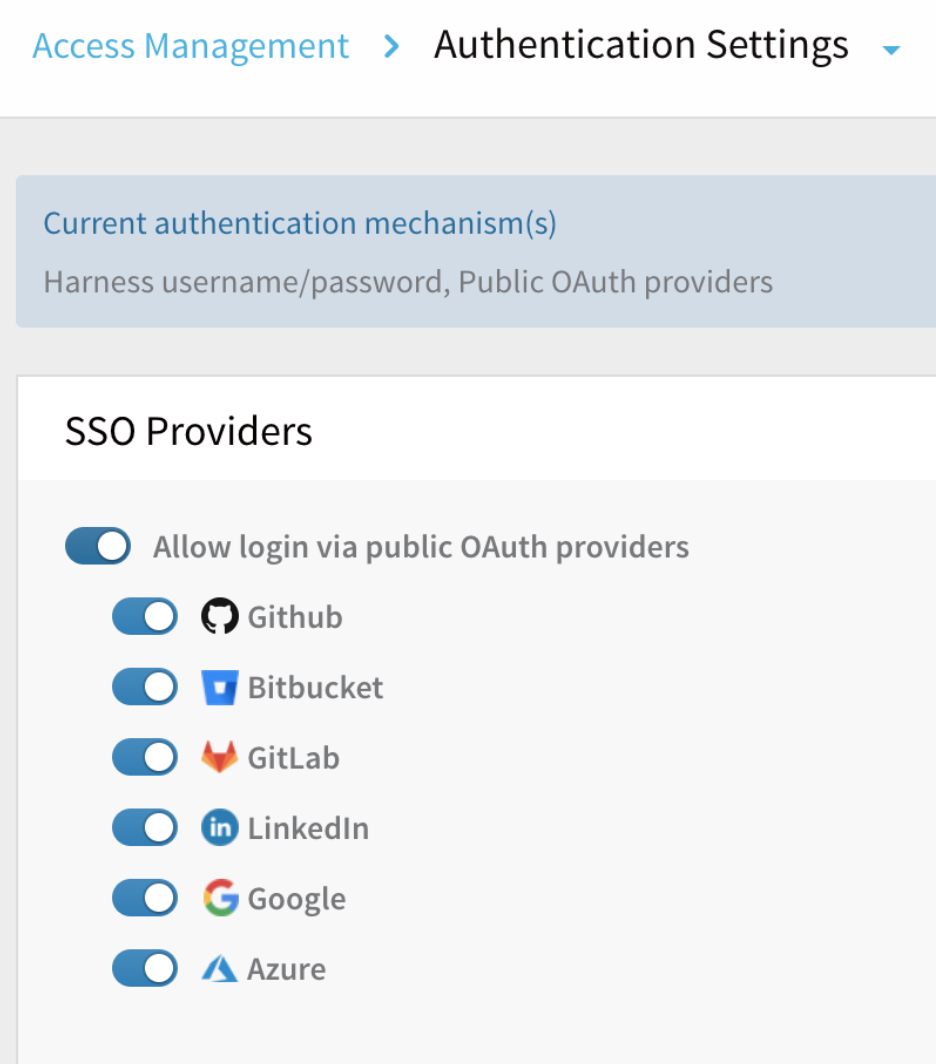
In the SSO Providers section, you can enable Harness logins via a range of single sign-on mechanisms. Enable the Allow login via public OAuth providers slider to expose sliders for enabling individual OAuth partners.
 Click Add SSO Providers to enable SAML- or LDAP-based logins.
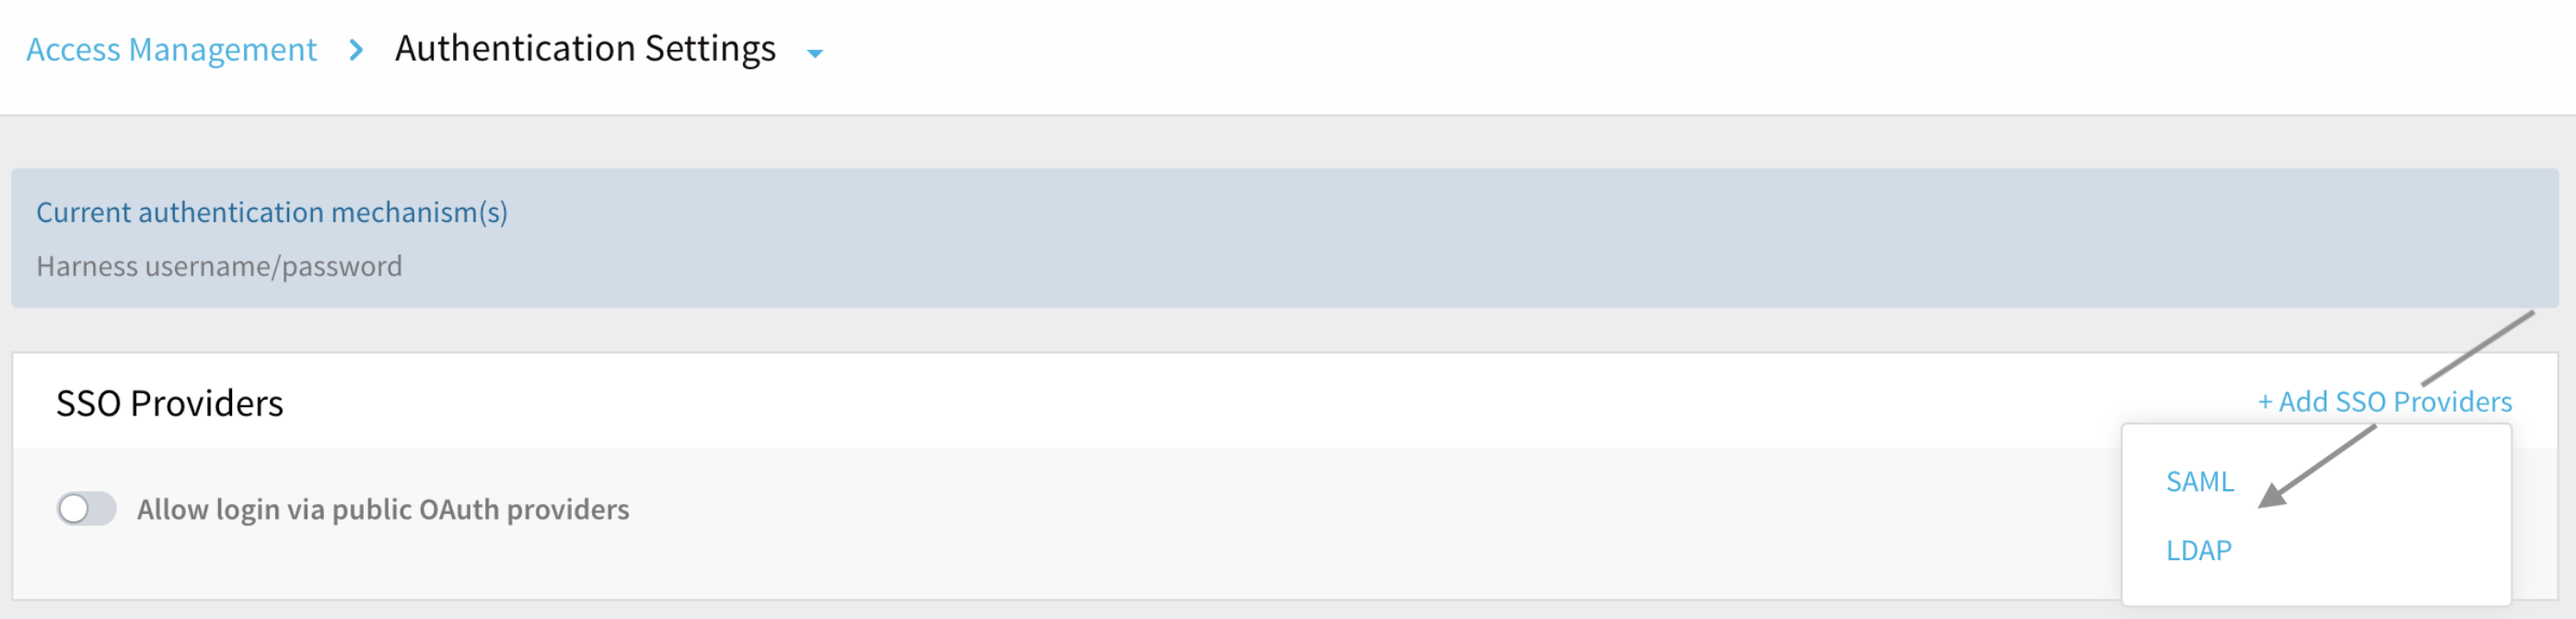 To enable a SAML or LDAP provider, you will be prompted to first disable any configured public OAuth providers. For details on all the options in this SSO Providers section, see SSO Provider Overview and its linked pages.
Disabling all SSO login options will automatically enable username/password-based logins (described below) as a fallback authentication mechanism.
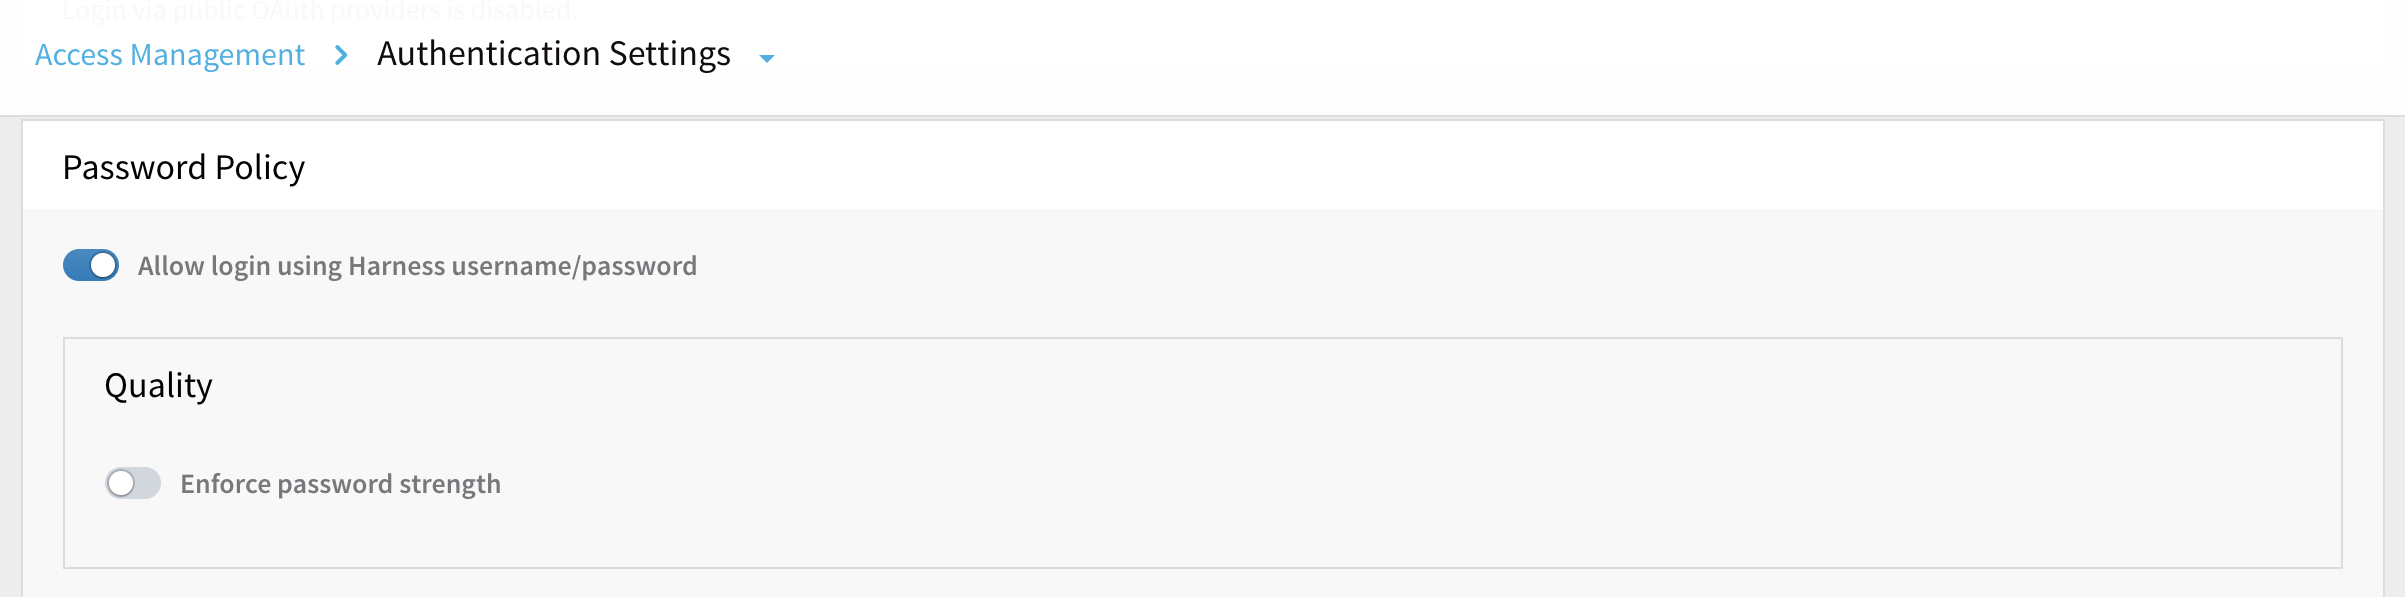
Enforcing Password Policies
The Allow login using Harness username/password slider enables Harness' default, native authentication mechanism. When this is enabled, you'll see additional controls to govern the following password requirements:
- Quality (strength).
- Expiration (refresh) period.
- Lockout Policy after failed logins.
Enforcing Password Strength
Select Enforce password strength to open the dialog shown below. This offers a field where you can specify and enforce minimum password length, and independent controls to require Harness passwords to include at least one uppercase letter, lowercase letter, numeral, and/or non-alphanumeric character.
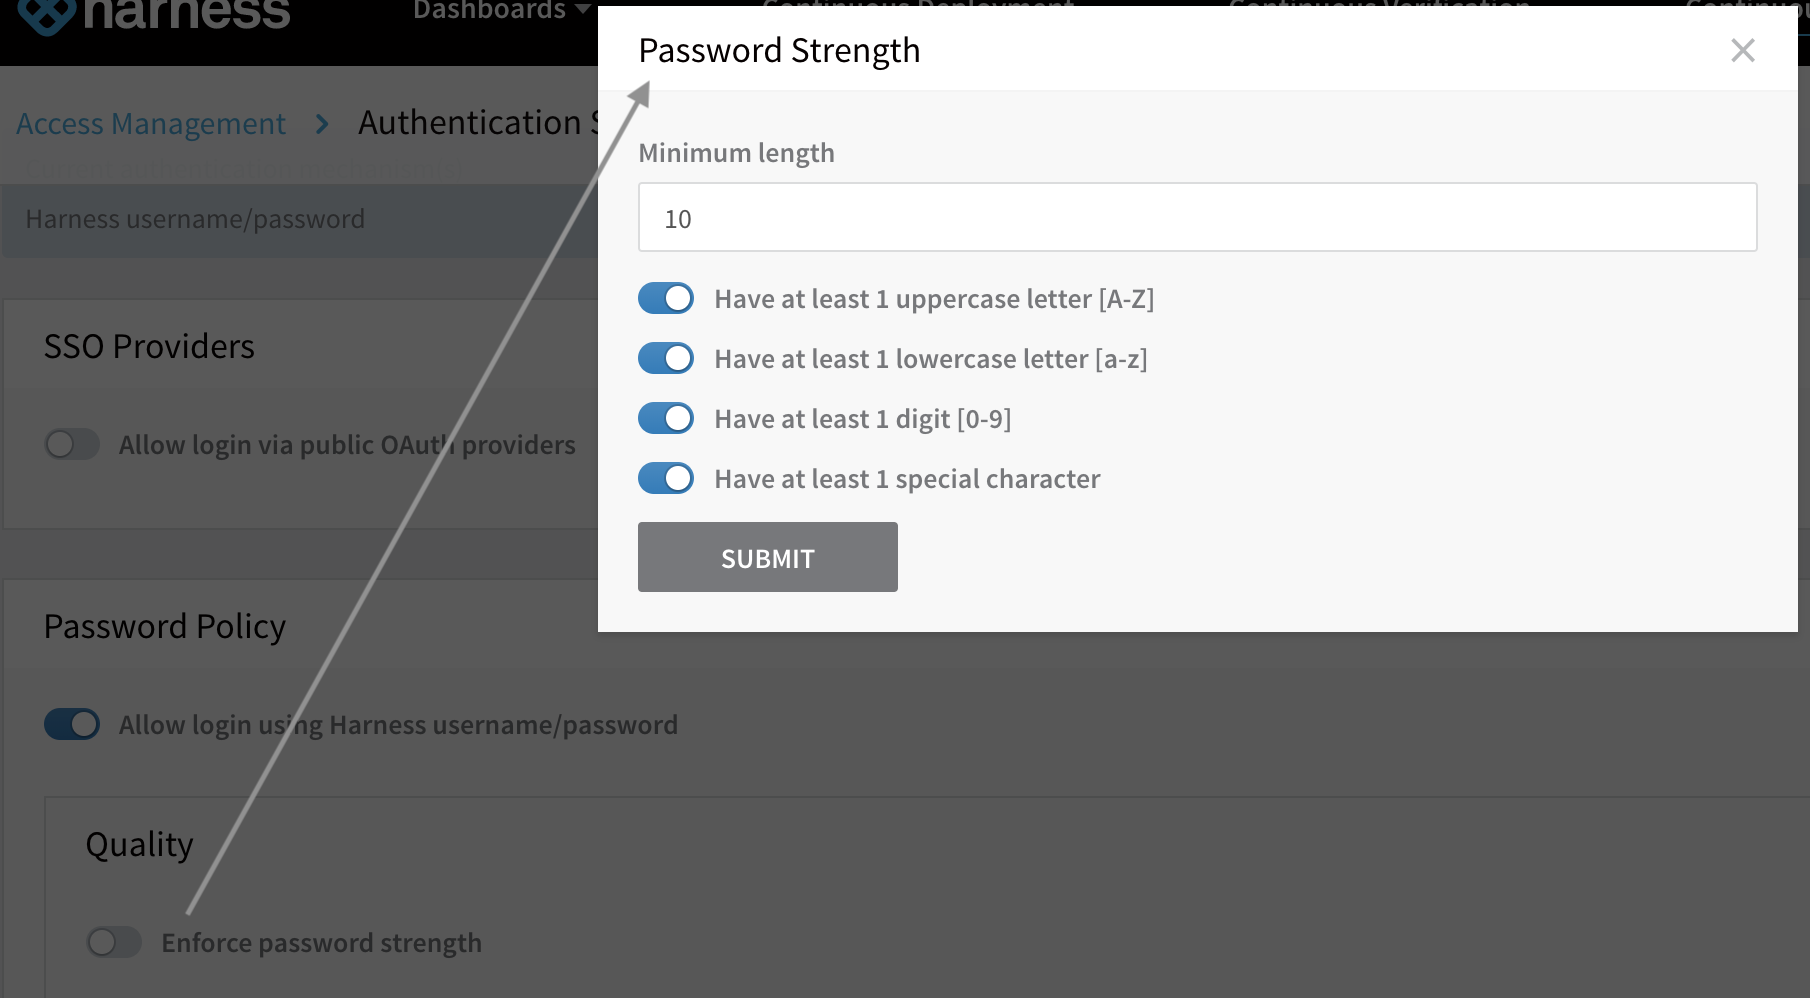 If you enforce Have at least 1 special character, each password must include one (or more) of the following characters:
 ~!@#$%^&*_-+=|(){}[]:;"'<>,.?/`
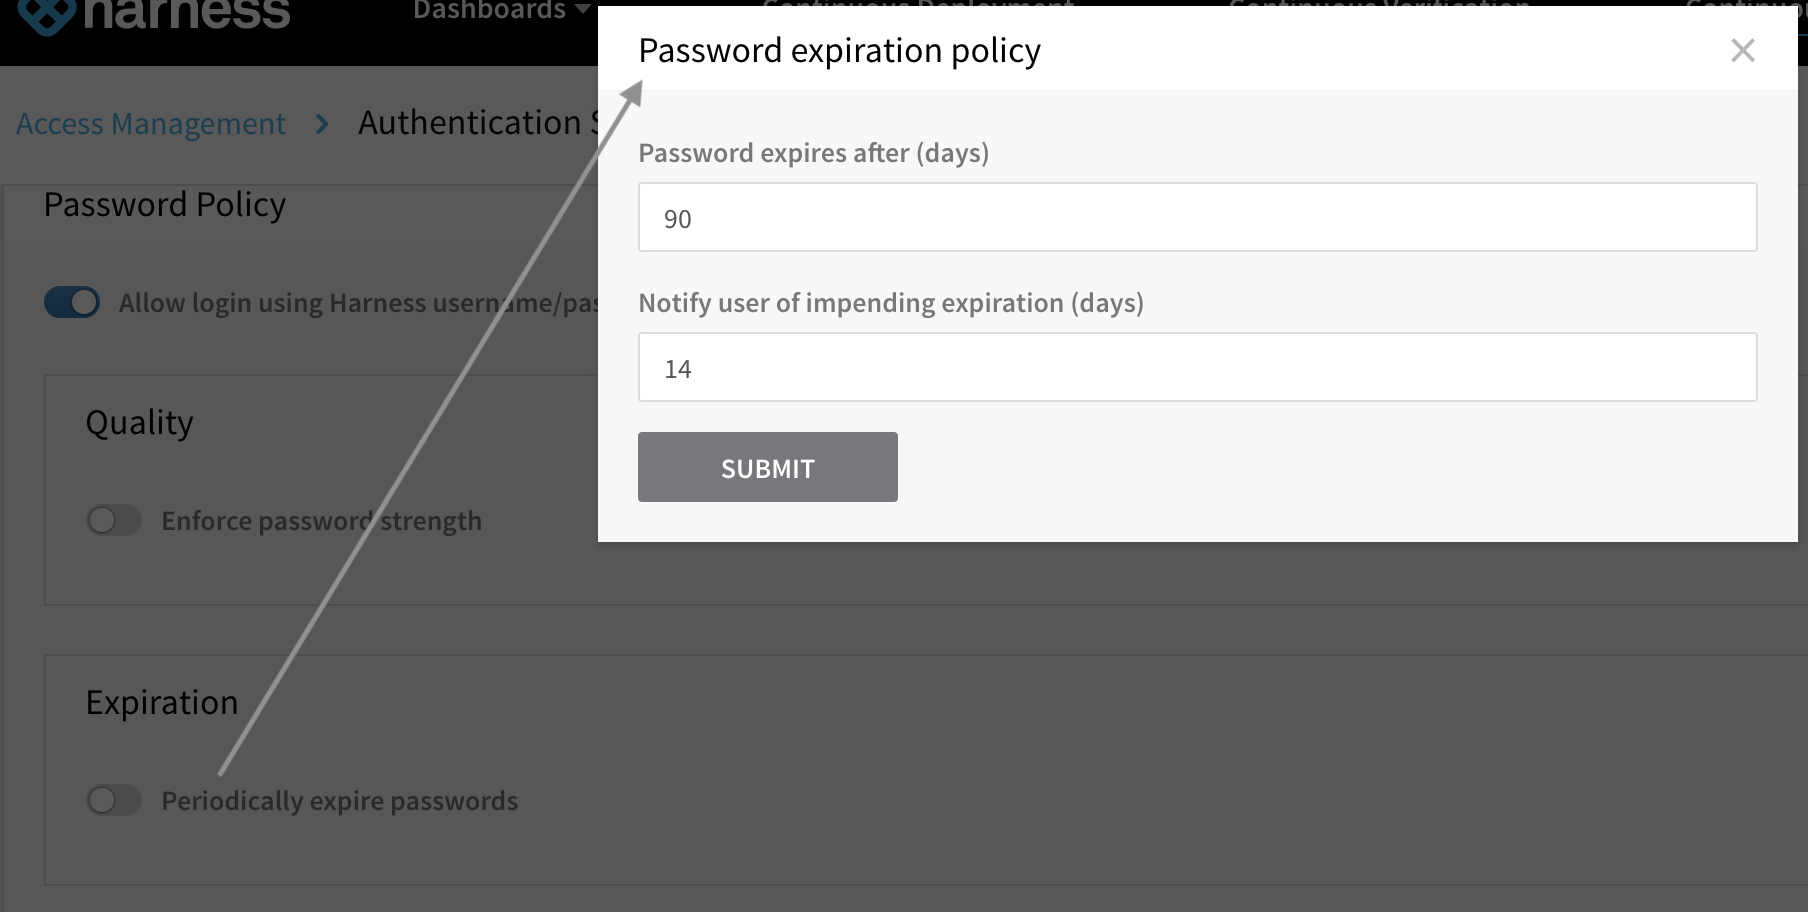
Enforcing Password Expiration
Select Periodically expire passwords to set an interval at which users must refresh their Harness passwords. In the same dialog, you can also set an advance notification interval.
Enabling Password Reset
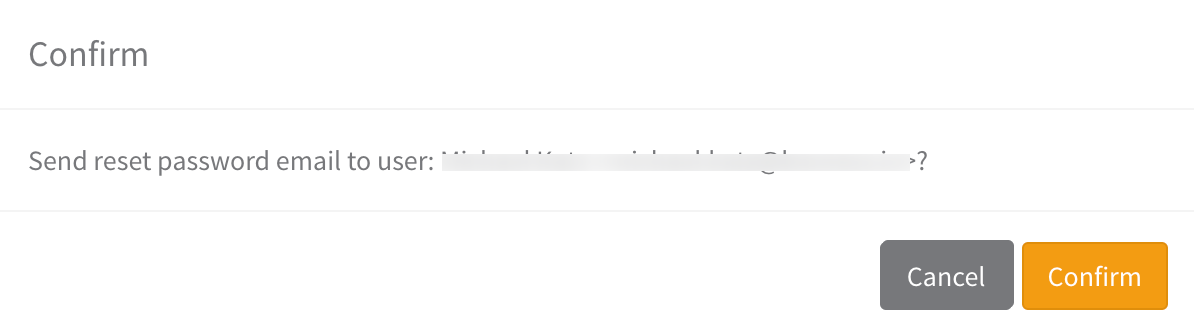
Administrators can email password-reset links to users whose passwords have expired. To do so:
Select Continuous Security > Access Management > Users.

Click the More Options ⋮ menu beside the user you want to unlock, then click Email Password Rest Link.
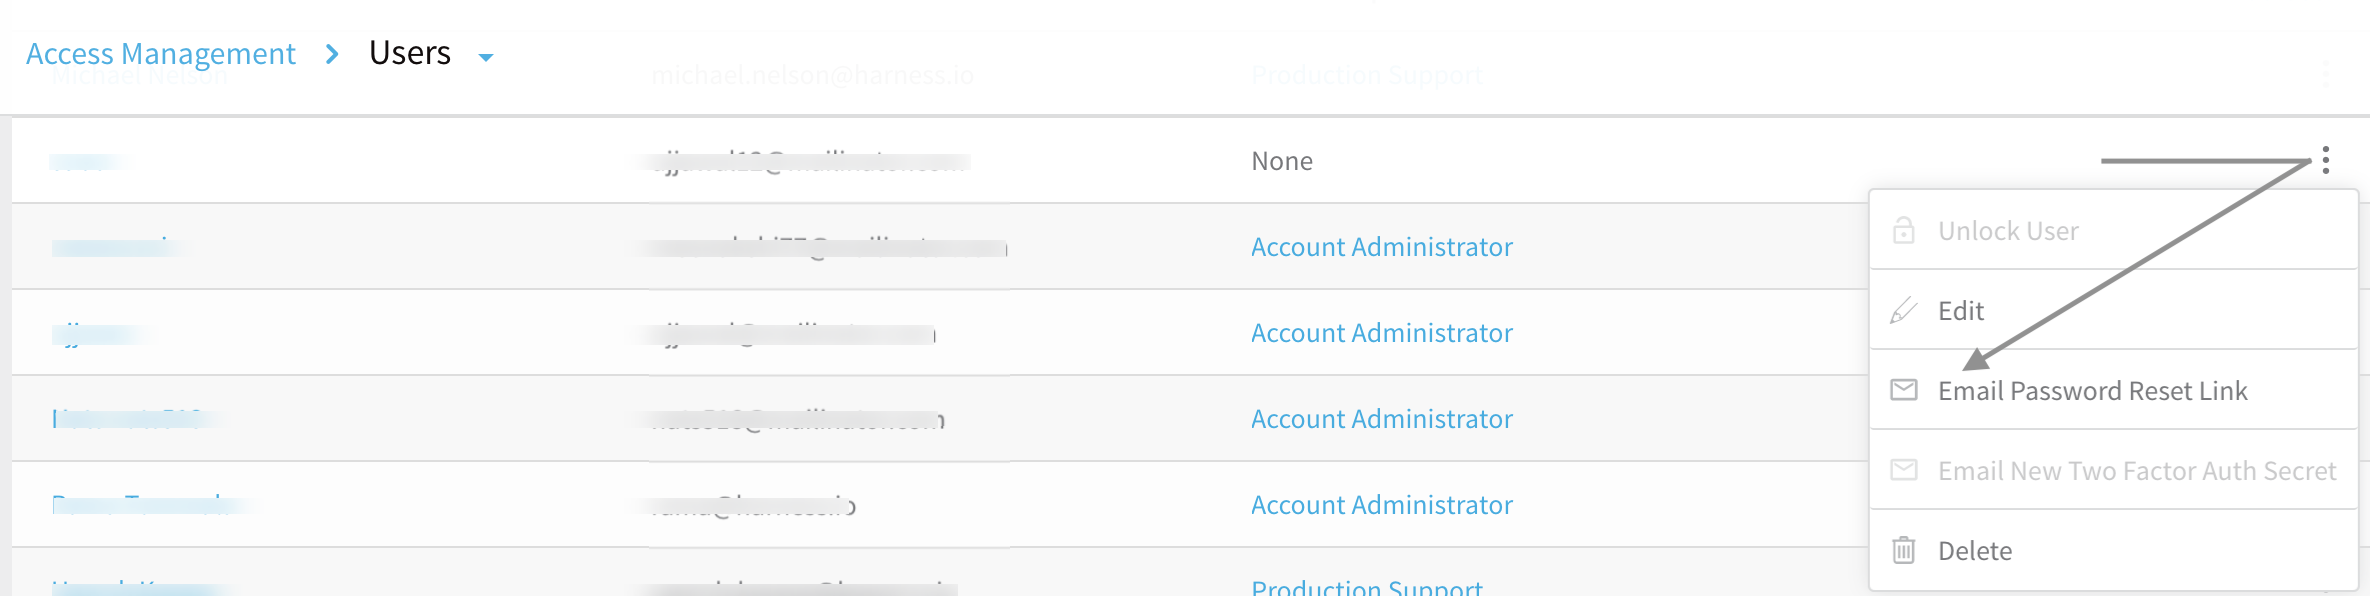
Select Confirm in the resulting dialog.
Enforcing Lockout After Failed Logins
Select Enforce lockout policy to open the dialog shown below. It offers independent controls over the lockout trigger (how many failed logins), lockout time, and notifications to locked-out users and to Harness user groups.
 Once you click SUBMIT in any of these dialogs, the Password Policy section will display the selections you've made. This example shows all restrictions enabled:
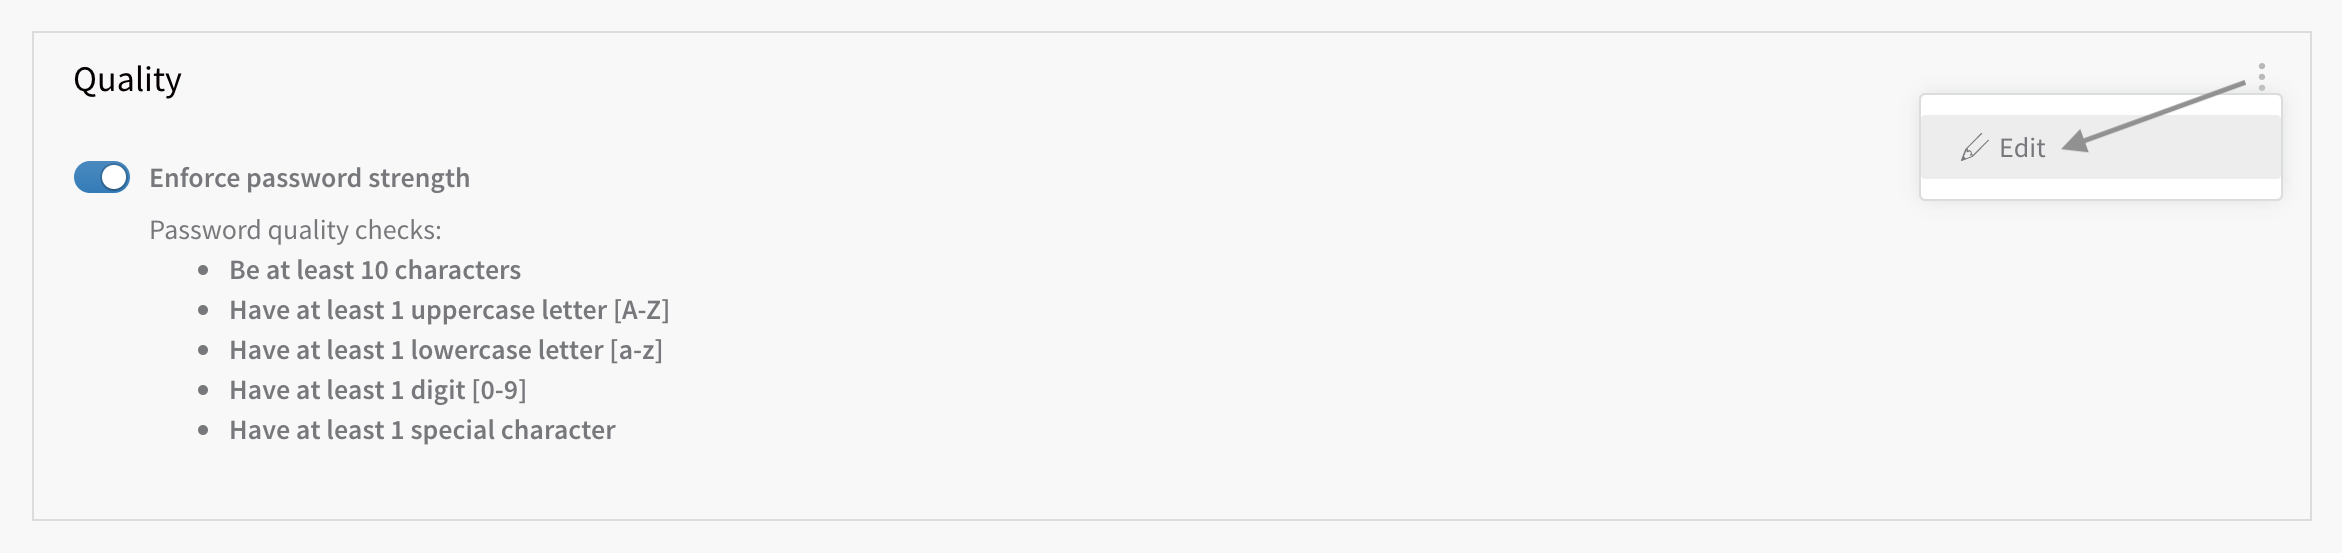
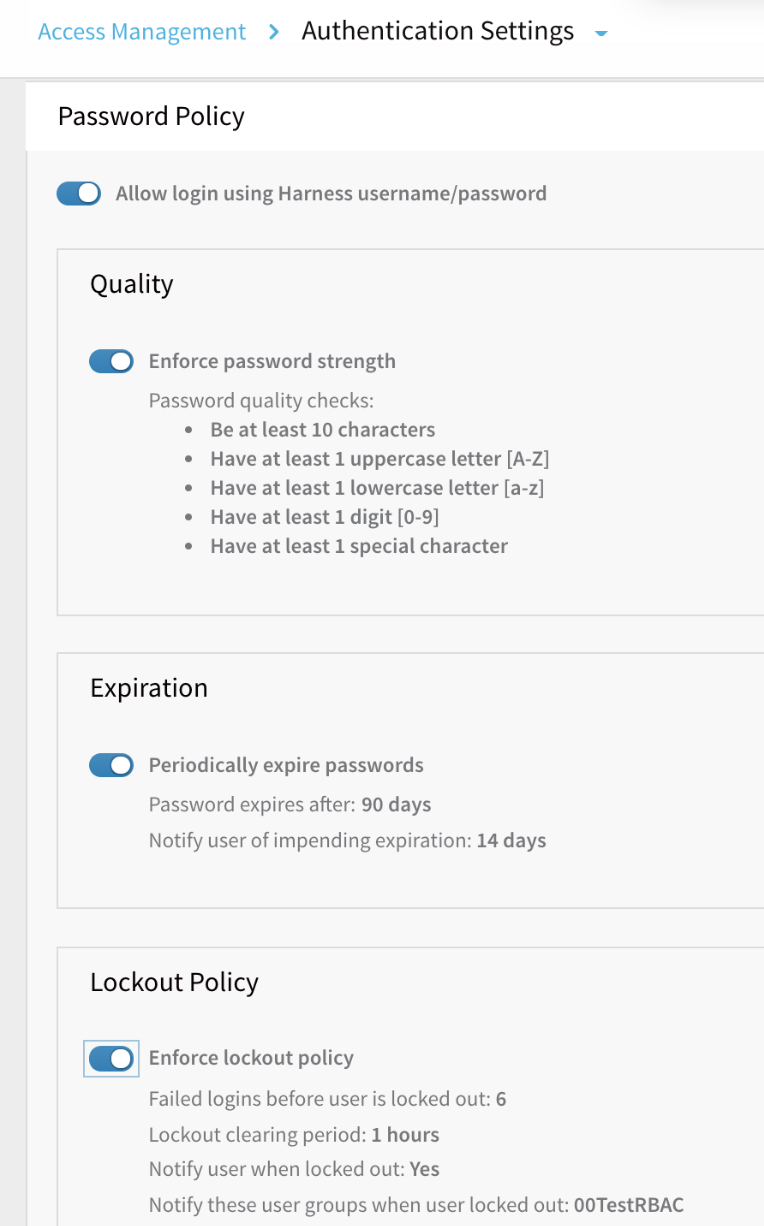 To change individual settings, click any panel's More Options ⋮ menu, then click Edit. This reopens the corresponding dialog.
Unlocking Locked Users
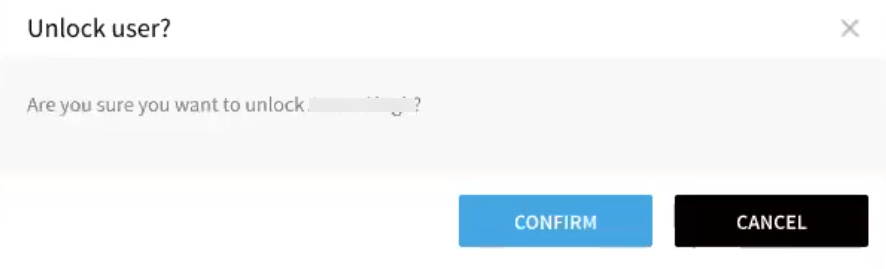
Administrators can manually unlock users without waiting for the configured login clearing period to elapse. To do so:
Select Continuous Security > Access Management > Users.

Click the More Options ⋮ menu beside the user you want to unlock, then click Unlock.

In the resulting dialog, confirm that you want to unlock this user.
Enforcing Two Factor Authentication
If you enable options in the page's bottom Security Options section, these options will govern all logins—whether through SSO providers or through Harness username/password combinations.
 Select Enforce two factor authentication if you choose to set up account-wide 2FA. For details, see Two Factor Authentication.
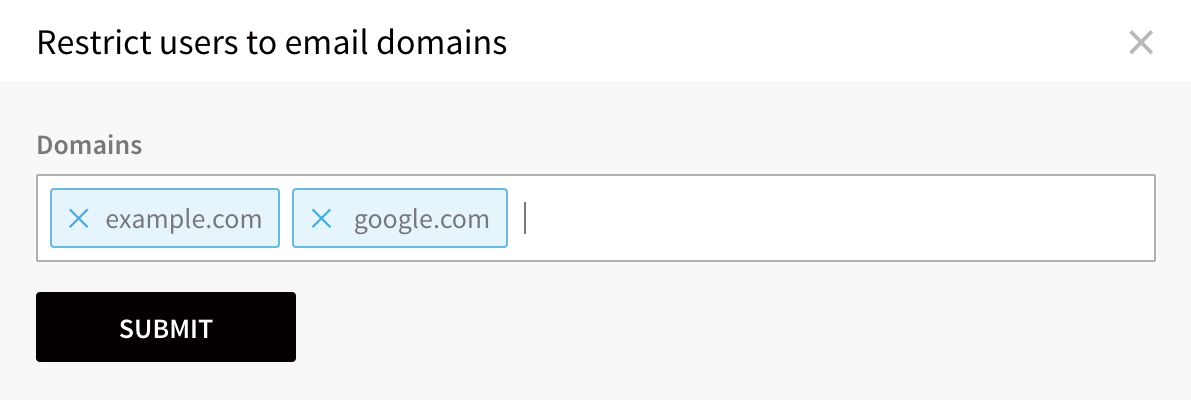
Restricting Email Domains
Select Restrict users to email domains if you want to to whitelist (allowlist) only certain domains as usable in login credentials. In the dialog shown below, build your allowlist by simply typing your chosen domains into the Domains multi-select field.
 After you click SUBMIT, the Security Options panel will confirm the domains you've whitelisted:
 Remember that your resulting allowlist will impose a further filter on logins to Harness via both SSO providers and Harness username/passwords.
As with the Password Policy settings, you can modify your domain selections by clicking the More Options ⋮ menu, then clicking Edit to reopen the dialog.