Connect to AppDynamics as a Custom APM
As an alternative to Harness' standard AppDynamics integration, you can use this guide to add AppDynamics to Harness as a custom APM. This approach enables you to expand monitoring beyond Business Transactions, to cover specific metrics of interest (for example, JVM data).
Before You Begin
Step 1: Add AppDynamics as a Custom Verification Provider
To add a Custom Metrics Provider using AppDynamics, do the following:
In Harness Manager, click Setup > Connectors > Verification Providers.
Click Add Verification Provider. From the drop-down, select Custom Verification.
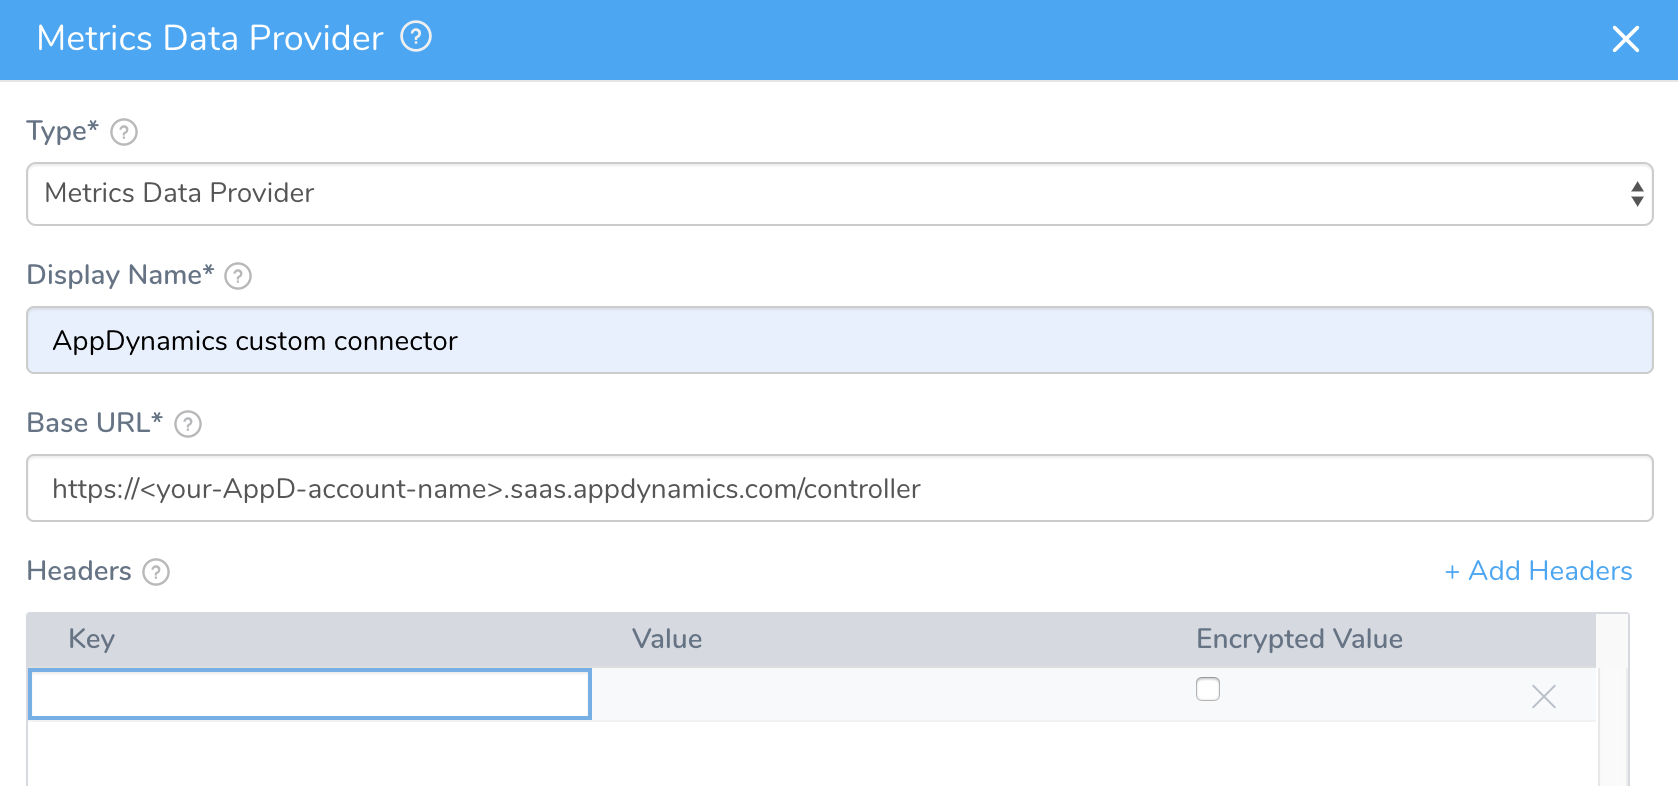
This opens the Metrics Data Provider settings.

In Type, select Metrics Data Provider, as shown above.
Step 2: Display Name
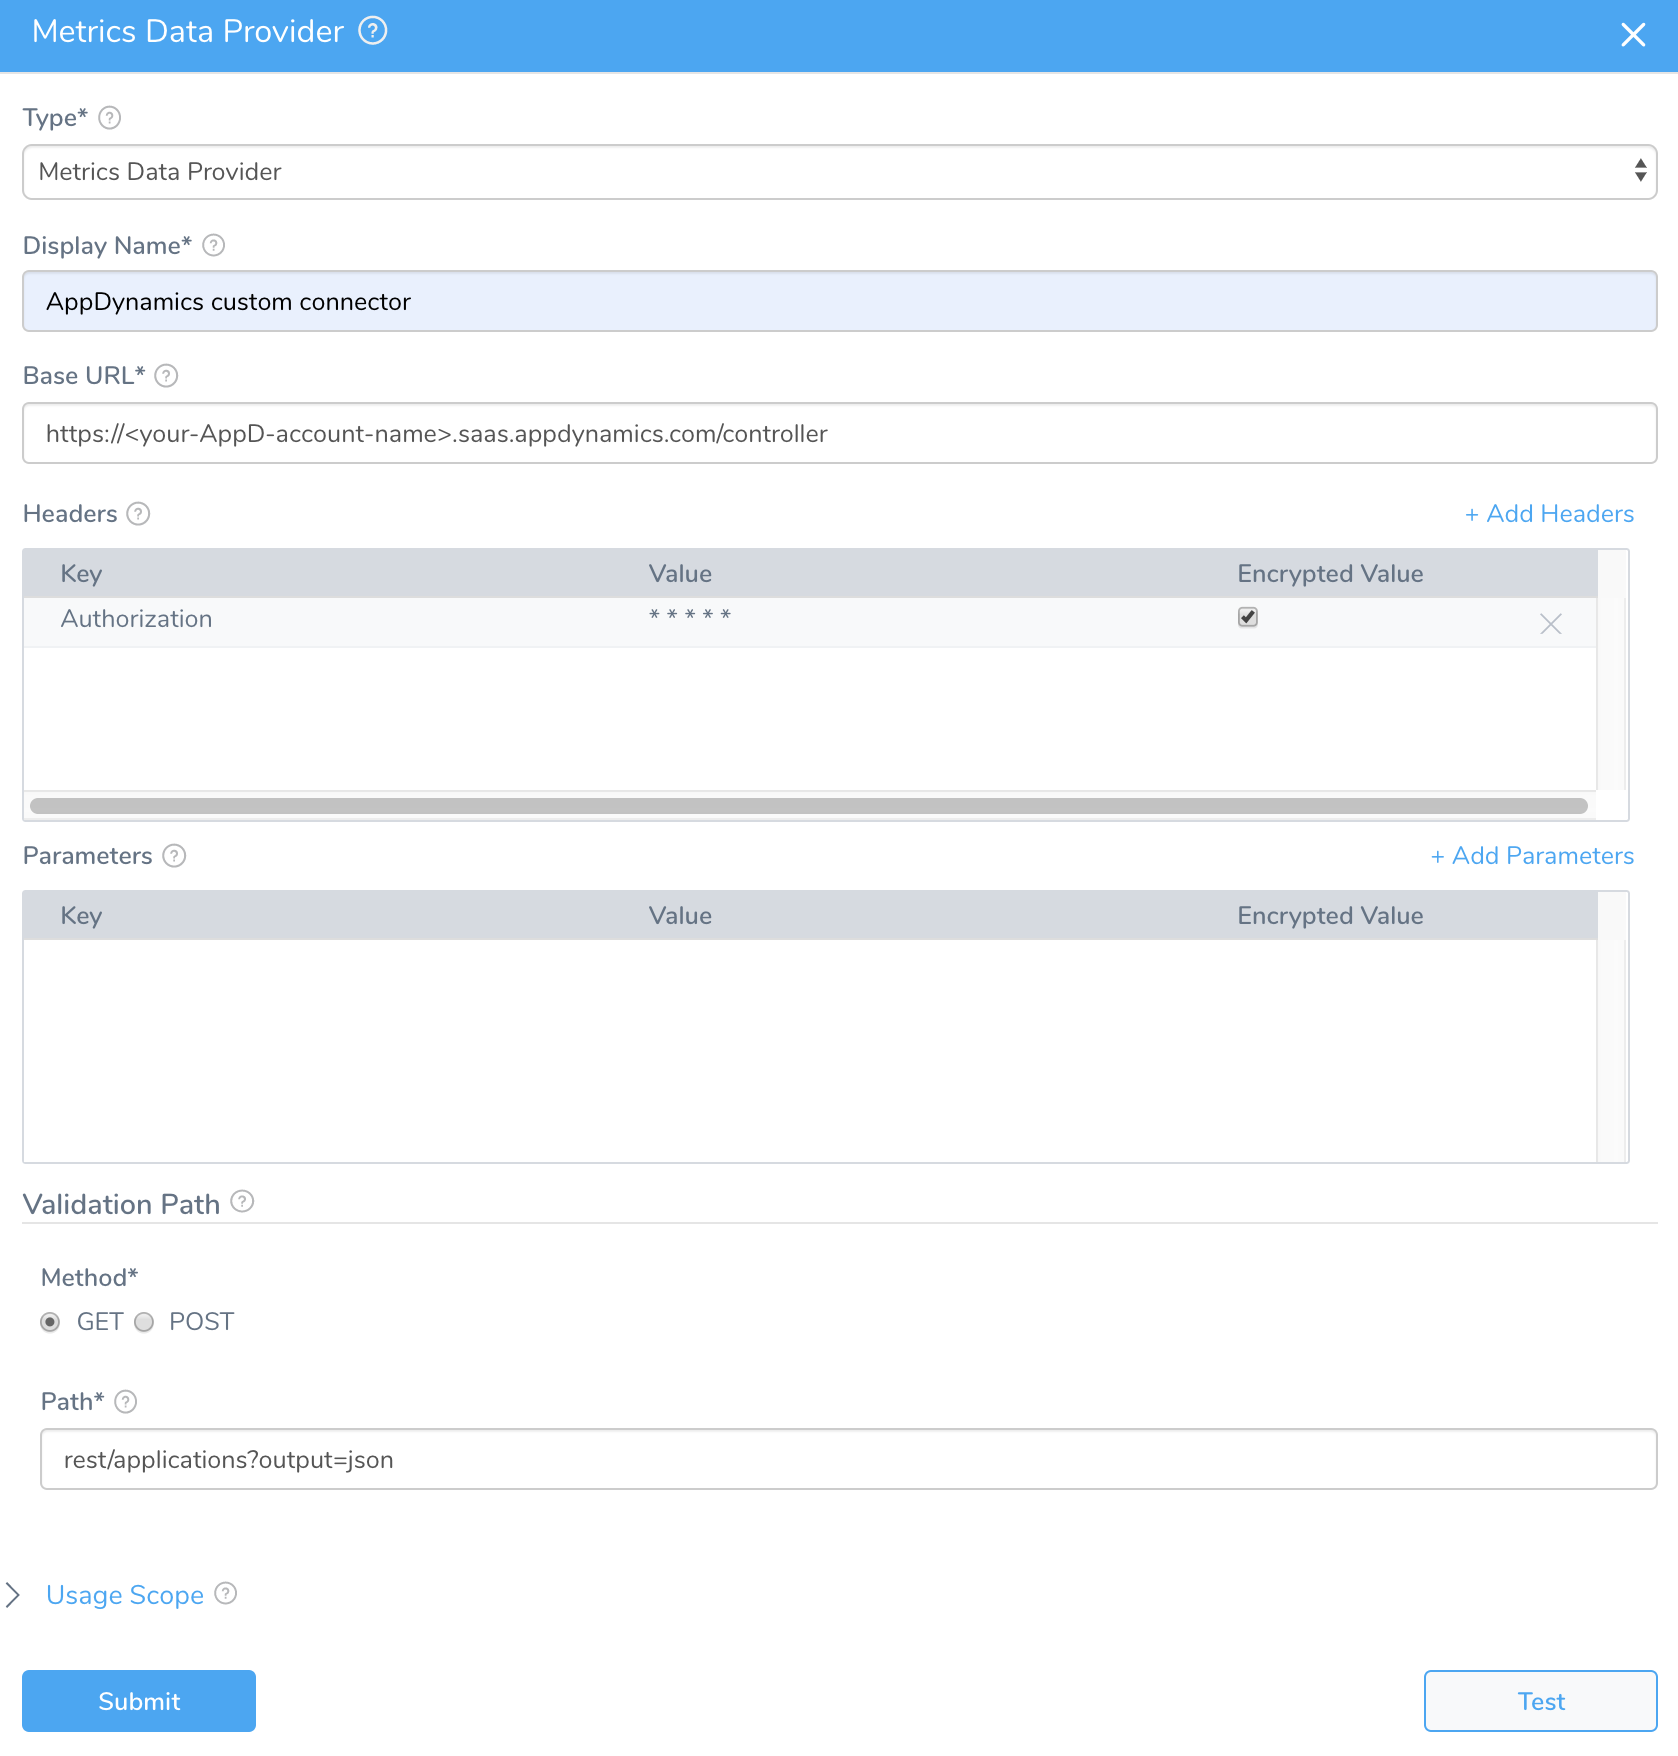
In Display Name, give the Verification Provider an arbitrary name. (You will use this name to select this provider in a Workflow.)
Step 3: Base URL
In Base URL, enter: https://<your-AppDynamics-account-name>.saas.appdynamics.com/controller/
Ensure that you include the forward slash at the end of the URL.
Step 4: Headers
In Headers, click Add Headers, and add the following row:
| Key | Value | Encrypted Value |
| Authorization | Enter a base 64–encoded version of this string, representing your AppDynamics credentials:<username>@<account-name>:<password>You can also use an Open Authorization (OAuth) token-based authentication. Instead of the above credentials combination, enter your token.For more information about generating the token, see AppDynamics API Clients documentation. | Checked |
Step 5: Validation Path
In Validation Path, enter rest/applications?output=json.
The settings will now look something like this:

Step 6: Test and Submit
- Click Test to verify your custom verification provider.
- If the test succeeds, click Submit to save the custom verification provider.