Add Nexus Artifact Servers
Connect your Nexus artifact servers with Harness.
Before You Begin
- See Harness Key Concepts.
Visual Summary
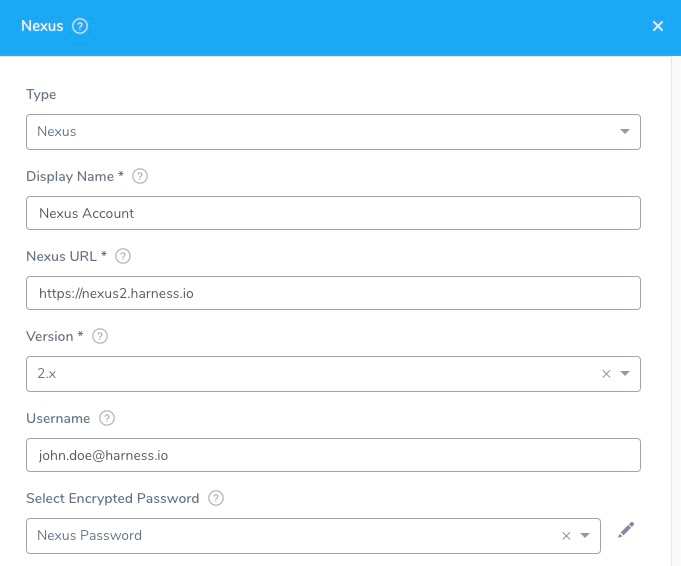
Here's an example configuration of the Nexus Artifaction Source addition.

Review: Nexus Permissions
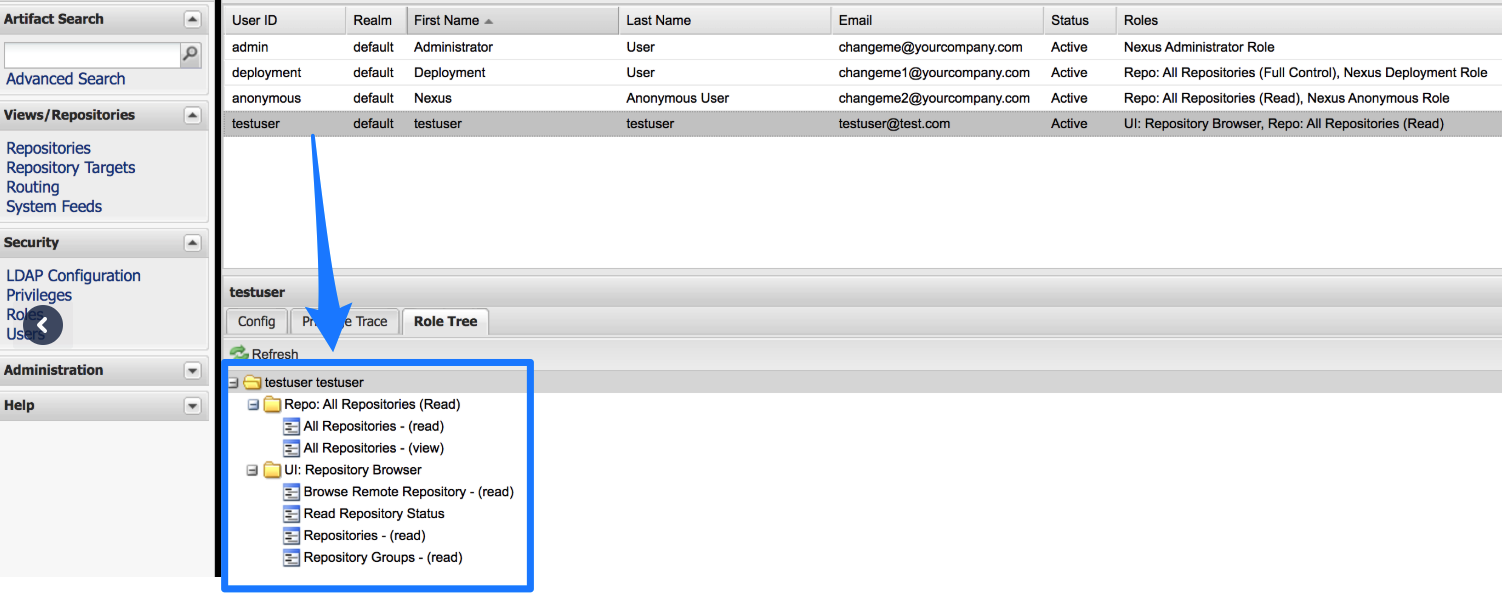
Make sure the connected user account has the following permissions in the Nexus Server.
- Repo: All repositories (Read)
- Nexus UI: Repository Browser

If used as a Docker Repo, the user needs:
- List images and tags
- Pull images
Step 1: Select Nexus Artifact Server
To connect to an artifact server, do the following:
- Click Setup.
- Click Connectors.
- Click Artifact Servers.
- Click Add Artifact Server.
- In Type, select Nexus.
Step 2: Nexus URL
In Nexus U**RL**, enter the URL that you use to connect to your Nexus server. For example, https://nexus2.dev.mycompany.io.
Step 3: Version
The Version field in the dialog lists the supported Nexus versions, 2.x and 3.x.
For Nexus 2.x, Harness supports repository formats Maven, npm, and NuGet. See Sonatype's website at Supported Formats.
For Nexus 3.x, Harness supports repository formats Docker 3.0 and greater, Maven, npm, NuGet, and raw.
Step 4: Enter the Credentials
Enter the username and Select Encrypted Password.
For secrets and other sensitive settings, select or create a new Harness Encrypted Text secret.
Usage Scope is determined by the secret you selected.
Step 5: Delegate Selector
Select the Delegate Selector(s) of the Delegate(s) you want this Connector to use.
When Harness needs to run a task, it makes a connection to a resource via its Delegates. Harness selects the best Delegate according to its history or it round-robins between Delegates. See How Does Harness Manager Pick Delegates?.
In a few cases, you might want Harness to select specific Delegates. In these cases, you can use Delegate Selectors.