Add ServiceNow Collaboration Provider
You can use ServiceNow tickets to track/audit the progress of Harness deployments (and Pipelines), and to approve or reject Pipeline stages or Workflows.
Harness creates and polls tickets using ServiceNow's REST API.
Before You Begin
Limitations
Your ServiceNow account should ideally have the admin role. If this is not possible, it should have at least the itil_admin, itil, and personalize_choices roles to create and modify tickets.
Your account should also have the import_admin or import_transformer role to manage import set transform maps. For details, see ServiceNow's Base System Roles documentation.
Step 1: Add Collaboration Provider
Start adding a Collaboration Provider to Harness as follows:
Click Setup.
Click Connectors.
Click Collaboration Providers.

Click Add Collaboration Provider. This opens the default Collaboration Provider settings, which you will configure in the following steps.

Step 2: Type
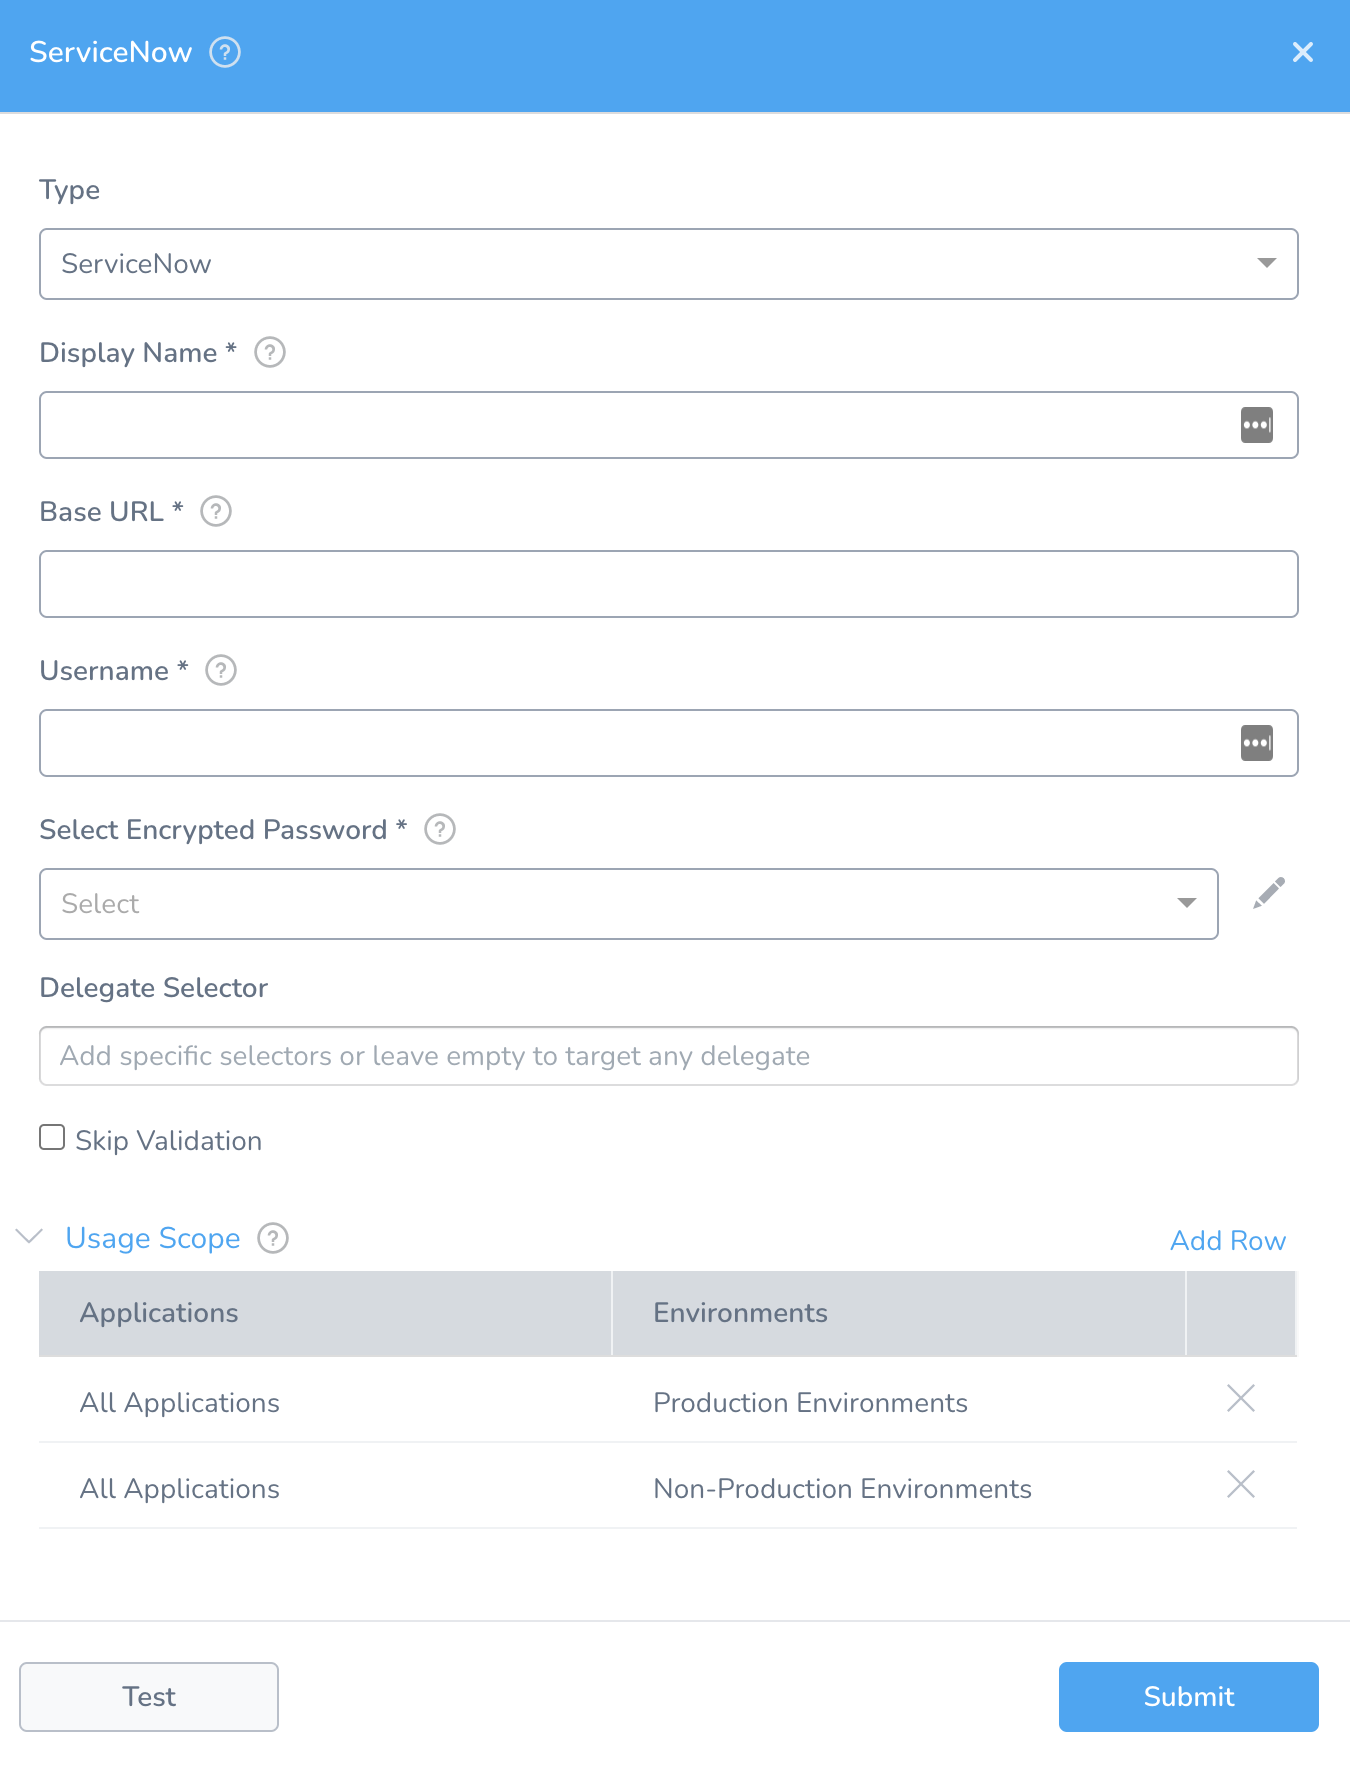
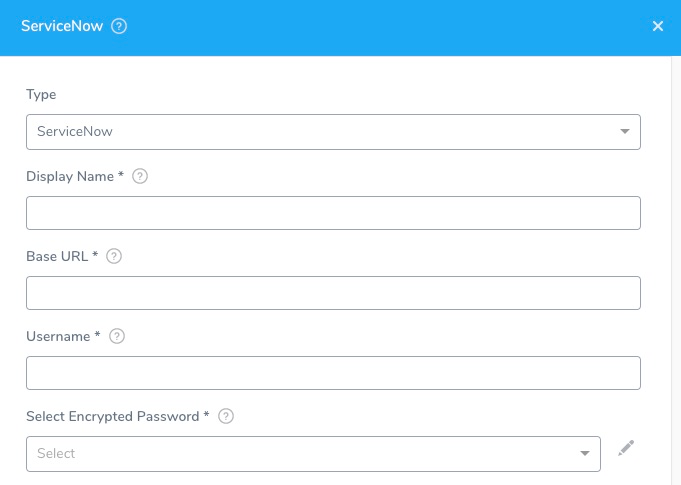
Set the Type drop-down to ServiceNow. The settings now display ServiceNow-specific fields.

Step 3: Display Name
In Display Name, enter a unique name to identify this ServiceNow account connection. When you add ServiceNow steps to Workflows or Pipelines, you will select the appropriate ServiceNow account using this name.
Step 4: Base URL
In Base URL, enter the base URL by which your users access your ServiceNow applications. For example: https://example.service-now.com/.
Step 5: Username
In Username, enter the username of the ServiceNow account to use for the connection.
Step 6: Password
In Select Encrypted Password, select or create a new Harness Encrypted Text secret.
Step 7: Delegate Selector
Select the Delegate Selector(s) of the Delegate(s) you want this Connector to use.
When Harness needs to run a task, it makes a connection to a resource via its Delegates. Harness selects the best Delegate according to its history or it round-robins between Delegates. See How Does Harness Manager Pick Delegates?.
In a few cases, you might want Harness to select specific Delegates. In these cases, you can use Delegate Selectors.
See Select Delegates with Selectors.
Step 8: Skip Validation
Select Skip Validation to skip credential verification and creation or update process.
Step 9: Usage Scope
Usage Scope is determined by the secret you used in Select Encrypted Password.
Step 10: Test and Save
- Click Test to check your configuration.
- When the test is successful, click Submit to save your ServiceNow Collaboration Provider.
Next Steps
- To use your ServiceNow Collaboration Provider in Workflows and Pipelines, see ServiceNow Integration.