Adding and Editing Inline Kubernetes Manifest Files
This content is for Harness FirstGen. Switch to NextGen.
Harness provides full file management for your Kubernetes configuration files. You can add, edit, and manage all of the files in your Harness Kubernetes Service.
Before You Begin
Step 1: Manually Add Configuration Files
For information on uploading files, see Upload Kubernetes Resource Files. Once the files are uploaded into Harness, you can create more files inline, as described below.
- In your Harness Kubernetes Service, click the more options button (︙) next to any existing file or folder.
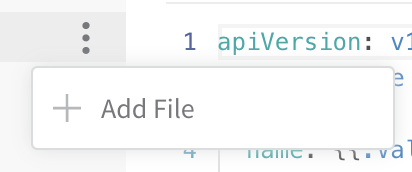 The Add File dialog appears.

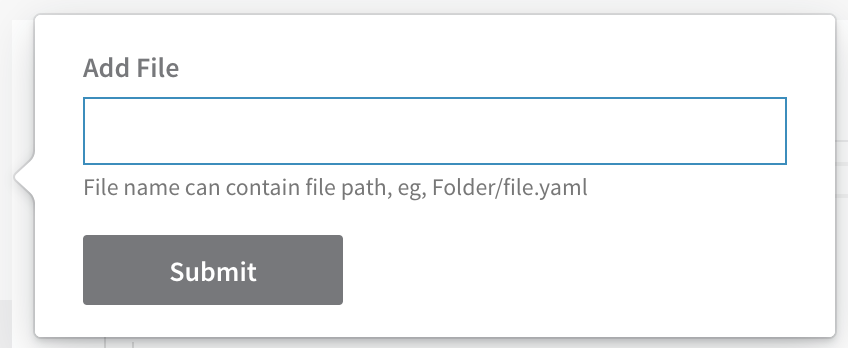
- Enter a file name and click Submit. To add a folder at the same time, enter the folder name followed by the file name, such myfolder/service.yaml.

Now you can edit the file and paste in your manifest.
To add more files to that folder, use the same folder name when you create the files.
Step 2: Edit Resource Files
- In your Harness Kubernetes Service Manifests section, select a file and click the Edit button.
- Enter your YAML, and then click Save.
Harness validates the YAML in the editor at runtime.You can use Go templating for inline manifest files. See Use Go Templating in Kubernetes Manifests.
The inline values.yaml file used in a Harness Service does not support Helm templating, only Go templating. Helm templating is fully supported in the remote Helm charts you add to your Harness Service.
Step 3: Create and Manage Folders
- Click the more options button (︙) and click Rename File. The Rename File dialog opens.
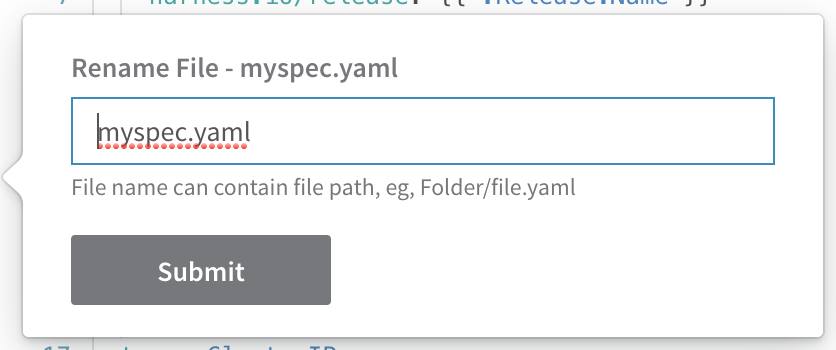
- Enter a folder name before the file name, including a forward slash, such as myfolder/.
- Click SUBMIT. The folder is created and the file is added to it.

To add other existing files to that folder, rename them and use the same folder name.